
Oh, s’mores! Just the word brings back a flood of memories, doesn’t it? That smoky smell, the crackle of the fire, the gooey marshmallow, the melty chocolate, the crunchy graham cracker… pure magic. But let’s be real, who always has a campfire handy? I certainly don’t! That’s why I’m absolutely obsessed with these incredible S’mores Bars. They capture all that nostalgic summer camp flavor without needing a single spark. Seriously, they’re my go-to when that s’mores craving hits but I’m stuck indoors.
I first stumbled upon a version of these S’mores Bars years ago when I was craving that classic combo but it was pouring rain outside. I thought, “There has to be a way!” And boy, was there ever. These S’mores Bars are so deliciously easy, you’ll wonder why you ever waited for a campfire. They hit all the right notes: a buttery graham cracker crust, a rich, melty chocolate layer, and perfectly toasted, golden marshmallows on top. It’s all the fun, none of the fuss, and honestly, sometimes even better because the chocolate gets so perfectly set when they cool. Trust me, you’re going to want to make a double batch of these!

Why You’ll Love These S’mores Bars
Okay, so why are these S’mores Bars an absolute game-changer? First off, they’re ridiculously easy. No campfire needed, no sticky fingers from roasting marshmallows over a twig – just pure, unadulterated s’mores goodness right from your oven. They’re perfect for a crowd, they travel well, and honestly, they’re just plain fun to make and eat. Plus, that chocolate layer sets up so perfectly, giving you a clean bite every time. You’ll wonder how you ever lived without them!
The Ultimate S’mores Bars Experience
These S’mores Bars aren’t just a substitute; they’re an upgrade! Think about it: a perfectly uniform graham cracker crust every time, rich chocolate that’s melted just right, and those golden, gooey marshmallows all in one neat, portable package. It’s all the classic flavor you love, but in a way that’s so much more convenient and, dare I say, even more satisfying. Trust me, these are going to be your new favorite go-to treat!
Essential Ingredients for Perfect S’mores Bars
Alright, let’s talk ingredients! You might think s’mores are simple, and they are, but getting these S’mores Bars just right means picking out a few key things. Don’t worry, nothing fancy here, just your everyday grocery store staples. It’s all about how these humble ingredients come together to create that magical taste we all love. Trust me, the quality of these few items really makes a difference in the final deliciousness of your S’mores Bars.
Gathering Your S’mores Bars Components
Here’s what you’ll need to whip up a batch of these glorious S’mores Bars. It’s a short and sweet list, just like the bars themselves!
- 1 1/2 cups graham cracker crumbs: You can buy these pre-crushed or just throw a sleeve of graham crackers into a food processor. Easy peasy!
- 1/4 cup granulated sugar: Just a touch to sweeten that crust.
- 6 tablespoons unsalted butter, melted: Gotta have that rich, buttery base. Make sure it’s melted for easy mixing!
- 1 (12 ounce) bag milk chocolate chips: My personal favorite for that classic s’mores flavor, but hey, you do you!
- 1 (10 ounce) bag mini marshmallows: The star of the show, ready to get perfectly golden and gooey.
Crafting Your Delicious S’mores Bars: Step-by-Step Instructions
Okay, now for the fun part: making these S’mores Bars! Don’t be intimidated, it’s seriously straightforward. I’m going to walk you through each step just like I would with my best friend. You’ll be surprised how quickly these come together, and then the hardest part will be waiting for them to cool!
Preparing the S’mores Bars
First things first, let’s get that oven ready. You’ll want to preheat it to 350°F (that’s 175°C for my international pals). While it’s heating up, grab a 9×13 inch baking pan. This is important: line it with parchment paper, making sure to leave some overhang on the sides. Trust me, this little trick makes removing the cooled bars an absolute breeze. No sticking, no mess!
Next, in a medium bowl, go ahead and combine your graham cracker crumbs, that little bit of sugar, and your melted butter. Give it a good mix until it all comes together. Then, press that mixture firmly and evenly into the bottom of your prepared pan. This is your crust, so make it nice and compact! Pop it in the oven for about 8-10 minutes, or until it looks lightly golden. Keep an eye on it – you don’t want it too dark. Pull it out when it’s done.
Now for the chocolate layer! While the crust is still hot, sprinkle your chocolate chips evenly over it. Send it back into the oven for just 2-3 minutes. We’re not trying to melt them completely, just get them soft enough to spread. Once they’re slightly melty, take the pan out and use an offset spatula (or the back of a spoon!) to spread that glorious melted chocolate all over the crust. And finally, the best part: top it with an even layer of those mini marshmallows. Back into the oven for 5-7 minutes, and this is where you really need to watch them! You want them golden brown and puffed, but they can go from perfect to burnt in a flash. Once they’re beautifully toasted, pull them out. Now, the hardest part: let them cool completely in the pan on a wire rack. This lets the chocolate set properly, which is key for clean cuts.
Expert Tips for Amazing S’mores Bars
So, you’ve got your S’mores Bars baking, or maybe they’re cooling, and you’re already thinking about the next batch (I know I do!). Here are a few little tricks I’ve picked up to make them even better. First, for super easy cutting, pop the cooled bars into the fridge for at least 30 minutes before you slice into them. It makes all the difference! Second, if you’re feeling adventurous, don’t be afraid to play with the chocolate. Semi-sweet or even dark chocolate chips work wonderfully if you like a less sweet bar. And lastly, these S’mores Bars are best enjoyed within a day or two, but if you have any leftovers (which is rare in my house!), store them in an airtight container at room temperature. They’ll be good for up to 3 days, though I bet they won’t last that long!
Common Questions About S’mores Bars
Okay, so you’ve got the S’mores Bars recipe down, but maybe a few questions are popping into your head. Don’t worry, you’re not alone! I get asked these all the time, and I’m happy to share my wisdom. Making these bars is pretty straightforward, but a few little tips can make all the difference, especially when it comes to planning ahead or troubleshooting a minor hiccup. Let’s dive into some of the most common questions I hear about these delicious S’mores Bars!
Can I Make S’mores Bars Ahead of Time?
Absolutely! These S’mores Bars are fantastic for making a day in advance. In fact, sometimes I think they taste even better the next day once all those flavors really meld together. Just whip them up, let them cool completely, and then store them as directed below. Easy peasy for party prep!
How Do I Store Leftover S’mores Bars?
If you happen to have any S’mores Bars left over (a rare occurrence in my house!), you’ll want to store them in an airtight container. Keep them at room temperature, and they’ll stay fresh and delicious for up to 3 days. No need to refrigerate them, unless your kitchen is super hot!
What If My S’mores Bars Are Too Sticky?
Ah, the sticky marshmallow dilemma! If your S’mores Bars feel a bit too sticky to cut cleanly, don’t fret. The best trick is to pop them in the fridge for about 30 minutes, or even the freezer for 15. The cold will help the chocolate and marshmallow firm up, making for much cleaner slices. You can also lightly grease your knife with a little non-stick spray before cutting!
Nutritional Information for S’mores Bars
Now, I know some of you out there like to keep an eye on the numbers, and that’s totally fair! These S’mores Bars are definitely a treat, and while I can give you a general idea, please remember that exact nutritional values can swing a bit. It really depends on the specific brands of chocolate chips, graham crackers, and marshmallows you use. So, think of this as a helpful guide, not a strict rulebook, okay?
Your S’mores Bars Adventure Awaits
So, there you have it! My absolute favorite way to get that classic s’mores fix without a campfire in sight. These S’mores Bars are truly a little slice of heaven, and I promise you, they’re going to be a huge hit wherever you take them. Don’t be shy, give this recipe a try! I’d absolutely love to hear how your S’mores Bars turn out, so please come back and tell me all about it. Happy baking, my friends!
Print
S’mores Bars: 1 Incredible No-Fire Delight
- Total Time: 35 minutes
- Yield: 24 bars 1x
- Diet: Vegetarian
Description
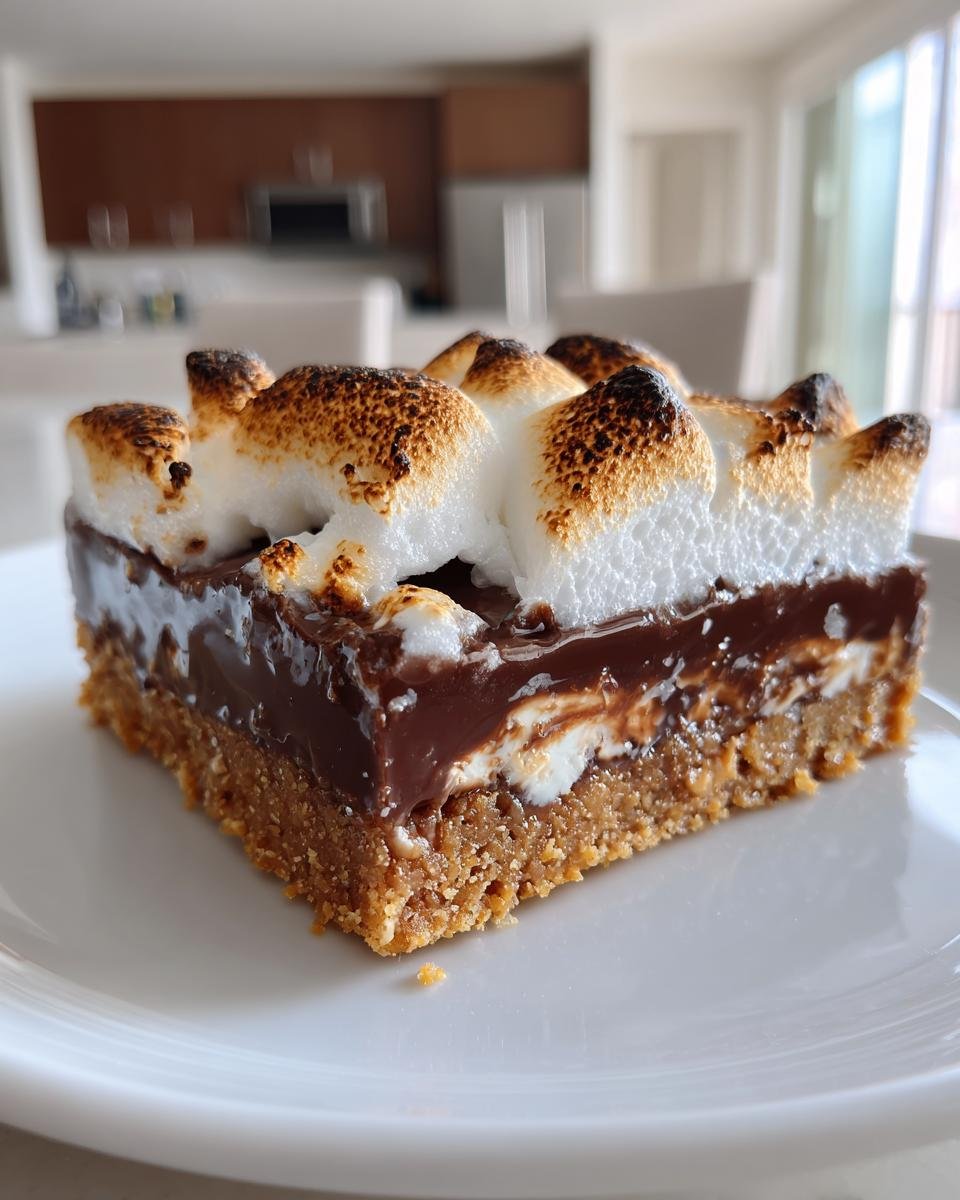
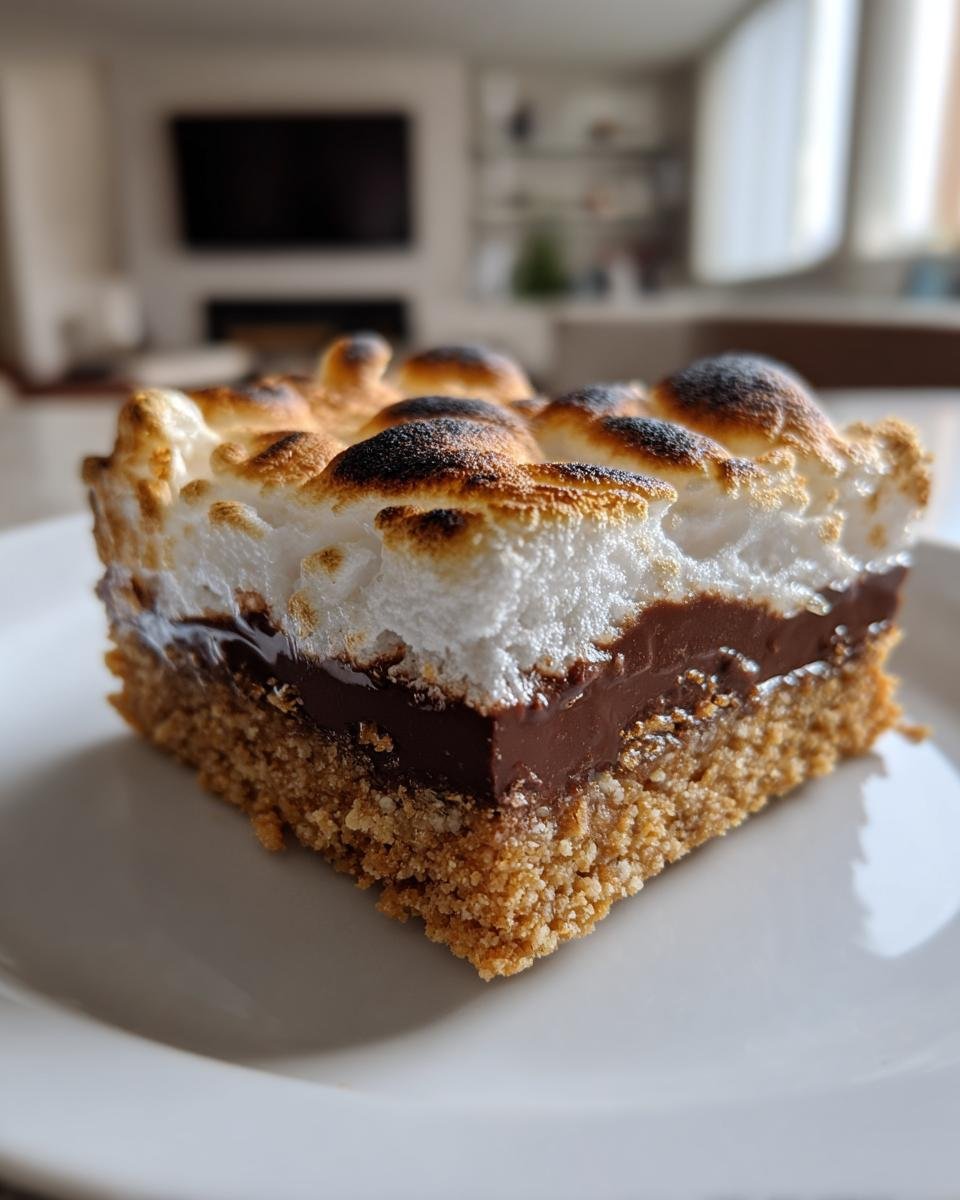
These S’mores Bars offer a delightful twist on the classic campfire treat, combining a buttery graham cracker crust, a rich chocolatey filling, and toasted marshmallows on top. They are easy to make and perfect for sharing.
Ingredients
- 1 1/2 cups graham cracker crumbs
- 1/4 cup granulated sugar
- 6 tablespoons unsalted butter, melted
- 1 (12 ounce) bag milk chocolate chips
- 1 (10 ounce) bag mini marshmallows
Instructions
- Preheat oven to 350°F (175°C). Line a 9×13 inch baking pan with parchment paper, leaving an overhang on the sides for easy removal.
- In a medium bowl, combine graham cracker crumbs, sugar, and melted butter. Press the mixture evenly into the bottom of the prepared pan.
- Bake for 8-10 minutes, or until lightly golden. Remove from oven.
- Sprinkle chocolate chips evenly over the hot graham cracker crust. Return to the oven for 2-3 minutes, or until chocolate chips are slightly melted.
- Remove from oven and spread the melted chocolate evenly with an offset spatula.
- Top with an even layer of mini marshmallows.
- Return to the oven for 5-7 minutes, or until marshmallows are golden brown and puffed. Watch carefully to prevent burning.
- Let cool completely in the pan on a wire rack before cutting into bars. This allows the chocolate to set properly.
Notes
- For easier cutting, chill the bars in the refrigerator for at least 30 minutes before slicing.
- You can use different types of chocolate, such as dark chocolate or semi-sweet chocolate chips, for a different flavor profile.
- Store leftover S’mores Bars in an airtight container at room temperature for up to 3 days.
- Prep Time: 15 minutes
- Cook Time: 20 minutes
- Category: Dessert
- Method: Baking
- Cuisine: American
Nutrition
- Serving Size: 1 bar
- Calories: 220
- Sugar: 25g
- Sodium: 120mg
- Fat: 11g
- Saturated Fat: 6g
- Unsaturated Fat: 4g
- Trans Fat: 0g
- Carbohydrates: 30g
- Fiber: 1g
- Protein: 3g
- Cholesterol: 15mg
Keywords: S'mores, Bars, Dessert, Chocolate, Marshmallow, Graham Cracker, Baked Goods, Sweet Treat