
Oh, there is nothing, and I mean *nothing*, quite like that sound. You know the one—the satisfying little *pop* when you pull a jar from the fridge and open it up? That sharp, vinegary aroma hits you first, and then you grab that first vibrant green piece of pickled okra. It just screams summer preserved, doesn’t it? Now, I know what you’re thinking: pickling sounds complicated, like you need special equipment and a whole day blocked out. Nope! Not with this recipe. This is hands-down the simplest, crispiest way I’ve found to make perfect refrigerator pickles. Seriously, ditch the canner for this batch. This refrigerator method keeps the okra super snappy and doesn’t require the fuss of water baths. Trust me, once you taste these, you’ll never look back!
Why You Will Love Making Pickled Okra This Way
My favorite thing about this batch of pickled okra is how easy it is. We’re talking refrigerator pickles here—no complicated sealing or processing required! That means you get max flavor for minimum effort. It’s just so satisfying, too. You get this incredible crisp snap every single time. If you want more heat or different herbs, you can easily tweak it later!
- It guarantees a wonderfully crisp texture.
- Setup takes less than 30 minutes.
- You have total control over the spice level.
Quick Preparation Time for Pickled Okra
Seriously, look at the clock! You only need about 20 minutes of actual hands-on time to prep everything, and boiling the brine takes maybe five minutes tops, if that. This is a true quick pickle. You barely have time to put the kettle on before the jars are full and ready for the fridge!
Ingredients Needed for Perfect Pickled Okra
Okay, let’s talk about what you need for this batch of pickled okra. The short ingredient list is part of why I love this recipe so much! We are keeping things straightforward here—it’s all about getting that perfect, tart vinegar punch to cut through the earthy flavor of the okra. Don’t skip the pickling salt; regular table salt just won’t dissolve the same way, and we need a clean brine. If you want to check out some other savory, spicy items while you gather your things, I made a fantastic chili garlic sauce recently that is incredible!
Okra Preparation Notes for Pickled Okra
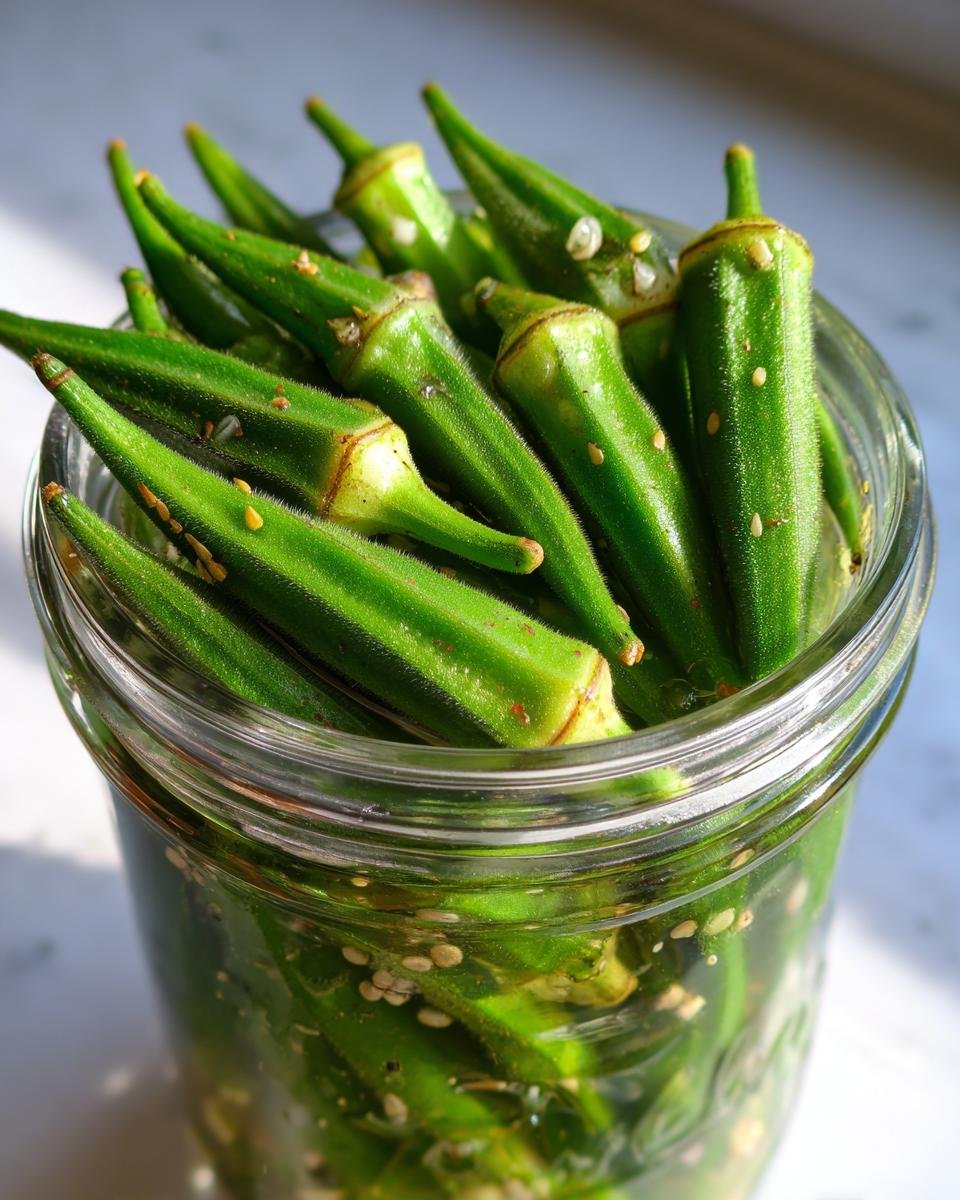
You absolutely must start with the best okra you can find. Look for pods that are small and young; they have the best chance of staying crisp. Before they go near the jar, you need to wash them well. Then, trim off the stems, but listen closely: leave the tips on! If you slice off the tips, the brine sneaks in too fast, and you end up with mush instead of a snappy pickle.

Spice and Flavoring for Your Pickled Okra
The flavor base is simple: dill seed and fresh garlic. Trust me, four cloves split between two jars is plenty to give that classic dill profile. Now, for the fun part: the kick! I put in one teaspoon of red pepper flakes because I like a little fire in my snacks. But if you aren’t a fan of heat, just leave those flakes out of your jars of pickled okra. It’s totally optional!
Step-by-Step Instructions for Refrigerator Pickled Okra
Alright, this is where the magic happens, but don’t worry, it’s all very straightforward. We’re not juggling hot water baths or doing any complicated moonlighting here! When you’re making refrigerator pickles, the important thing is to ensure the brine is hot enough to penetrate the okra quickly and dissolve everything perfectly. I always get my jars ready first, so I’m not scrambling once the brine is ready. If you’re looking for other great ways to quick-pickle things, you absolutely have to try my recipe for fresh pickled cucumber salad—it’s amazing!
Preparing the Brine for Pickled Okra
Time to mix up the liquid that gives our pickled okra its zing! In a small saucepan, you’re going to combine your two cups of white vinegar, two cups of water, and those two big tablespoons of pickling salt. Get this on the stovetop over medium-high heat. You need to bring it right up to a boil, but the crucial part is stirring constantly, even after it starts bubbling, until you see every last grain of that salt completely dissolve. Once it’s clear, take it off the heat immediately. We’ve seasoned our brine!
Packing Jars and Adding the Hot Brine for Pickled Okra
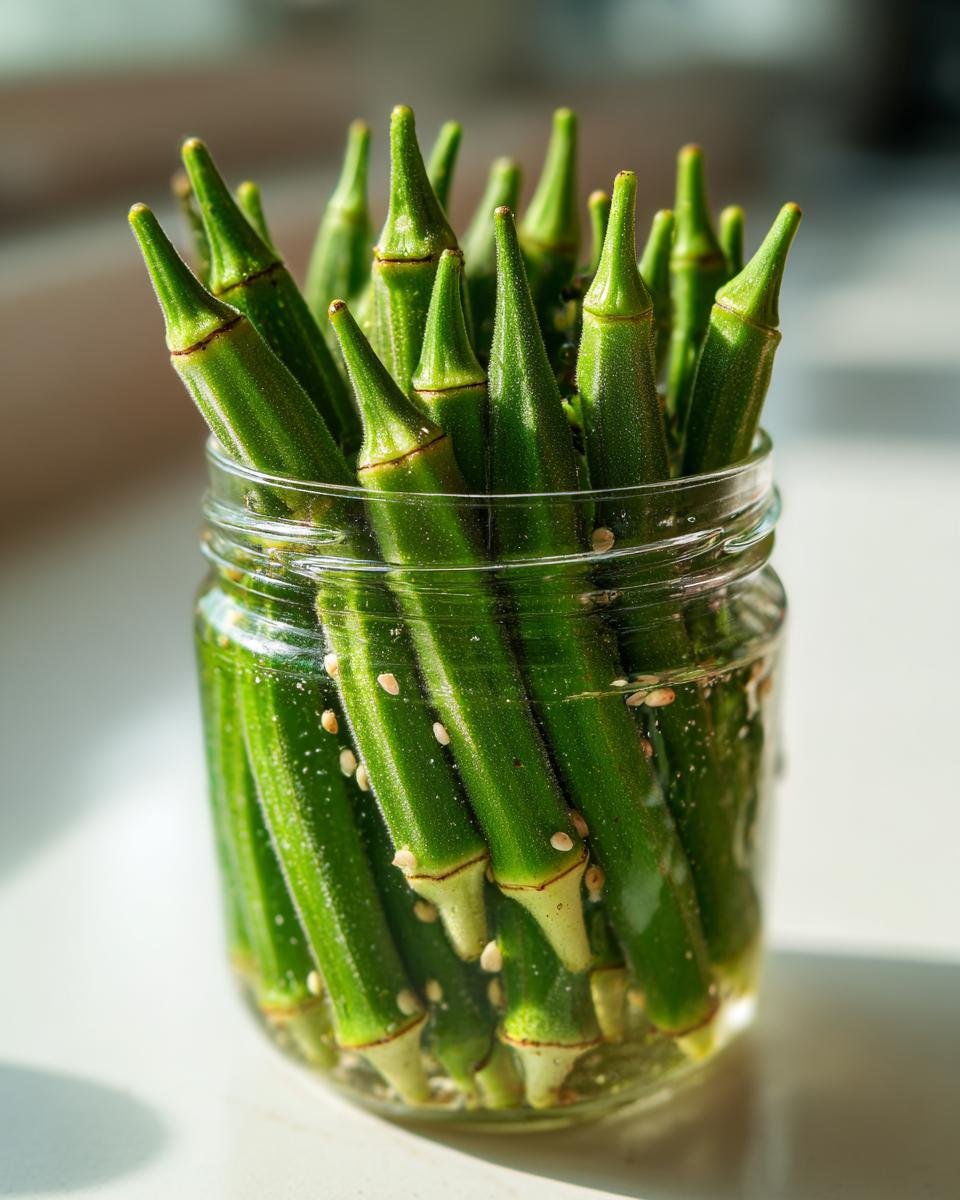
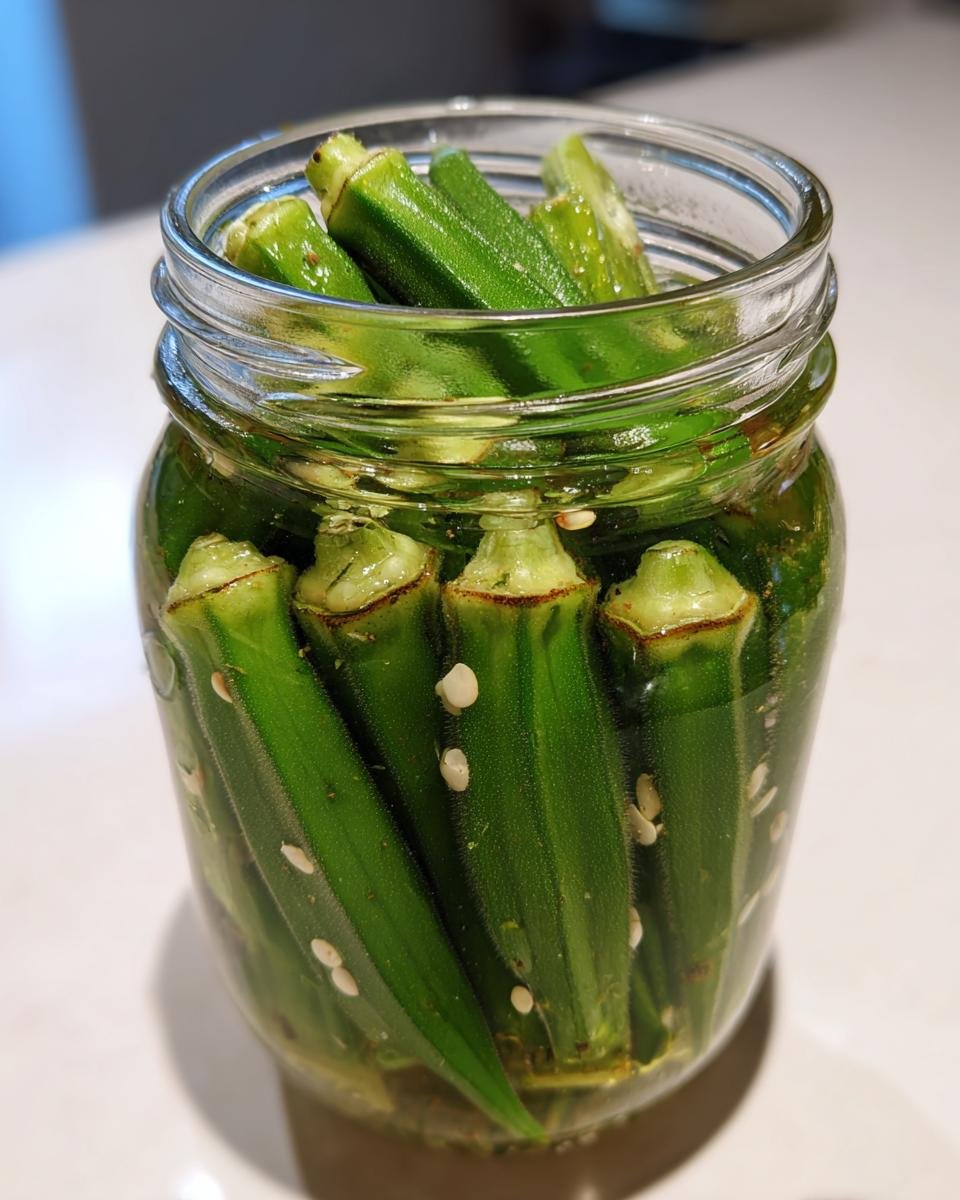
Now, grab those two clean pint jars. Into each one, drop half of your flavorings: half the garlic cloves, half the dill seed, and half of those optional red pepper flakes. Next, pack those trimmed okra pods in tightly! Stand them upright because that gives us a better look and feel for how packed they are. Once they’re snug, slowly pour that hot brine over the okra in each jar. Pour carefully, making sure you stop pouring when you have about 1/2 inch of space left at the very top—that’s called headspace, and it’s important! Give the bottom of the jars a gentle tap on the counter to let any trapped air bubbles escape. Screw those lids on tight, and you are done with the active cooking part!
The Crucial Waiting Period for Delicious Pickled Okra
Okay, this is the hardest part, truly! Our work is technically done once those lids are screwed on tight, but if you try to eat this pickled okra right away, I can’t promise you’ll love it. It tastes fine—vinegary, sure—but it hasn’t transformed yet. The brine needs time to really soak into that slightly spongy okra flesh and work its magic. It needs time to develop that signature tangy flavor and, most importantly, achieve that perfect, teeth-rattling crispness.
I know it’s tempting, especially if you’re making these on a hot summer day when you want a cold snack immediately. But you have to resist! You need to let these jars chill out in the back of your refrigerator. I am firm on this: wait for at least one full week before you crack one open. Seven days is the minimum time requirement for the acid and spices to penetrate the pods properly. If you can wait two weeks? Even better! Patience, my friend. That wait is what separates a decent pickled vegetable from an utterly addictive, crunchy snack!
Tips for Success When Making Pickled Okra
If you want your pickled okra to have that amazing snap that makes you want to eat the whole jar in ten minutes, you have to pay attention to a couple of tiny details. First off, I cannot stress this enough: use the freshest, smallest okra you can find. The bigger the pod, the tougher and seedier it gets, and that spells doom for crispness! Also, always use pickling salt; its purity ensures the brine stays clean and doesn’t have any anti-caking agents that can make things cloudy.
When you are pouring that hot brine over the pods, be gentle but firm when tapping out the air bubbles. You want nice, tight packing. Don’t worry about canning, but do make sure those lids seal well once they cool. If you’re looking for ways to use other preserved veggies, my recipe for the best green beans recipe has some fantastic flavor profiles you might want to try out next!
Flavor Variations for Your Pickled Okra
Just because this base recipe for pickled okra is so simple doesn’t mean we have to stick to just dill and garlic! I love playing around once I have the core brine nailed down. When you make your brine next time, think about swapping out some of the white vinegar for apple cider vinegar. It gives the final pickle a slightly fruitier, tangier edge that is seriously addictive. It’s a subtle change, but wow, it makes a difference!
If you’re out of dill seed or just want something different, try tossing a teaspoon of yellow mustard seed into the bottom of the jar along with the garlic and pepper flakes. It changes the whole profile; it makes the pickle taste a bit more robust and classic, almost like a deli pickle.
Also, don’t be afraid of fresh herbs if you have them lying around! A sprig of fresh thyme or even a couple of fresh oregano leaves tucked in beside the okra gives everything such a beautiful, clean aroma while it marinates in the fridge. I haven’t tried it yet, but I hear bay leaves work great too, especially if you’re leaving them to pickle for a couple of weeks. I tend to make a big batch once a month, and I usually dedicate one jar to an experimental flavor, just to see what sticks. If you are looking for another one of my easy, flavorful recipes, you should try my homemade ketchup recipe—it’s incredible on a burger alongside these spicy pickles!
Storage and Reheating Instructions for Pickled Okra
Okay, these are refrigerator pickles, which is why they are so simple to make, but that means they have a different storage life than canned items. The absolute most important thing you can do for your beautiful new pickled okra is keep them cold! We are not aiming to preserve these on a shelf; we are aiming for maximum crunch in the fridge.
As long as those jars stay sealed tightly and are kept in the cold environment of your refrigerator, they hold up really well. I always tell people they should easily last for about six to eight weeks. Honestly, I’ve forgotten about some jars way in the back, pulled them out after three months, and they were still great, but don’t push it if you can help it!
The moment you open a jar, the clock starts ticking a little faster. Once that seal is broken, try to get through that batch within three or four weeks for the absolute best texture. If the brine stays cloudy or you see anything funky floating around, toss it—but honestly, with the way these taste, you won’t make it that long!
And about reheating? Don’t even think about it! Putting heat on these is like signing a contract agreeing to mushy okra. We want them served ice cold, right out of the fridge. They are perfect that way alongside a sandwich or straight out of the jar while you’re cooking dinner. Keep them cold, keep them sealed, and they will keep you happy for weeks!
Frequently Asked Questions About Pickled Okra
I get so many questions about pickling because folks are sometimes nervous about doing it right, especially when we skip the formal canning steps. It’s smart to ask! Texture is usually the big worry, but once you know a couple of tricks, you’ll be an expert. If you’re looking for another easy recipe to try once your okra is done chilling, these candied carrots are a total crowd-pleaser!
Why are my pickled okra soft instead of crisp?
Oh, that’s the worst! Soft okra usually comes down to one of two crimes: either the okra itself wasn’t right, or the brine didn’t attack it hard enough. If you used old, large, tough okra pods, they won’t crisp up. You need young, tender pods! Also, did you use regular table salt? You must use pickling salt because other salts have additives that slow down the crisping process. Finally, make sure you’re using the full amount of vinegar specified. Acid equals crunch in pickling!
Can I can this pickled okra recipe?
That’s a big question! This recipe is specifically set up for refrigerator pickling, which means it’s quick, easy, and relies on cold storage for safety and texture. If you wanted to process these in a water bath canner for long-term shelf storage, you’d have to adjust the recipe significantly. You’d need to ensure the vinegar ratio is totally correct for safe canning, and the heat from the canning process itself often changes the fantastic crisp texture we worked so hard to achieve here. For now, I really only recommend this recipe for the fridge!
Serving Suggestions for Your Homemade Pickled Okra
Finally! The waiting is over, and you have a jar full of crisp, tangy pickled okra staring back at you. Now what? You have to celebrate by eating them, obviously! Since these are bright, acidic, and salty, they work incredibly well as a counterpoint to rich, fatty foods. They are totally an anytime snack, straight out of the jar, but I like to think of them as elevating just about anything else on the dinner plate.
When I make a big batch, my first instinct is always to pile them high on a sandwich. They add the perfect crunch and tang to BLTs or any kind of pulled pork or pulled chicken sandwich. Seriously, it’s a game-changer.
They are also fantastic on a cheese board; they just look so vibrant next to sharp cheddar or soft goat cheese. If you’re sitting down for a family meal, use them like you would celery or pickles—next to a rich casserole or barbecue. Or, if you’re looking for a side dish idea to go with your snacks, I have this creamy ranch taco pasta salad that would be perfect for a potluck where these pickles would vanish in an hour!

Simple Pickled Okra
- Total Time: 25 min
- Yield: 2 pints 1x
- Diet: Vegetarian
Description
A straightforward recipe for making crisp, tangy pickled okra at home.
Ingredients
- 2 pints fresh okra
- 2 cups white vinegar
- 2 cups water
- 2 tablespoons pickling salt
- 1 teaspoon dill seed
- 4 cloves garlic
- 1 teaspoon red pepper flakes (optional)
Instructions
- Wash the okra and trim the stems, leaving the tips intact.
- In a saucepan, combine the vinegar, water, and pickling salt. Bring the mixture to a boil, stirring until the salt dissolves. Remove from heat.
- Place 2 garlic cloves and half of the dill seed and red pepper flakes into two clean pint jars.
- Pack the okra tightly into the jars, standing them upright.
- Pour the hot brine over the okra in each jar, leaving about 1/2 inch headspace.
- Remove any air bubbles by tapping the jars gently. Seal the jars with lids.
- Let the jars cool to room temperature, then refrigerate for at least one week before eating.
Notes
- For best results, use fresh, young okra pods.
- If you prefer a spicier pickle, increase the amount of red pepper flakes.
- The okra will stay crisp for several weeks in the refrigerator.
- Prep Time: 20 min
- Cook Time: 5 min
- Category: Side Dish
- Method: Refrigerator Pickling
- Cuisine: American
Nutrition
- Serving Size: 4 pieces
- Calories: 10
- Sugar: 0.5
- Sodium: 250
- Fat: 0.1
- Saturated Fat: 0
- Unsaturated Fat: 0
- Trans Fat: 0
- Carbohydrates: 2
- Fiber: 1
- Protein: 0.5
- Cholesterol: 0
Keywords: pickled okra, okra recipe, refrigerator pickles, quick pickles, preserved vegetables