
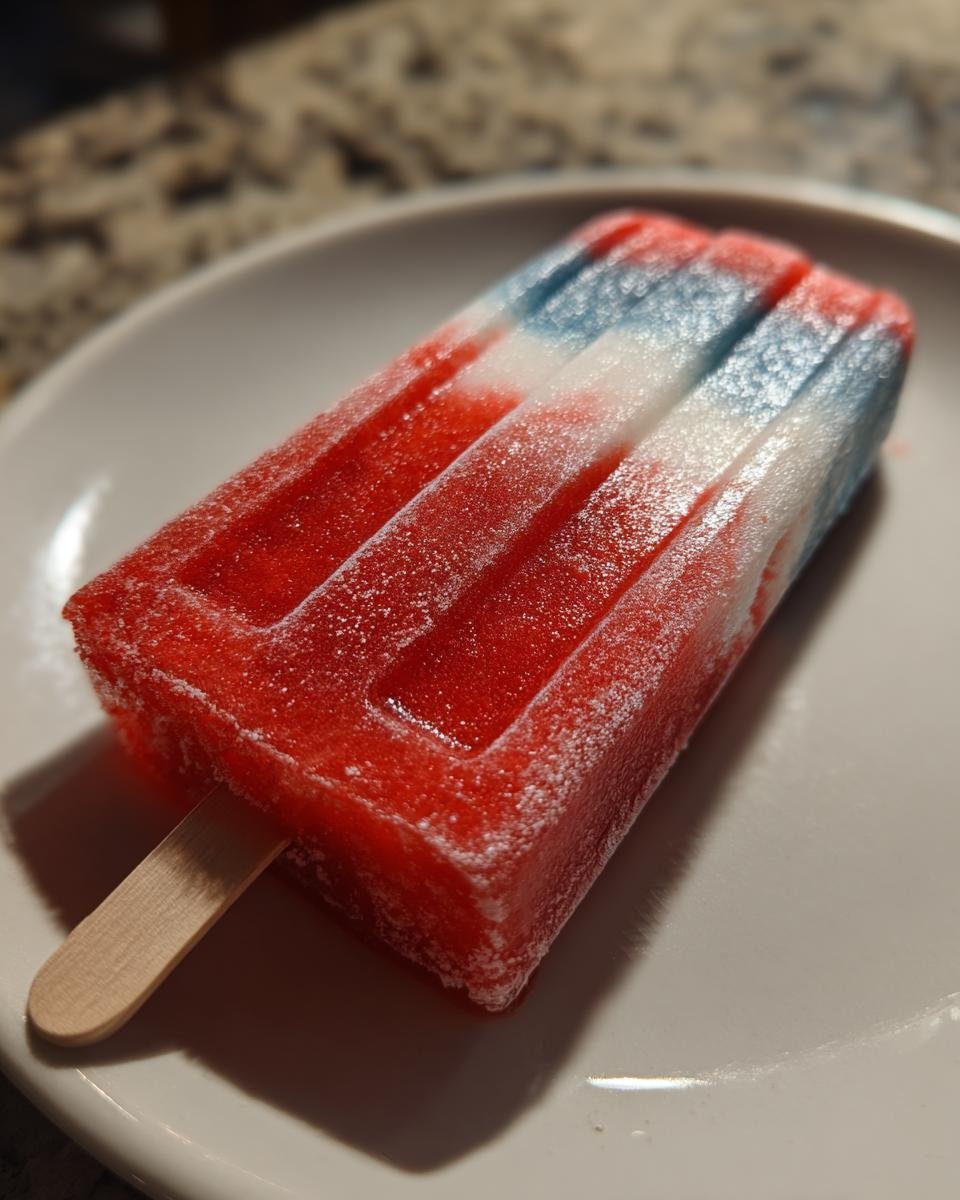
Okay, listen up! If you want to make something that screams summer fun, is ridiculously easy, and looks like you spent hours slaving away (you totally didn’t!), you HAVE to try these **Red, White & Blue Rocket Pop Popsicles**. Seriously. I stumbled onto making these a few years back when I needed a quick treat for a Fourth of July party, and they were such a hit, people still ask me for the recipe! They’re like those classic store-bought rocket pops you loved as a kid, but, you know, *better* because they’re homemade and bursting with real flavor.
Making these Red, White & Blue Rocket Pop Popsicles is honestly more fun than work. It’s mostly waiting for things to freeze, which gives you plenty of time to do something else… like maybe make another batch? Ha! The layers are so vibrant and festive, they just scream “celebration.” Whether it’s a backyard BBQ, a pool party, or just a Tuesday that feels like it needs a little extra sparkle, these popsicles are your answer. Trust me on this, they disappear fast!

Why You’ll Love These Red, White & Blue Rocket Pop Popsicles
Okay, so why *these* popsicles? Besides looking absolutely amazing, there are so many reasons you’ll fall head over heels for these **Red, White & Blue Rocket Pop Popsicles**! Here are just a few:
- They’re SO refreshing: Perfect for a hot day, they cool you down from the inside out.
- Crazy easy to make: Seriously, if you can layer things and wait, you can make these! No fancy skills needed.
- Instantly festive: That red, white, and blue just screams party time, perfect for any patriotic holiday or summer bash.
- Super fun: Both making them and eating them! Kids (and grown-ups!) get a kick out of the layers.
- Totally customizable: You can tweak the flavors a bit if you want, but the classic combo is a winner.
Basically, they’re a guaranteed crowd-pleaser that brings a little extra joy to any occasion!
Essential Ingredients for Your Red, White & Blue Rocket Pop Popsicles
Alright, let’s talk ingredients for these amazing **Red, White & Blue Rocket Pop Popsicles**. The beauty here is that we’re not dealing with anything crazy complicated. You probably have most of this stuff in your kitchen already! We’re keeping it simple to let those vibrant colors and fresh flavors shine through.
Here’s what you’ll need to grab:
- Fresh Strawberries: About a cup, sliced up and ready to become our lovely red layer.
- Granulated Sugar: Just a couple of tablespoons to sweeten those strawberries a little.
- Water: A quarter cup to help break down the strawberries in the saucepan.
- Vanilla Yogurt: One cup of creamy goodness for our white layer. Make sure it’s something you like the taste of on its own!
- Blue Raspberry Lemonade: A cup of this bright blue stuff for the final layer. The flavor is perfect for that ‘rocket pop’ vibe.
That’s it! See? Nothing scary. Just simple ingredients coming together to make something really special.
Ingredient Notes and Possible Substitutions
A few quick thoughts on the ingredients! You can totally play with the sugar amount in the strawberry layer – if your berries are super sweet, you might need less. For the red layer, feel free to swap strawberries for raspberries or even cherries (just pit them first!). If you don’t have vanilla yogurt, plain yogurt with a splash of vanilla extract works great for the white layer. Just make sure whatever yogurt you use is thick enough to hold its shape when frozen. Easy peasy!
Gathering Your Equipment for Red, White & Blue Rocket Pop Popsicles
Okay, before we get mixing, let’s make sure you’ve got the right gear. Nothing fancy needed, just a few basics! You’ll want a small saucepan for the strawberry bit, your popsicle molds (the fun part!), and enough popsicle sticks to go around. That’s pretty much it! See? Told you it was simple.
Crafting Your Red, White & Blue Rocket Pop Popsicles: Step-by-Step Guide
Alright, this is where the magic happens! Making these **Red, White & Blue Rocket Pop Popsicles** is all about layering and patience. Don’t rush it, and you’ll end up with beautiful, distinct stripes just like those classic rocket pops. We’re going to go layer by layer, making sure each one is set before moving on. It’s not hard, just takes a little time between steps. But totally worth it for the final result!
The biggest thing is making sure those layers are frozen solid before you add the next one. If you don’t, they’ll bleed into each other, and while they’ll still taste good, you won’t get those crisp lines. So, trust the process, and let’s get these patriotic beauties made!
Preparing the Red Layer for Your Red, White & Blue Rocket Pop Popsicles
First up is our vibrant red layer! Toss those sliced strawberries, sugar, and water into your small saucepan. Bring it to a gentle simmer over medium heat. Let it bubble away for about 5 minutes, stirring occasionally, until the strawberries are nice and soft. Take it off the heat and let it cool down completely. You don’t want to put hot fruit into your molds!
Freezing the White Layer for Your Red, White & Blue Rocket Pop Popsicles
Once your red layer is frozen solid (give it an hour or two!), it’s time for the white. Carefully spoon or pour the vanilla yogurt over the red layer, filling the mold about another third of the way. Try not to disturb the strawberry layer too much. Put the molds back in the freezer for another 1-2 hours, or until that yogurt layer is nice and firm.
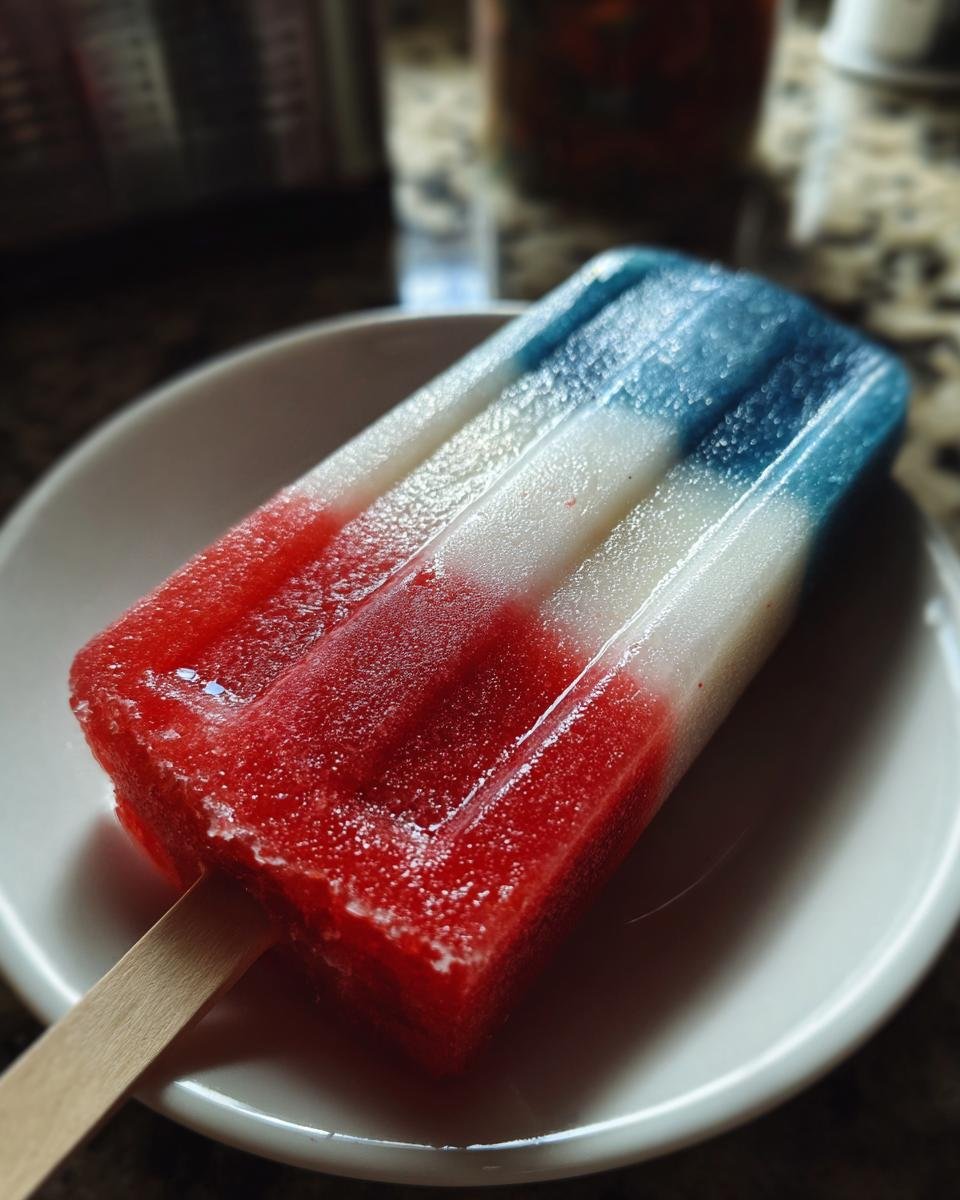
Adding the Blue Layer to Complete Your Red, White & Blue Rocket Pop Popsicles
Okay, last layer! When the white yogurt is totally frozen, grab your blue raspberry lemonade. Pour it gently into the top third of each mold. Now, slide your popsicle sticks into the center of each one. Pop the whole thing back in the freezer and let them freeze completely – this will take at least 4 hours, but leaving them overnight is best to be sure they’re totally solid.
Tips for Perfectly Layered Red, White & Blue Rocket Pop Popsicles
Getting those crisp, clean lines on your **Red, White & Blue Rocket Pop Popsicles** isn’t hard, but a few little tricks make all the difference! The absolute biggest tip? Patience! Make SURE each layer is totally frozen before adding the next. Like, *really* frozen. If it’s still slushy, the colors will bleed, and you won’t get that awesome striped effect.
When you’re adding the yogurt and blue lemonade, pour slowly and carefully. Don’t just glop it in! Using a small spoon to gently add the yogurt helps keep things neat. And for the sticks, make sure they go straight down into the center. If they’re off to the side, they can sometimes mess up the layers a bit. Little details, big results!
Frequently Asked Questions About Red, White & Blue Rocket Pop Popsicles
Okay, I know you might have a few questions popping up as you get ready to make these fun **Red, White & Blue Rocket Pop Popsicles**! Don’t worry, I’ve got you covered. Here are some common things people ask:
Q: How long do these frozen treats usually take to freeze solid?
A: While the individual layers only need an hour or two to firm up, you really need to give the finished popsicles at least 4 hours in the freezer to be totally solid. Overnight is even better to be safe!
Q: Can I use fresh fruit instead of lemonade for the blue layer?
A: Hmm, you could try blending blueberries with a little liquid, but getting that vibrant blue color and smooth texture might be tricky without straining. The blue raspberry lemonade really gives it that classic **rocket pop** flavor and color! Stick with the lemonade for the best results here.
Q: My layers aren’t staying separate! What went wrong?
A: Ah, this is the most common issue! It almost always means the previous layer wasn’t completely frozen before you added the next one. They need to be rock hard to prevent bleeding. Be patient with that freezer time!
Q: How do I get the popsicles out of the molds easily?
A: This is a great question! The best way is to run the outside of the mold under warm water for just 15-30 seconds. Don’t soak it! Just enough to loosen the edges, and they should slide right out. Easy peasy!
Hopefully, that clears things up! Now go make some amazing **Red, White & Blue Rocket Pop Popsicles**!
Storing and Enjoying Your Red, White & Blue Rocket Pop Popsicles
Once your amazing **Red, White & Blue Rocket Pop Popsicles** are completely frozen, you’ll want to store them properly so they stay perfect! The best way is to pop them out of the molds (a quick run under warm water helps them slide out easily!) and wrap each one individually in plastic wrap or place them in a freezer-safe bag or container. This keeps that nasty freezer burn away and keeps them tasting fresh.
Keep them tucked away in the freezer until you’re ready to enjoy that burst of layered goodness! They’ll last for several weeks, but honestly? They’re so good, they probably won’t stick around that long!
Estimated Nutritional Information
Just a quick note about the nutritional info you might see floating around for these! Please remember that any calories, sugar, etc., listed are just estimates. What you actually get can totally change depending on the specific brands of yogurt, lemonade, and even the sweetness of your strawberries. So, think of it as a general idea, not an exact science!
Share Your Red, White & Blue Rocket Pop Popsicle Creations
Okay, you’ve made them! I NEED to see how your **Red, White & Blue Rocket Pop Popsicles** turned out. Seriously! Did you love them? Did you make any fun tweaks? Leave a comment below and tell me all about it! And please, please share a pic on social media! Tag me so I can see your beautiful, layered masterpieces. Happy freezing!
Print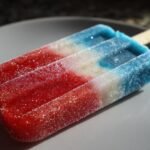
Red, White & Blue Rocket Pop Popsicles You NEED
- Total Time: 4 hours 25 minutes
- Yield: 6 popsicles 1x
- Diet: Vegetarian
Description
Homemade popsicles with red, white, and blue layers.
Ingredients
- 1 cup sliced fresh strawberries
- 2 tablespoons granulated sugar
- 1/4 cup water
- 1 cup vanilla yogurt
- 1 cup blue raspberry lemonade
Instructions
- Combine strawberries, sugar, and water in a saucepan.
- Bring to a simmer, then reduce heat and cook until strawberries are soft, about 5 minutes.
- Remove from heat and let cool slightly.
- Pour strawberry mixture into popsicle molds, filling about 1/3 of the way.
- Freeze for 1-2 hours, or until firm.
- Layer vanilla yogurt over the frozen strawberry layer, filling another 1/3 of the mold.
- Freeze for another 1-2 hours, or until firm.
- Pour blue raspberry lemonade over the yogurt layer, filling the remaining 1/3 of the mold.
- Insert popsicle sticks and freeze until completely solid, at least 4 hours or overnight.
Notes
- Adjust sugar to your preference.
- Use different fruits for variations.
- Ensure each layer is fully frozen before adding the next.
- Prep Time: 20 minutes
- Cook Time: 5 minutes
- Category: Dessert
- Method: Freezing
- Cuisine: American
Nutrition
- Serving Size: 1 popsicle
- Calories: 150
- Sugar: 25g
- Sodium: 30mg
- Fat: 2g
- Saturated Fat: 1g
- Unsaturated Fat: 0g
- Trans Fat: 0g
- Carbohydrates: 30g
- Fiber: 1g
- Protein: 3g
- Cholesterol: 5mg
Keywords: popsicles, red white blue, rocket pop, dessert, frozen treat