
Oh, the humble cookie! There’s just something about a freshly baked batch, still warm from the oven, that instantly transports you back to simpler times, isn’t there? For me, it’s the smell of vanilla and warm sugar wafting through the house. It’s pure comfort in edible form. And when we’re talking about classic cookies, there’s one that stands head and shoulders above the rest, especially around the holidays, but honestly, any time of year is perfect: the iconic Peanut Butter Blossoms.
I still remember the first time I ever tasted one. I was just a little kid, at my grandma’s house, and she pulled a tray of these beauties out of the oven. A soft, chewy peanut butter cookie with that perfect, melty chocolate kiss right in the middle? It was love at first bite, I tell you. That moment sparked my lifelong obsession with baking. These aren’t just cookies; they’re little bites of pure joy and nostalgia.
This recipe for Peanut Butter Blossoms isn’t complicated at all, which is part of its charm. It’s straightforward, uses simple ingredients you probably already have, and delivers big on flavor. Trust me, once you make these, they’ll become a go-to in your baking repertoire. Let’s get baking!

Why You’ll Love These Peanut Butter Blossoms
Okay, so why *these* Peanut Butter Blossoms? Well, besides being ridiculously delicious, they’re just so darn satisfying to make and eat! They hit all the right notes – that perfect balance of salty and sweet, the chewy cookie, and that melty chocolate center. Plus, they’re a total crowd-pleaser, I promise.
The Irresistible Charm of Peanut Butter Blossoms
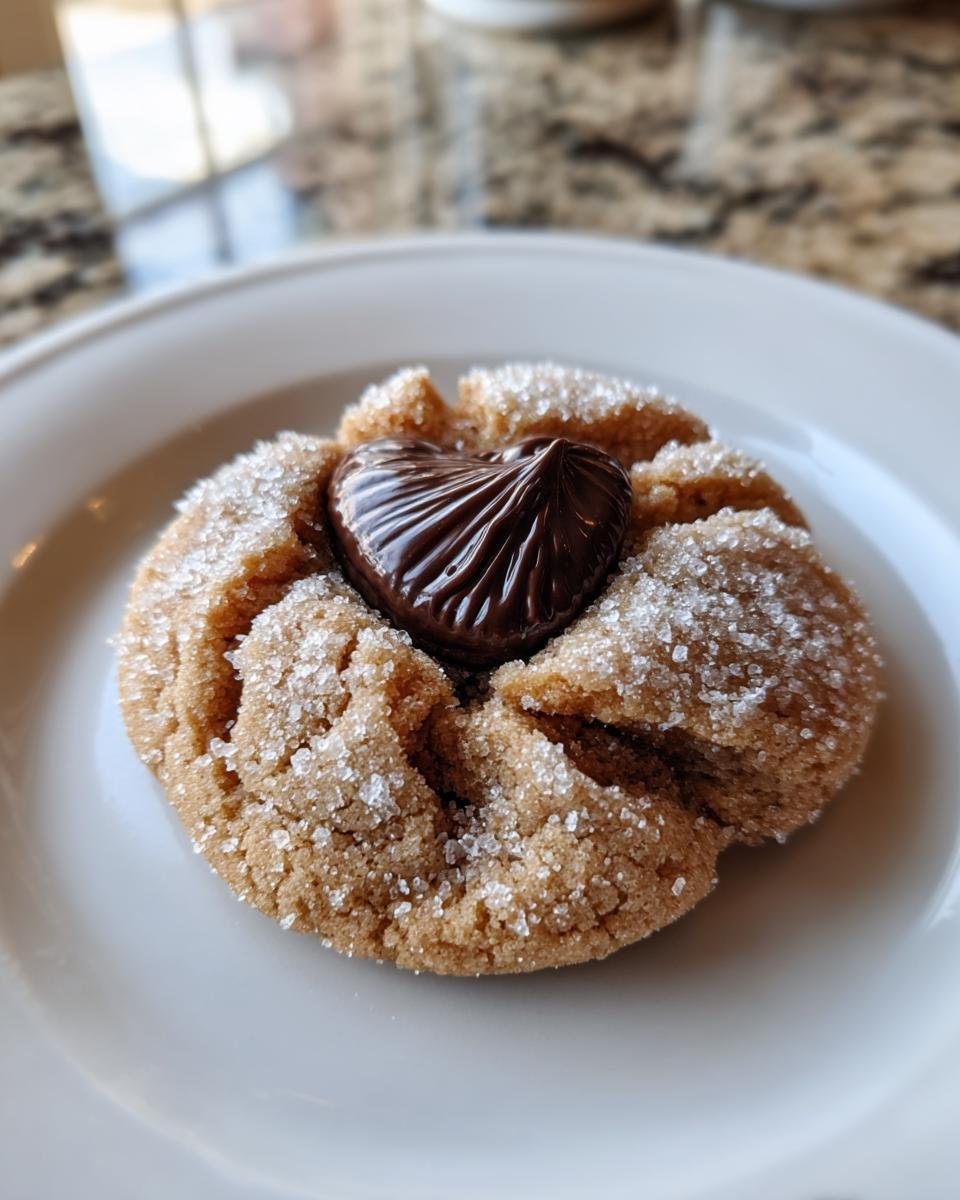
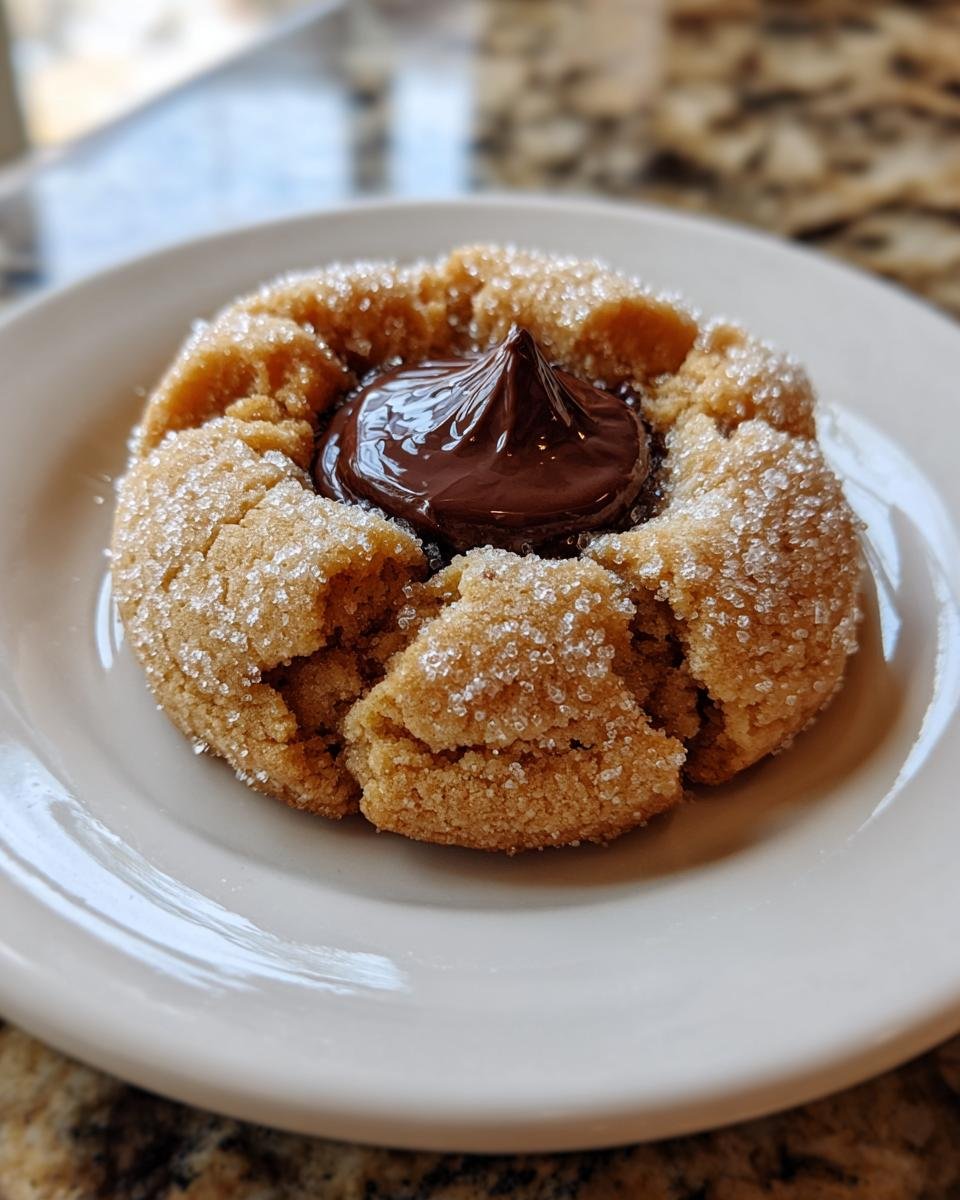
The magic really happens in the combination of textures and flavors. You get that soft, crumbly peanut butter cookie that just melts in your mouth, and then, BAM! That sweet, smooth chocolate kiss right in the middle. It’s like a little surprise in every bite, and who doesn’t love a good surprise?
- Nostalgic Comfort: They taste like childhood, pure and simple.
- Easy to Make: No fancy equipment needed, just basic baking skills!
- Perfectly Balanced: That sweet and salty combo is just *chef’s kiss*.
- Kid-Friendly: Little hands love helping roll the dough and, of course, eating them!
Perfect for Any Occasion
Honestly, is there ever a bad time for a Peanut Butter Blossom? I don’t think so! They’re like the chameleon of cookies. They fit right in at a fancy holiday cookie exchange, but they’re just as happy making an appearance on a Tuesday afternoon with a cup of coffee. Birthdays, potlucks, bake sales, or just a quiet night in – these cookies are always a hit. They travel well, they freeze beautifully, and everyone, I mean *everyone*, loves them. You really can’t go wrong!
Essential Ingredients for Perfect Peanut Butter Blossoms
Alright, let’s talk ingredients! Because even though this recipe is super simple, using the right stuff really makes a difference in those perfect Peanut Butter Blossoms. You don’t need anything fancy, but paying attention to a few little details will make your cookies absolutely shine. Trust me on this one!
Gathering Your Peanut Butter Blossoms Provisions
Think of this as gathering your baking superpower tools! Each ingredient plays a crucial role in giving these cookies their signature texture and flavor. We’re aiming for that classic soft, chewy, slightly crumbly cookie with just the right amount of peanut butter punch, and the chocolate melting perfectly into the center. It’s all about balance, right?
Key Components for Delicious Peanut Butter Blossoms
- Granulated Sugar & Light Brown Sugar: We’re using both! The granulated sugar helps with crispness around the edges, and the light brown sugar adds that lovely chewiness and a hint of molasses flavor. Don’t swap it for dark brown sugar unless you want a much heavier, chewier cookie.
- Unsalted Butter, Softened: This is non-negotiable! Softened butter (not melted!) is key for creaming properly with the sugars, which creates air pockets for that soft texture. I always take mine out of the fridge an hour or two before I plan to bake.
- Creamy Peanut Butter: Stick to the classic, processed creamy stuff here, like Jif or Skippy. Natural peanut butter (the kind you have to stir) can make the cookies too dry or crumbly because of the oil separation. We want that smooth, rich peanut butter flavor!
- Large Egg: Our binder! It brings everything together and adds moisture.
- Vanilla Extract: Just a teaspoon, but it really enhances all those wonderful flavors. Don’t skip it!
- All-Purpose Flour: Our main dry ingredient.
- Baking Soda: This is our leavening agent, giving the cookies a little lift and tenderness.
- Salt: So important! It balances the sweetness and really makes the peanut butter flavor pop.
- Hershey’s Kisses, Unwrapped: The iconic center! Make sure you unwrap them *before* you start baking. You’ll thank me later when you’re pulling hot cookies out of the oven!
- Extra Granulated Sugar, for Rolling: This gives the cookies that lovely sparkly, slightly crunchy exterior.
How to Make Classic Peanut Butter Blossoms
Okay, now for the fun part – actually making these amazing Peanut Butter Blossoms! Don’t be intimidated; this recipe is pretty straightforward, and I’m going to walk you through every step, just like I would with a friend standing right here in my kitchen. We’ll get those perfect cookies in no time!
Step-by-Step Guide to Baking Peanut Butter Blossoms
First things first, let’s get organized. This makes everything so much smoother, trust me. You want to have your ingredients measured out and ready to go before you even start mixing. It’s called “mise en place” in fancy chef terms, but for us home cooks, it just means less stress and more fun!
- Preheat your oven and prep your pans: Go ahead and set your oven to 375°F (190°C). While it’s heating up, grab a couple of baking sheets. I always line mine with parchment paper because it makes cleanup a breeze and ensures your cookies don’t stick. If you don’t have parchment, a light spray with non-stick cooking spray works too.
- Cream the wet ingredients: In a large mixing bowl, you’re going to combine your softened butter, granulated sugar, light brown sugar, and that creamy peanut butter. Use an electric mixer if you have one – it makes this step super easy. Beat them together on medium speed until the mixture is light, fluffy, and looks well combined. This usually takes about 2-3 minutes. Scrape down the sides of the bowl with a spatula a few times to make sure everything gets mixed in properly.
- Add the egg and vanilla: Once your butter and sugars are nice and creamy, crack in that large egg. Then, pour in the vanilla extract. Beat again until everything is just combined. Don’t overmix here; we just want it to come together.
- Whisk the dry ingredients: In a separate, medium-sized bowl, whisk together your all-purpose flour, baking soda, and salt. Give it a good whisk to make sure the leavening agent and salt are evenly distributed. This prevents pockets of unmixed ingredients in your cookies.
- Combine wet and dry: Now, gradually add your dry ingredient mixture to the wet ingredients in the large bowl. Start with about half, mix until just combined, then add the rest. Mix on low speed until everything is just incorporated. The key here is “just combined” – stop mixing as soon as you see no more dry streaks of flour. Overmixing develops the gluten in the flour, and we want tender cookies, not tough ones!
Forming and Baking Your Peanut Butter Blossoms
This is where your cookies really start to take shape! And remember those Hershey’s Kisses? Now’s the time to have them all unwrapped and ready. Trust me, you don’t want to be fumbling with wrappers when hot cookies are coming out of the oven!
- Roll the dough balls: Take your cookie dough and roll it into 1-inch balls. They don’t have to be perfectly uniform, but try to keep them roughly the same size so they bake evenly. I usually just eyeball it, but if you want to be precise, a small cookie scoop works wonders here.
- Sugar coat ’em: Pour that extra 1/4 cup of granulated sugar into a small, shallow bowl. Roll each cookie dough ball in the sugar until it’s nicely coated all over. This gives them that lovely sparkle and a little extra crunch on the outside.
- Arrange on baking sheets: Place your sugar-coated cookie dough balls on your prepared baking sheets, making sure to leave about 2 inches of space between each one. They will spread a bit, and we don’t want them to merge into one giant cookie monster!
- Bake to perfection: Pop those baking sheets into your preheated oven. Bake for 8-10 minutes. Here’s the trick: you want the edges to be lightly golden, but the centers should still look a little soft. Don’t overbake them! They’ll continue to set up as they cool, and pulling them out when they look slightly underdone is the secret to a perfectly soft and chewy blossom.
- The “Kiss” moment: This is the most crucial step! As soon as you pull the hot cookies out of the oven, immediately press one unwrapped Hershey’s Kiss firmly into the center of each cookie. The heat from the cookie will slightly melt the chocolate, making it adhere beautifully and get that signature soft, melty center. If you wait too long, the cookies will cool and the kisses won’t stick.
- Cool and enjoy: Let the cookies cool on the baking sheets for about 5 minutes. This gives them a chance to firm up a bit and prevents them from breaking when you move them. Then, carefully transfer them to a wire rack to cool completely. Or, if you’re like me, snag one while it’s still warm – that melty chocolate is divine!
Tips for Achieving the Best Peanut Butter Blossoms
So, you’ve got the basics down, but I’ve got a few extra little secrets for you to make sure your Peanut Butter Blossoms go from good to absolutely *unforgettable*. These are the things I’ve learned over countless batches, and they really do make all the difference!
Ensuring Your Peanut Butter Blossoms are Perfect
Listen up, because these next few tips are crucial for that perfect texture and those beautiful, melty chocolate centers. Trust me, you’ll thank me later!
- Don’t you dare overbake ’em! This is probably the number one mistake people make with these cookies. You want to pull them out of the oven when the edges are just barely golden and the centers still look a little soft, almost underbaked. They’ll continue to cook and set up on the hot baking sheet, and this is how you get that wonderfully soft, chewy texture. A minute too long, and they’ll be dry and crumbly. Nobody wants that!
- Speed is key with those Kisses! As soon as those cookies come out of the oven, start pressing in those unwrapped Hershey’s Kisses. Seriously, don’t waste a second! The hotter the cookie, the better the chocolate will melt and adhere to the center. If you wait too long, the cookies will cool, and the Kisses won’t stick properly, or they’ll just sit on top instead of nestling in beautifully.
Common Questions About Peanut Butter Blossoms
I know, I know, even with the best instructions, sometimes little questions pop up! Baking can be tricky, and every kitchen is a little different. So, here are some of the most common questions I get about Peanut Butter Blossoms, and my answers to help you troubleshoot or just get curious!
Troubleshooting Your Peanut Butter Blossoms
Don’t worry if your first batch isn’t absolutely perfect. We’ve all been there! These cookies are pretty forgiving, but here are a few things to keep in mind if you run into any snags.
Can I use crunchy peanut butter for Peanut Butter Blossoms?
Okay, so technically, yes, you *can* use crunchy peanut butter, but I honestly don’t recommend it for this classic recipe. The beauty of a traditional Peanut Butter Blossom is that smooth, melt-in-your-mouth texture of the cookie itself. Crunchy peanut butter will add little bits of peanut throughout, which changes that signature texture. If you love a little crunch, maybe try adding some finely chopped peanuts *after* you’ve got the smooth dough, but for the true Blossom experience, stick with creamy!
How do I store leftover Peanut Butter Blossoms?
If you actually have any leftover (which is a big “if” in my house!), storing them is super easy. Just pop them into an airtight container at room temperature. They’ll stay fresh and delicious for about 3-5 days. If you want them to last longer, you can store them in the fridge, but I find they taste best at room temp or slightly warmed.
Can I freeze Peanut Butter Blossoms dough?
Absolutely! This is a fantastic make-ahead tip for holiday baking or just when you want fresh cookies on demand. You can roll the dough balls, sugar-coat them, and then place them on a baking sheet in the freezer until they’re solid. Once frozen, transfer them to a freezer-safe bag or container. When you’re ready to bake, just place the frozen dough balls on your prepared baking sheet (no need to thaw!) and add a few extra minutes to the baking time. Don’t press the Kisses in until they come out of the oven, of course!
Storage and Reheating Your Peanut Butter Blossoms
Keeping Your Peanut Butter Blossoms Fresh
So, you’ve baked a batch (or five!) of these amazing Peanut Butter Blossoms, and somehow, you have some left over. Good for you! To keep them tasting their best, just pop them into an airtight container. They’ll be perfectly happy hanging out on your counter at room temperature for about 3 to 5 days. I usually don’t bother reheating them; they’re delicious just as they are, but if you want that melty chocolate feeling again, a quick 10-15 second zap in the microwave works wonders!
Estimated Nutritional Information for Peanut Butter Blossoms
Just a little note on the nutrition side of things for these Peanut Butter Blossoms! While I’ve included some estimated nutritional information based on general recipe calculations, please remember that these are just estimates. The actual values can totally vary depending on the specific brands of ingredients you use, how big your cookies turn out, and even slight changes in your measurements. So, think of this as a helpful guide, not a precise scientific breakdown!
Share Your Peanut Butter Blossoms Success!
Well, there you have it! Your very own batch of classic Peanut Butter Blossoms, just like Grandma used to make (or maybe even better, shhh!). I really hope you loved making and, of course, eating these little bites of joy. If you whip up a batch, please, *please* let me know! Drop a comment below, rate the recipe, or even better, snap a photo and share it on Instagram or Facebook. Tag me, I’d absolutely love to see your beautiful creations!
Print
Peanut Butter Blossoms: 1 Secret for amazing cookies
- Total Time: 30 minutes
- Yield: 48 cookies 1x
- Diet: Vegetarian
Description
Classic peanut butter cookies with a chocolate kiss in the center.
Ingredients
- 1/2 cup granulated sugar
- 1/2 cup packed light brown sugar
- 1/2 cup unsalted butter, softened
- 1/2 cup creamy peanut butter
- 1 large egg
- 1 teaspoon vanilla extract
- 1 3/4 cups all-purpose flour
- 1 teaspoon baking soda
- 1/2 teaspoon salt
- 48 Hershey’s Kisses, unwrapped
- 1/4 cup granulated sugar, for rolling
Instructions
- Preheat oven to 375°F (190°C). Line baking sheets with parchment paper.
- In a large bowl, cream together granulated sugar, brown sugar, butter, and peanut butter until light and fluffy.
- Beat in the egg and vanilla extract until well combined.
- In a separate bowl, whisk together flour, baking soda, and salt.
- Gradually add the dry ingredients to the wet ingredients, mixing until just combined.
- Roll dough into 1-inch balls. Roll each ball in granulated sugar to coat.
- Place cookies 2 inches apart on prepared baking sheets.
- Bake for 8-10 minutes, or until edges are lightly golden.
- Immediately press a Hershey’s Kiss into the center of each hot cookie.
- Let cool on baking sheets for a few minutes before transferring to a wire rack to cool completely.
Notes
- Ensure butter is softened for easy creaming.
- Do not overbake the cookies; they will continue to set as they cool.
- Press the chocolate kisses into the cookies while they are still hot to ensure they adhere and slightly melt.
- Prep Time: 20 minutes
- Cook Time: 10 minutes
- Category: Dessert
- Method: Baking
- Cuisine: American
Nutrition
- Serving Size: 1 cookie
- Calories: 120
- Sugar: 12g
- Sodium: 70mg
- Fat: 6g
- Saturated Fat: 3g
- Unsaturated Fat: 2g
- Trans Fat: 0g
- Carbohydrates: 15g
- Fiber: 1g
- Protein: 2g
- Cholesterol: 10mg
Keywords: peanut butter, chocolate, cookies, dessert, classic