
Oh my gosh, are you tired of lugging out that big, bulky ice cream maker every time a craving hits? Me too! I used to think perfectly creamy, decadent ice cream was strictly reserved for those who owned fancy gadgets. Then, I discovered the magic of the two-ingredient base, and my life changed forever. Seriously, this recipe for No Churn Vanilla Ice Cream Rainbow Sprinkles is pure genius. It tastes so rich, yet it requires zero churning time—just a little freezer patience. I keep telling my friends, this is the recipe that finally convinced me I didn’t need to buy a standalone ice cream machine!

Why You Will Love This No Churn Vanilla Ice Cream Rainbow Sprinkles Recipe
Honestly, this recipe is a total game-changer for summer desserts. I mean, who doesn’t want fantastic ice cream development without the gadget hassle? Here’s why it’s quickly become my go-to:
- The texture is unbelievably smooth—no icy chunks here, I promise!
- It comes together so fast; half the work is waiting for the freezer.
- You get the fun factor of colors and crunch in every scoop.
If you need even more inspiration for easy cold treats, check out this loaded no-churn Snickers ice cream or my notes on the Ninja Creami Vanilla Ice Cream Recipe if you eventually get an appliance!
Incredibly Creamy Texture Without Churning
The way the heavy cream whips up and then gently merges with the sweetened condensed milk creates this perfect structure. It traps all that beautiful air so you get that smooth, velvety mouthfeel that really tastes like it came from a top-tier scoop shop.
Simple Ingredients for No Churn Vanilla Ice Cream Rainbow Sprinkles
You only need four things for the whole batch of No Churn Vanilla Ice Cream Rainbow Sprinkles! That’s it. It’s stocked primarily with heavy cream, condensed milk, vanilla, and the fun sprinkles. It proves you don’t need five different components to make something spectacular.
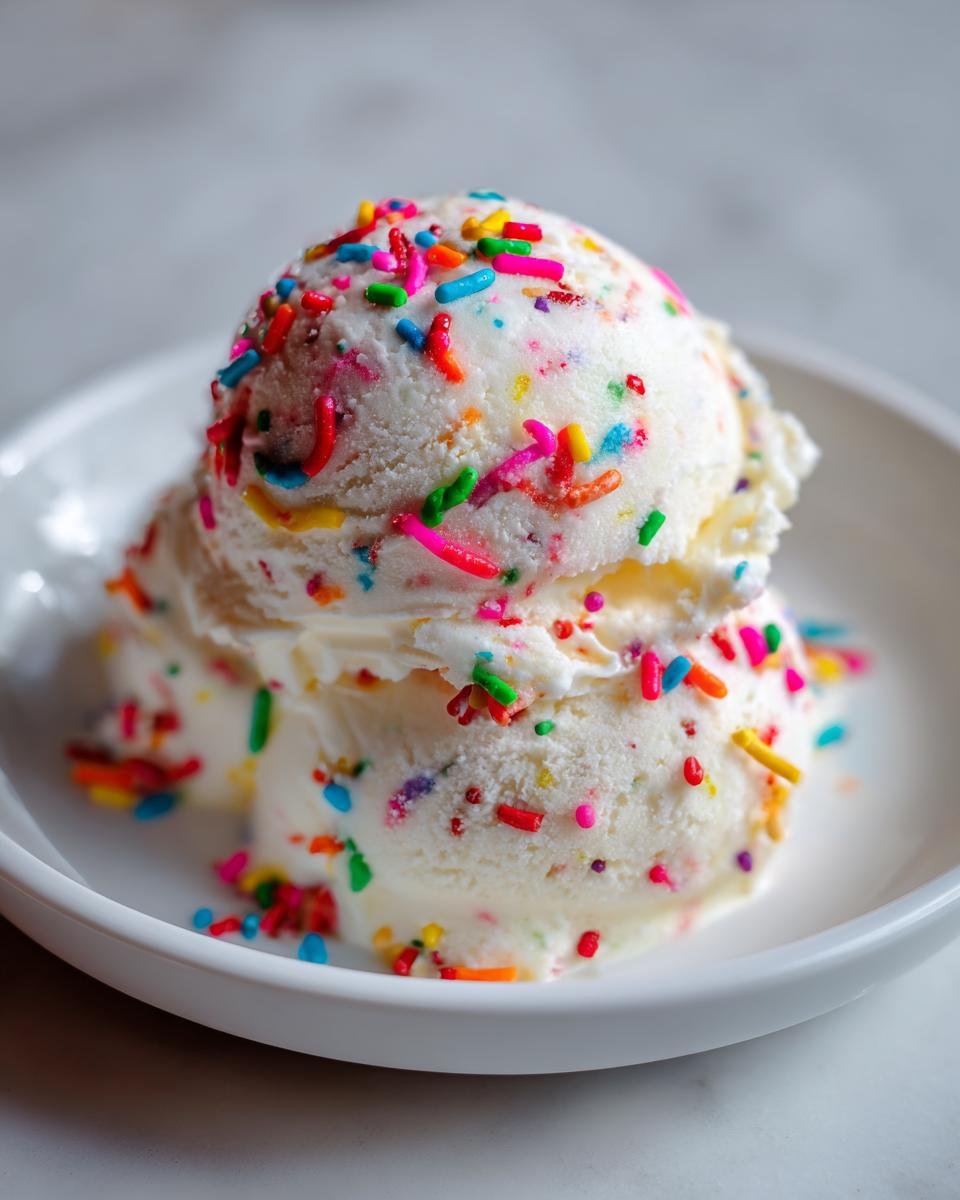
Visually Appealing Dessert
The rainbow sprinkles turn this creamy vanilla base into a party in a bowl! They look so cheerful, and frankly, they make even the simplest dessert feel special. Kids go absolutely wild for them, and they are perfect tossed into a big bowl when company drops by unexpectedly.

Essential Ingredients for No Churn Vanilla Ice Cream Rainbow Sprinkles
This recipe relies on just a few workhorses, but you have to treat them right! When I first tried this, I rushed it, and my ice cream was just okay. Trust me, the secret to that decadent texture comes down to temperature control on two main items. You’ll need your heavy whipping cream and your sweetened condensed milk to be genuinely chilled straight from the fridge for maximum payoff when you start whipping.
We get amazing results out of just four primary things, which you can see listed out in the main recipe card sections. I always try to have these on hand because a sudden dessert emergency is a real thing!
Ingredient Notes and Substitutions for No Churn Vanilla Ice Cream Rainbow Sprinkles
Okay, let’s talk specifics on these simple necessities for your No Churn Vanilla Ice Cream Rainbow Sprinkles. Rule number one: your heavy whipping cream has to be ice cold. If it’s even slightly warm, it won’t whip up to those stiff peaks we need to trap the air!
The sweetened condensed milk goes in by the can, so keep that measurement exact; don’t try to use evaporated milk or anything else—you need that sugar content for texture. For the vanilla, use the best quality you have; it really stands out here because there aren’t a ton of competing flavors. And yes, the rainbow sprinkles are crucial for the look, but if you’re making it for grown-ups, you can totally swap them out for mini chocolate chips or chopped salted pretzels, just like my little cheat sheet mentions!
If you want to practice getting that perfect whip before you start, you should check out my tips for an easy whipped cream recipe!
Equipment Needed for Your No Churn Vanilla Ice Cream Rainbow Sprinkles
The best part about this recipe, besides the no-churn magic, is that you don’t need anything fancy in the appliance department! Seriously, clean out that junk drawer because you are going to need your electric mixer, though. If you have a stand mixer, great, but my hand mixer works perfectly fine for this job.
Here’s the short list of things you absolutely need gathered before you even open the cream carton:
- An electric mixer (handheld or stand mixer).
- A very large, chilled mixing bowl—this is key!
- A rubber spatula for folding things together gently.
- A freezer-safe container. I usually just grab a standard metal loaf pan, but any container that seals well works.
Getting your bowl and whisk attachments into the freezer for about 15 minutes beforehand makes a huge difference when whipping that heavy cream. It’s a small step, but trust me, it helps everything come together faster and keeps the air locked in!
Step-by-Step Instructions for Perfect No Churn Vanilla Ice Cream Rainbow Sprinkles
Alright, this is where the magic happens, but you have to move with a little bit of grace here! Remember, we are intentionally capturing air in the cream, so we don’t want to lose it by stirring like we’re mixing cement. Before you even think about turning the mixer on, make sure that big bowl and your whisk setup have spent at least 15 minutes chilling out in the cold zone of your freezer. Time your prep perfectly so that when the cream is ready, your other little mixture is waiting nearby!
Whip the Cream to Stiff Peaks
Go ahead, pour in that cold heavy whipping cream. Start slow, then crank that mixer up to medium-high. You’re looking for what we call ‘stiff peaks.’ How do you know when you hit it? When you lift the whisk attachment out of the cream, the peaks that stand up should look like little sharp mountain tops and shouldn’t droop at all. If they flop over, keep whipping! This usually takes me a solid 3 to 5 minutes, depending on how cold everything was when I started.
Combine Base and Fold in Whipped Cream
While that heavy cream is getting fluffy, whisk your cold sweetened condensed milk with the vanilla extract in a separate bowl. Now for the gentle part: take about one-third of your beautiful, stiff whipped cream and fold it into the condensed milk base. This step is key—it lightens the base so it won’t immediately deflate the rest of the whipped cream when you add it. Once that first third is incorporated, very carefully fold in the remaining cream. Seriously, use that spatula like you’re tucking in a baby; we absolutely cannot overmix, or we lose the airy texture we worked so hard for in our No Churn Vanilla Ice Cream Rainbow Sprinkles base!
Incorporate Sprinkles and Freeze the No Churn Vanilla Ice Cream Rainbow Sprinkles
Once everything is just combined—still looking light and fluffy—time to add the crunch! Gently fold in half of your rainbow sprinkles. You don’t want to knock all the air out trying to evenly distribute them here. Then, transfer the whole beautiful mixture straight into your loaf pan or freezer-safe container. Sprinkle the rest of those colorful little guys right on top for that final visual pop. Cover that container super tightly, and into the freezer it goes for at least 6 hours minimum. That deep freeze is what sets this No Churn Vanilla Ice Cream Rainbow Sprinkles so perfectly!
If you love colorful mix-ins, you’ve got to see how I use sprinkles in my Funfetti Cake Ice Cream sometime for a different twist!
Tips for the Best No Churn Vanilla Ice Cream Rainbow Sprinkles Results
Even though this recipe is straightforward, a few expert tricks will take your homemade ice cream from good to absolutely breathtaking. My biggest piece of advice, which I learned the hard way, is patience during the freezing stage. Don’t rush it by checking it every hour!
And listen, when you pull this gorgeous No Churn Vanilla Ice Cream Rainbow Sprinkles out to serve, resist the urge to scoop immediately. That freezer time makes it rock hard! Let it sit on the counter for about 5 to 10 minutes—just long enough for it to soften slightly so a scoop slides through without an arm workout. Trust me on this softening time!
Achieving Maximum Volume When Whipping
When you are whipping that heavy cream, remember: you want the bowl and the beaters to be frosty cold. That helps the fat molecules hold onto air better, giving you way more volume. Also, make sure there isn’t a single speck of grease or water in your bowl; that stuff works against whipping cream! Don’t be tempted to stop whipping once it starts looking thick; push it right to those stiff peaks we talked about for the best, fluffiest final texture.
Storing Your Homemade No Churn Vanilla Ice Cream Rainbow Sprinkles
To keep those pesky ice crystals away—which ruin the smoothness—you have to seal your container up tight! I learned that lining the surface of the ice cream with plastic wrap *before* putting the lid on traps any loose air, which is where ice crystals like to form. This method keeps your batch of No Churn Vanilla Ice Cream Rainbow Sprinkles tasting fresh and creamy for weeks. If you’re feeling extra fancy, you can even check out how I make this easy whipped cream recipe for topping!
Variations on No Churn Vanilla Ice Cream Rainbow Sprinkles
The beauty of this base recipe—heavy cream and condensed milk—is that it’s basically a canvas waiting for your artistic flair! While I adore the classic sprinkle situation, it’s so much fun customizing it, especially if you have picky eaters who don’t love rainbows.
If you’re looking to spice things up, remember the recipe notes suggested swapping out the rainbow situation. Why not try mini peanut butter cups or even crushed bits of your favorite cookies? Think about what flavors you love together!
For something richer, you can certainly fold in a cup of small chocolate chips. Just make sure they are smaller chips so they distribute nicely and don’t freeze into big hard chunks. A totally different vibe is using crushed pretzels; the salty crunch against the sweet vanilla is seriously addictive. If you’re interested in another great chocolate dip recipe, you should check out my notes on chocolate chip cookie dough dip—similar flavors, different textures!
And hey, if you’re not into vanilla, you can easily change the extract! Pop in some almond extract, or even a teaspoon of pure peppermint extract for a seasonal treat. Just remember, whatever powerful flavor you add, you are still relying on that same incredible base to keep everything smooth!
Serving Suggestions for No Churn Vanilla Ice Cream Rainbow Sprinkles
Even though this No Churn Vanilla Ice Cream Rainbow Sprinkles is amazing all on its own, sometimes you just need something extra on the side, you know? It’s so versatile because the vanilla flavor is classic, which means it pairs beautifully with almost any cozy dessert you can think up.
My absolute favorite decadent pairing, especially when it’s chilly outside, is serving a giant scoop right on top of a warm, fudgy homemade brownie. The contrast between the cold, creamy ice cream and the warm, gooey chocolate is heaven on Earth. When that sprinkle goodness starts to melt just a little into the brownie, wow! It’s a winner every time.

If you are going for a fresher, lighter vibe, fresh fruit is perfect. Think sliced strawberries or even just some vibrant blueberries. The slightly tart fruit cuts through the richness of the condensed milk base really nicely. If you need a quick, no-fuss warm chocolate element, I highly recommend whipping up that chocolate chip cookie delight I shared—it makes an incredible topping sauce for drizzling right over the top!
Whatever you serve it with, just remember to let that beautiful No Churn Vanilla Ice Cream Rainbow Sprinkles sit out for about five minutes first so it’s easily scoopable!
Frequently Asked Questions About No Churn Vanilla Ice Cream Rainbow Sprinkles
I get so many questions about this recipe—it’s just that popular! People always want to know how to troubleshoot texture issues or how long they can store their glorious creation. I totally get it; when you make something this yummy, you want it to last, and you want that creamy texture every single time!
I’ve gathered the questions I hear most often about making perfect No Churn Vanilla Ice Cream Rainbow Sprinkles. If you need more easy dessert ideas, I have tons on my easy no-bake cake recipes page, too!
Can I use regular milk instead of heavy cream for this no churn recipe?
Oh, please don’t try to swap the heavy cream for regular milk, you’ll end up with sugary milk slush! The structure of this recipe absolutely relies on the high fat content in the heavy whipping cream. When you whip it, that fat creates the thousands of tiny air pockets that make it taste like real ice cream. Milk just doesn’t have the fat structure to hold that air when it freezes, so you’d end up with a thin, icy block instead of the decadent No Churn Vanilla Ice Cream Rainbow Sprinkles we are aiming for!
How long does homemade no churn ice cream last in the freezer?
Because we aren’t using artificial stabilizers, homemade ice cream is best enjoyed sooner rather than later for the absolute highest quality. If you seal it up really well, following my advice on covering the surface with plastic wrap, it will stay fantastic for about two weeks. After that, you might start noticing a little texture change from freezer burn on the sides, but honestly, mine never lasts that long!
What is the best way to make the rainbow sprinkles mix in evenly?
This goes back to being gentle! The key to even distribution without destroying all your hard work whipping the cream is folding, not stirring. Fold about half of the sprinkles in when the base is slightly lightened, right before you add the rest of the whipped cream. Then, gently fold the last half of the sprinkles in with the very last incorporation of the whipped cream. Use slow, deliberate cutting motions with your spatula—that way, they spread throughout the batter without squishing all the air out!
Nutritional Estimates for No Churn Vanilla Ice Cream Rainbow Sprinkles
Okay, so this is the part where we talk about the good stuff that’s in our delicious homemade dessert! I always tell people this is a treat, let’s be honest, but knowing the numbers is helpful for keeping balance. I ran the ingredient list through a standard calculator to give us a general idea of what we are looking at per serving.
Please remember these are just estimates, guys! The actual breakdown can change a tiny bit based on the specific brands of heavy cream or sweetened condensed milk you grab off the shelf—that happens when you’re cooking homemade!
Here are the snapshots based on a standard 1/2 cup serving size:
- Calories: About 350
- Sugar: Roughly 35 grams
- Total Fat: Around 21 grams
- Protein: About 5 grams
- Carbohydrates: We are looking at about 38 grams total
- Cholesterol: In the ballpark of 75 mg
Since this recipe relies heavily on dairy, you’ll notice the fat content reflects that beautiful richness we love, but it’s all worth it for that creamy scoop, wouldn’t you agree? Enjoy your No Churn Vanilla Ice Cream Rainbow Sprinkles!
Print
No Churn Vanilla Ice Cream with Rainbow Sprinkles
- Total Time: 6 hr 15 min
- Yield: 6 servings 1x
- Diet: Vegetarian
Description
Make creamy vanilla ice cream without an ice cream maker, finished with colorful rainbow sprinkles.
Ingredients
- 2 cups heavy whipping cream, cold
- 1 (14 ounce) can sweetened condensed milk, cold
- 1 tablespoon vanilla extract
- 1/2 cup rainbow sprinkles
Instructions
- Chill a large bowl and whisk attachments in the freezer for 15 minutes.
- Pour the cold heavy whipping cream into the chilled bowl.
- Beat the cream with an electric mixer on medium-high speed until stiff peaks form. This takes about 3 to 5 minutes.
- In a separate bowl, mix the cold sweetened condensed milk and vanilla extract.
- Gently fold about one-third of the whipped cream into the condensed milk mixture to lighten it.
- Carefully fold the remaining whipped cream into the mixture until just combined. Do not overmix.
- Gently fold in half of the rainbow sprinkles.
- Pour the mixture into a freezer-safe container, like a loaf pan.
- Sprinkle the remaining rainbow sprinkles over the top.
- Cover the container tightly with plastic wrap or a lid.
- Freeze for at least 6 hours, or until firm.
- Scoop and serve.
Notes
- For easier scooping, let the ice cream sit at room temperature for 5 to 10 minutes before serving.
- You can use different colored sprinkles or mix-ins like chocolate chips instead of rainbow sprinkles.
- Prep Time: 15 min
- Cook Time: 0 min
- Category: Dessert
- Method: Freezing
- Cuisine: American
Nutrition
- Serving Size: 1/2 cup
- Calories: 350
- Sugar: 35
- Sodium: 55
- Fat: 21
- Saturated Fat: 13
- Unsaturated Fat: 8
- Trans Fat: 0.5
- Carbohydrates: 38
- Fiber: 0
- Protein: 5
- Cholesterol: 75
Keywords: no churn ice cream, vanilla ice cream, rainbow sprinkles, easy dessert, homemade ice cream