
Oh, the sheer joy of scooping into homemade ice cream, right? Forget everything you think you know about churning. Seriously, if you’ve ever looked at an ice cream machine and thought, “Too much effort,” or maybe you just don’t have the counter space—I totally get it! That’s why I’m letting you in on my absolute favorite trick for bringing the ice cream parlor home.
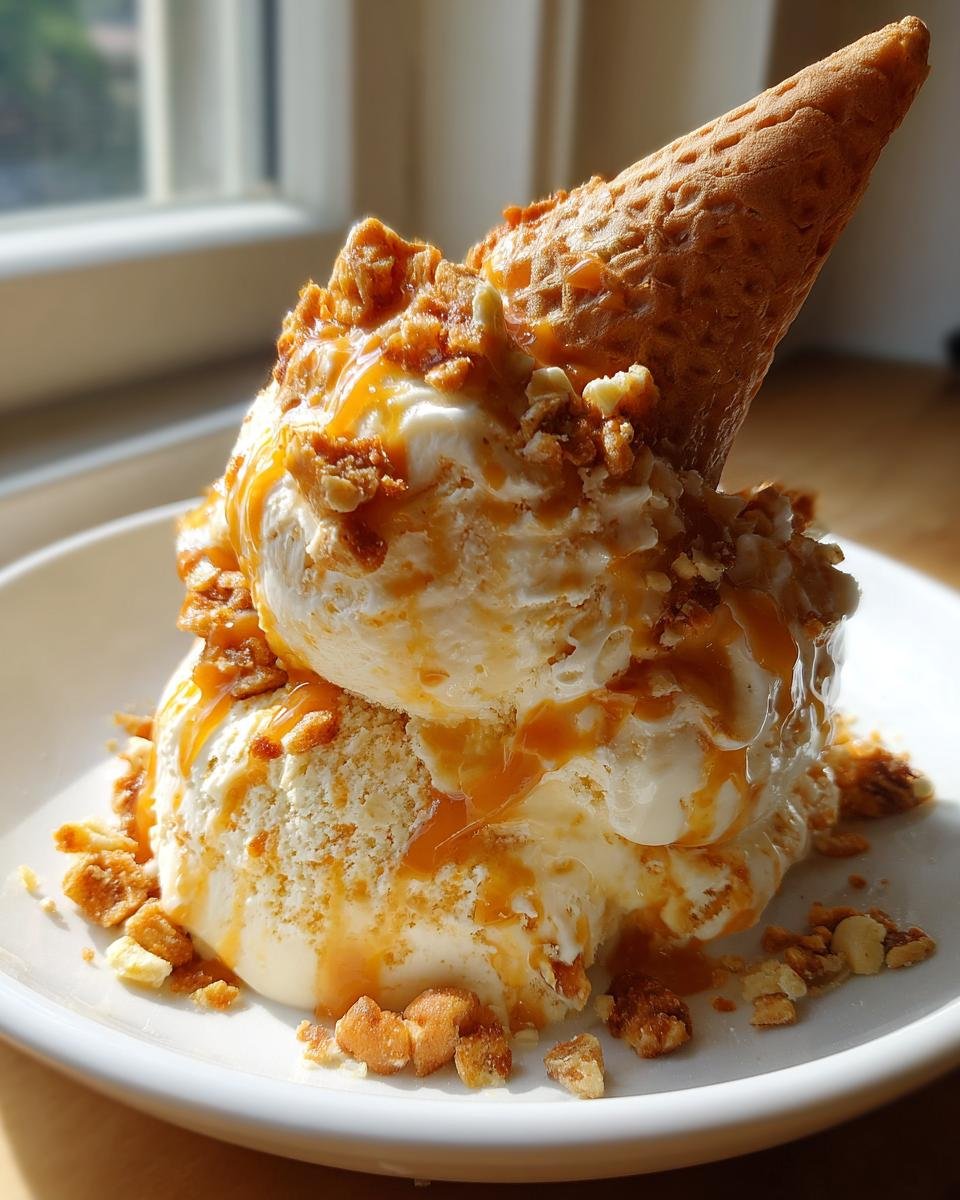
I remember being a kid, scraping the last bit of sticky caramel out of an upside-down ice cream cone. That sweet, crunchy texture mixed with the cold, creamy stuff? Pure magic. Well, you can capture that memory right now and make the richest, creamiest No Churn Caramel Cone Ice Cream you’ve ever tasted, and guess what? No machine required. It’s dangerously easy, ridiculously delicious, and it just proves that the best desserts don’t need complicated gadgets. Trust me, once you see how simple this two-ingredient base is, you’ll be making batches every weekend!
Why This No Churn Caramel Cone Ice Cream Recipe Works
Honestly, everyone assumes homemade ice cream has to be a huge fuss involving special equipment, but that’s just not true anymore! This recipe consistently delivers that smooth, luscious texture you crave without wrestling with an ice cream maker. It’s reliable every single time, which is why I never worry when friends ask for this recipe. If you ever find yourself stuck without an ice cream maker but needing a treat, remember that you can always check out how others tackle similar frozen desserts, like going the high-tech route with a Ninja Creami vanilla ice cream experiment, but my way is just faster!
- It requires zero specialized machinery—just a hand mixer or even a sturdy whisk if you’re feeling ambitious!
- The results are incredibly stable; you won’t end up with icy shards, just pure, rich frozen smoothness.
- We get that perfect caramel swirl baked right in!
Effortless Creaminess: The No Churn Secret
The secret isn’t much of a secret, really; it’s just smart chemistry! When you beat the heavy cream until it has stiff peaks, you’re trapping millions of tiny air bubbles. That aeration is what normally the churning machine does. Then, the sweetened condensed milk—which is super thick because all the water has been cooked out—surrounds those air bubbles. It stops the water from forming those ugly ice crystals.
Flavor Profile of Our No Churn Caramel Cone Ice Cream
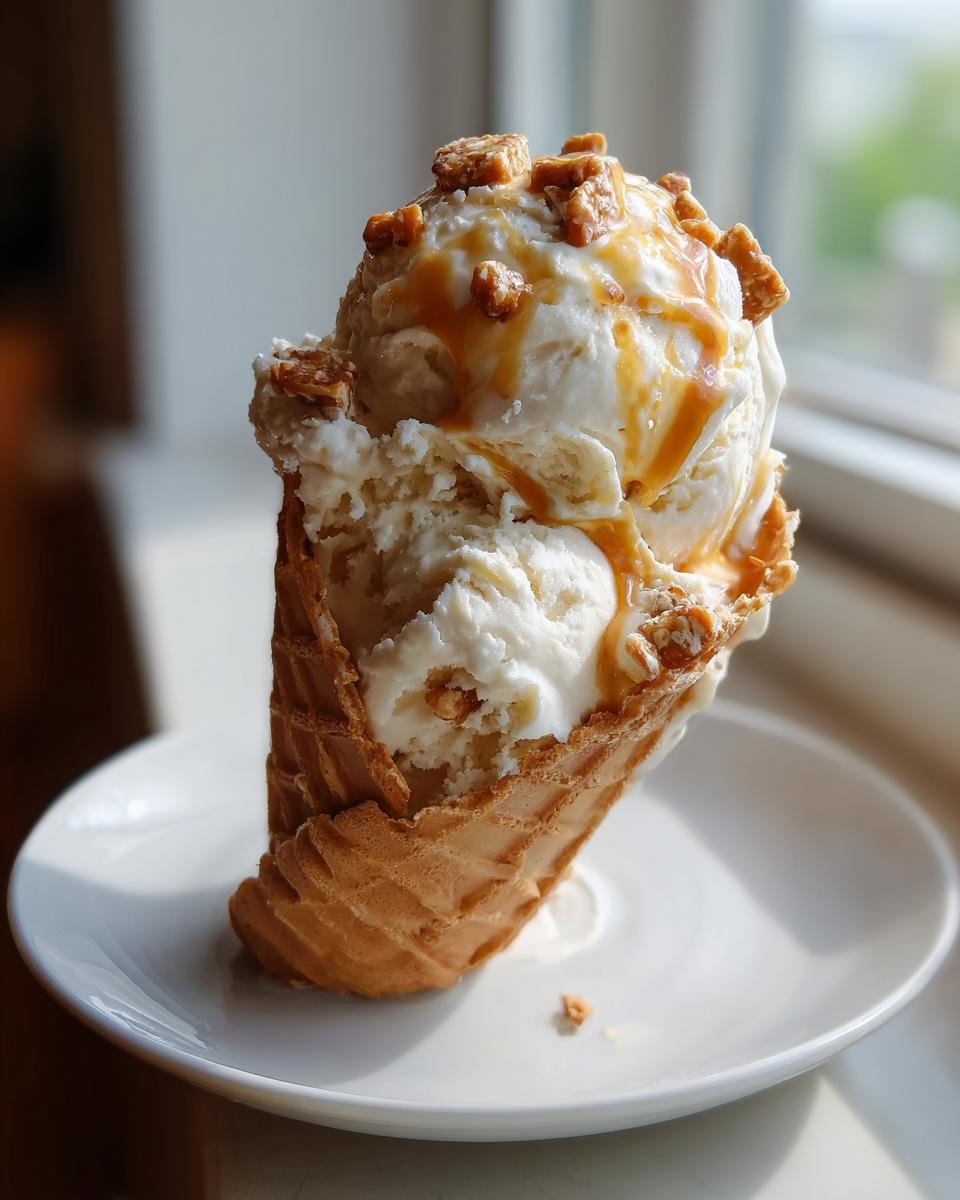
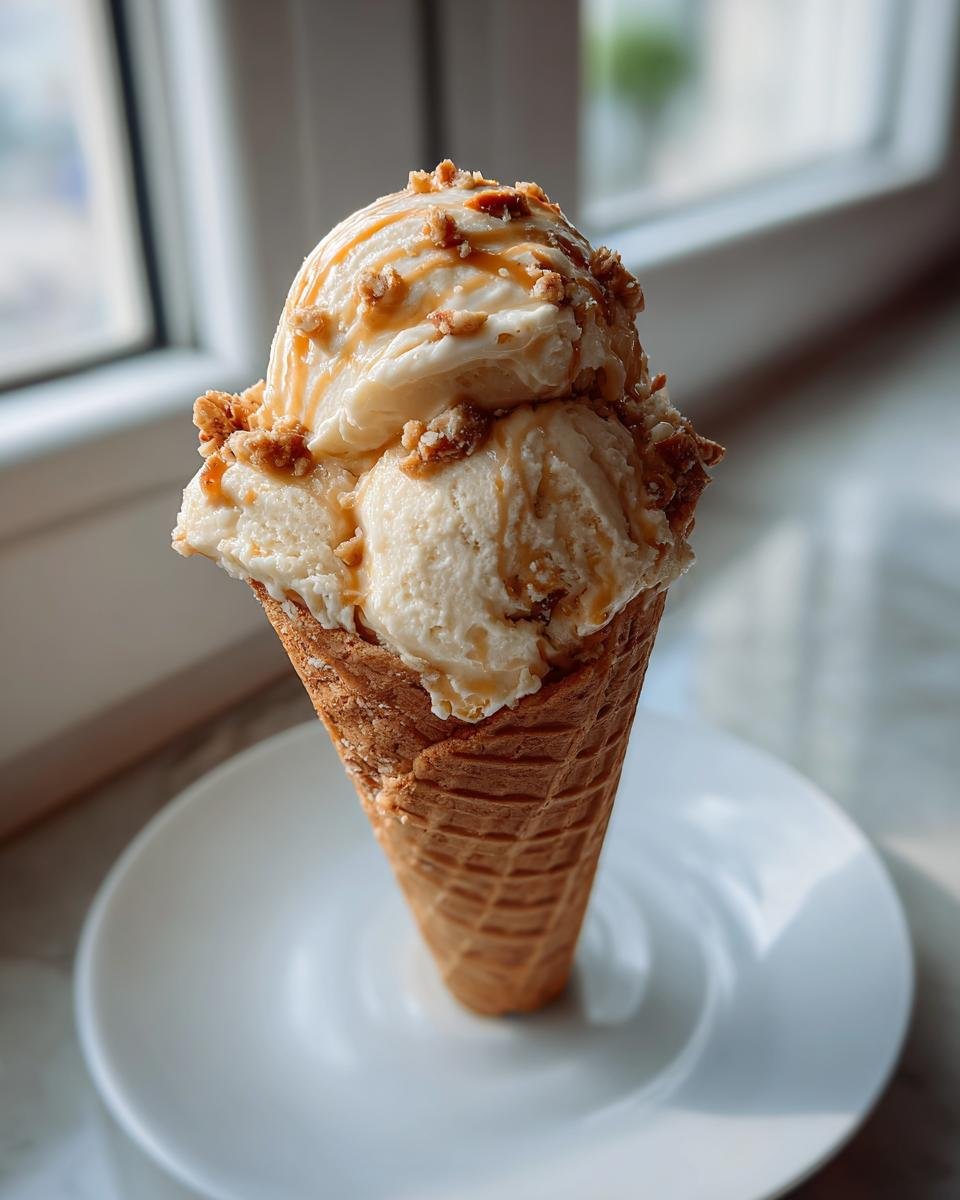
Oh, the taste! It’s everything a premium ice cream parlor cone is, but better because you made it. You get that deep, buttery sweetness from the condensed milk base, which is perfectly balanced by the pure vanilla. Then, BAM! You hit a river of gooey, salty caramel that just stretches perfectly. And finally, those crushed waffle cones provide that satisfying, crisp crunch against the soft ice cream. It’s a totally textural experience!

Gathering Ingredients for No Churn Caramel Cone Ice Cream
Okay, step one is always making sure you have everything ready to go, because once you start whipping that cream, things move fast! Don’t worry about sourcing weird stuff; these components are easy, but quality really makes a difference here. If you’re looking for ways to jazz up creamy bases, I have a whole list of great cream recipes, but for this one, simplicity is king.
Essential Components for Your No Churn Caramel Cone Ice Cream
You only need six things to make this happen. First, two cups of heavy whipping cream, and listen close: it *must* be ice cold! Then, you’ll need that magical ingredient, one whole 14-ounce can of cold sweetened condensed milk. Grab one teaspoon of good vanilla extract, about a half cup of your favorite caramel sauce—store-bought is totally fine if it tastes good—one cup of waffle or sugar cones crushed up, and just a tiny pinch of salt to cut the sweetness.
Step-by-Step Instructions for Perfect No Churn Caramel Cone Ice Cream
This is where the magic happens! Don’t worry if you aren’t a professional baker; the goal here is gentle merging, not vigorous mixing. Since we want this No Churn Caramel Cone Ice Cream to be light and fluffy, we have to respect the air we whip into that cream. Want a pro tip? Put your mixing bowl and beaters from the electric mixer in the freezer for about fifteen minutes before you start. Cold equipment makes whipping cream easier! If you ever want to see how someone mixes things up a bit differently, check out this fun loaded no-churn Snickers ice cream recipe to get inspiration!
Whipping the Cream Base for No Churn Caramel Cone Ice Cream
Take your two cups of ice-cold heavy whipping cream and start beating it on medium speed. Gradually bring that speed up, but watch it carefully! You are aiming for stiff peaks, which means when you lift the beaters out, the cream holds its shape perfectly—like a stiff little mountain peak that doesn’t slump over. Stop immediately once you hit that stage; going too far turns it into butter, and we are definitely not making butter today!
Folding and Swirling the Caramel and Cones
Now, switch gears. Take your cold condensed milk mixture—that’s where we mixed the milk, vanilla, and salt—and work in half of your whipped cream until it’s just blended. Then, gently fold in the rest of the cream. I mean *gently*; use a large spatula to cut down the middle and fold over. We want to keep all that gorgeous air in there! Next, drizzle in your caramel sauce and give it maybe two or three slow swirls. Don’t stir it until it’s one color; those messy ribbons are what make it look amazing. Finally, fold in most of your crushed cones. Keep some aside for decoration later—that crunch is too good to hide entirely!
Freezing and Serving Your No Churn Caramel Cone Ice Cream
Pour that glorious batter into a loaf pan or any freezer-safe dish you have. You absolutely must cover it tightly—I use plastic wrap pressed right down onto the surface before I put the lid on. This stops those nasty ice crystals from forming on top. Pop it into the freezer for a solid six hours, but overnight is even better. When you’re ready to eat this amazing homemade ice cream, pull it out about five or ten minutes before you plan to scoop. That little bit of time, called tempering, makes scooping so much easier!
Tips for Success Making No Churn Caramel Cone Ice Cream
Even though this is easy, a couple of little tricks will guarantee you don’t end up with a frozen block of milk goodness. Pay attention to the temperature of your ingredients, especially when starting out. If you want the lightest texture possible, you should check out my guide on making the easiest whipped cream recipe because that aeration step is truly everything!
One thing the recipe card specifically calls out is tempering. It sounds fancy, but it just means letting the ice cream sit on the counter for about five to ten minutes before you even attempt to scoop it. Trying to dig into rock-hard ice cream usually results in a broken scoop or maybe even a sore arm! Also, make sure you use whatever caramel sauce you have on hand, but if it’s really thin, you might want to let it chill first so it swirls better instead of just sinking to the bottom.
Finally, to keep things incredibly fresh for as long as possible, make sure that container is sealed up tight with no air gaps. If you can, press a piece of plastic wrap right onto the surface before you put the lid on. That’s the best defense against freezer burn!
Ingredient Notes and Substitutions for No Churn Caramel Cone Ice Cream
This recipe is surprisingly forgiving, but because we aren’t using a machine to force air in, the ingredients have to do all the heavy lifting for texture. If you’re out of something, don’t throw in the towel! We can absolutely tweak this. I’ve seen people try to substitute heavy cream, but please, try to stick to it if you can. Lighter creams just won’t whip up enough volume, and you’ll end up with a dense, sweet block rather than scoopable ice cream.
The caramel sauce, though? That’s where you can play! If you use a very thick, slow-pouring caramel, it might be harder to swirl, so you might need to warm that up just a smidge—we’re talking 10 seconds in the microwave—so it flows nicely. If you use a homemade sauce that’s thinner, you may need to swirl it in a few more times to get the ribbons you want.
As for the cones, waffle cones have that beautiful light texture, but if all you have are plain sugar cones, go for it! Just crush them slightly smaller, maybe to the size of large chocolate chips. You want that crunch every few bites—it’s the hallmark of this flavor profile! My only warning is to absolutely crush them right before you fold them in. If you crush them too early and leave them sitting out, they get stale and sad before they ever hit the ice cream.
Storage and Make-Ahead Options for No Churn Caramel Cone Ice Cream
The great thing about this No Churn Caramel Cone Ice Cream is that you can make it way ahead of time! If you have a big family gathering coming up next week, you can easily whip this up today. It stays fantastic in the freezer for up to two weeks, provided you’ve sealed it up really well like I showed you—that air-tight seal is key to preventing freezer burn!
Now, here’s the one thing you have to remember: keep those crushed cones separate if you aren’t eating the whole thing right away. If you mix them in and then freeze it for a week, they get soggy, and that crunch factor disappears. Nobody wants soggy cones in their ice cream! Store the crushed cones in a small Ziploc bag on the counter. Then, right before you temper the ice cream to serve, you can sprinkle those crunchy bits right on top. It keeps the texture perfect, just like those simple dump cakes stay best when you add the topping last!
Serving Suggestions for Your No Churn Caramel Cone Ice Cream
So, you’ve tempered it for ten minutes, and now you have this gorgeous, creamy, swirly No Churn Caramel Cone Ice Cream staring back at you. While eating it straight out of the loaf pan with a giant spoon is totally acceptable (I’ve done it!), sometimes you want to dress it up a little bit, especially if you’re serving it to company. This flavor is rich enough that it really doesn’t need much, but I have a few favorite tricks up my sleeve!
Because we have that fantastic mix of salty caramel and crunchy cone already built in, we want toppers that add temperature contrast or intensify the flavor without competing with it. If you’re looking for a complete showstopper dessert, you should really look at some of the amazing recipes over at my decadent dessert collection for inspiration on plating!
Here’s what takes this from a bowl of ice cream to a genuine dessert experience:
- A Drizzle of Fudge: You can never go wrong with more chocolate! A warm hot fudge sauce, drizzled right over the cold ice cream, creates this wonderful contrast between hot and cold. It melts slightly into the caramel swirl, making it even gooier.
- Salt on Salt: Since we already have that lovely pinch of salt, leaning into it is fun. Grab a sprinkle of flaky sea salt—like Maldon—and dust it lightly over the top right before serving. It brings out the depth of the caramel notes instantly.
- Mini Cone Garnish: Remember those few extra crushed cones you wisely reserved? Instead of just sprinkling them on top, try dusting a little powdered sugar on a small paper plate, dipping the rim of your serving bowl or glass into it, and then pressing that rim gently into the reserved cones. It gives everyone an extra crunchy bite right at the start!
- Coffee Kick: If you love balancing very sweet things with a slight bitterness, serve a small scoop alongside a shot of strong espresso. Dunking the ice cream into the espresso cup? Yes, please. It’s heavenly!
Frequently Asked Questions About No Churn Caramel Cone Ice Cream
It’s natural to have questions when you’re making something this delicious for the first time, especially when ditching the traditional churning process for this easy dessert! People often ask me about texture and speed, and I’m happy to share everything I’ve learned making this homemade ice cream over the years. You want it perfect, and I want you to have success!
Can I use frozen whipped topping instead of heavy cream for this No Churn Caramel Cone Ice Cream?
Oh, that’s a classic question! While you *can* use frozen whipped topping, like Cool Whip, as a substitute for whipping your own heavy cream, I strongly advise against it if you’re chasing that premium taste. Whipped topping is stabilized with gelatin or other starches, which changes the texture completely.
If you use it, you skip the crucial labor of whipping the air into the cream, which means your base ends up feeling much denser and less airy, almost gummy, once fully frozen. For the best, richest result that really captures that creamy parlor feel, stick to the real heavy whipping cream. It’s worth the five minutes of beating, trust me!
How long does the No Churn Caramel Cone Ice Cream need to freeze?
The absolute minimum time you should give this ice cream is six hours, but honestly, overnight is always the sweet spot. Six hours is usually enough time for the condensed milk and cream blend to firm up nicely, especially if your freezer runs cold. The real test isn’t the clock, though; it’s the firmness!
When you think it’s ready, just tap the side of the container gently with a spoon. If it feels solid but still gives a little—if it doesn’t sound totally rock-hard against the pan—it’s ready. Remember what I said about tempering? If it comes out rock solid after 12 hours, just let it sit on the counter for 10 minutes before scooping. That small wait makes all the difference!
What is the best type of cone to crush for the best crunch in the No Churn Caramel Cone Ice Cream?
This is where we nail the *cone* part of the flavor! You have two great options here, and it all depends on your preference for texture. If you want that classic, lighter, slightly sweet crunch, go for the standard waffle cones. They have air pockets and shatter nicely when crushed. You can usually buy them pre-rolled or even bake your own if you’re feeling ambitious!
But, if you prefer something a little more substantial and perhaps a bit sweeter, use classic sugar cones. They’re thicker and create a denser, chewier crunch amidst the creamy ice cream. Either way, make sure you crush them yourself just before you fold them in, so they don’t absorb the moisture from the base and lose their satisfying bite. If you’re looking for more fun mix-in ideas, I have a whole list of easy dessert inspiration over here!
Nutritional Estimate for No Churn Caramel Cone Ice Cream
Now, I always like to give a heads-up about nutrition because, let’s be real, this is a decadent treat! The numbers I have here are just an estimate based on standard ingredient calculations. If you use a fancy, super-sweet caramel sauce or different brands of cream, these figures will shift a bit. You know how it is; ingredients vary!
For a generous serving size of about 2/3 cup, here’s the baseline for this incredible No Churn Caramel Cone Ice Cream:
- Calories: Around 450
- Sugar: About 45 grams
- Total Fat: Roughly 25 grams
- Protein: About 6 grams
This is definitely a dessert indulgence, but oh boy, is it worth it! If you’re trying to keep track of where your sugars come from in general, check out this interesting piece on the surprising sugar content of fruits—it gives you good perspective on how treats like this stack up!
Print
No Churn Caramel Cone Ice Cream
- Total Time: 6 hr 15 min
- Yield: 6 servings 1x
- Diet: Vegetarian
Description
Make rich caramel cone ice cream without an ice cream maker.
Ingredients
- 2 cups heavy whipping cream, cold
- 1 (14 ounce) can sweetened condensed milk, cold
- 1 teaspoon vanilla extract
- 1/2 cup caramel sauce, store-bought or homemade
- 1 cup crushed waffle cones or sugar cones
- Pinch of salt
Instructions
- In a large bowl, whip the cold heavy cream with an electric mixer until stiff peaks form.
- In a separate bowl, mix the cold sweetened condensed milk, vanilla extract, and salt.
- Gently fold about half of the whipped cream into the condensed milk mixture until just combined.
- Fold in the remaining whipped cream carefully to keep the mixture light.
- Drizzle in the caramel sauce and gently swirl it through the mixture a few times; do not fully mix.
- Fold in most of the crushed waffle cones, reserving some for topping.
- Pour the mixture into a freezer-safe container, such as a loaf pan.
- Cover the container tightly with plastic wrap or a lid.
- Freeze for at least 6 hours, or until firm.
- Before serving, let the ice cream sit at room temperature for 5 to 10 minutes.
- Top with reserved crushed cones and extra caramel sauce if desired.
Notes
- For easier scooping, allow the ice cream to temper slightly on the counter before serving.
- Use high-quality caramel sauce for the best flavor.
- Prep Time: 15 min
- Cook Time: 0 min
- Category: Dessert
- Method: Freezing
- Cuisine: American
Nutrition
- Serving Size: 2/3 cup
- Calories: 450
- Sugar: 45
- Sodium: 150
- Fat: 25
- Saturated Fat: 15
- Unsaturated Fat: 10
- Trans Fat: 0
- Carbohydrates: 55
- Fiber: 1
- Protein: 6
- Cholesterol: 75
Keywords: no churn ice cream, caramel cone, homemade ice cream, easy dessert, frozen treat