
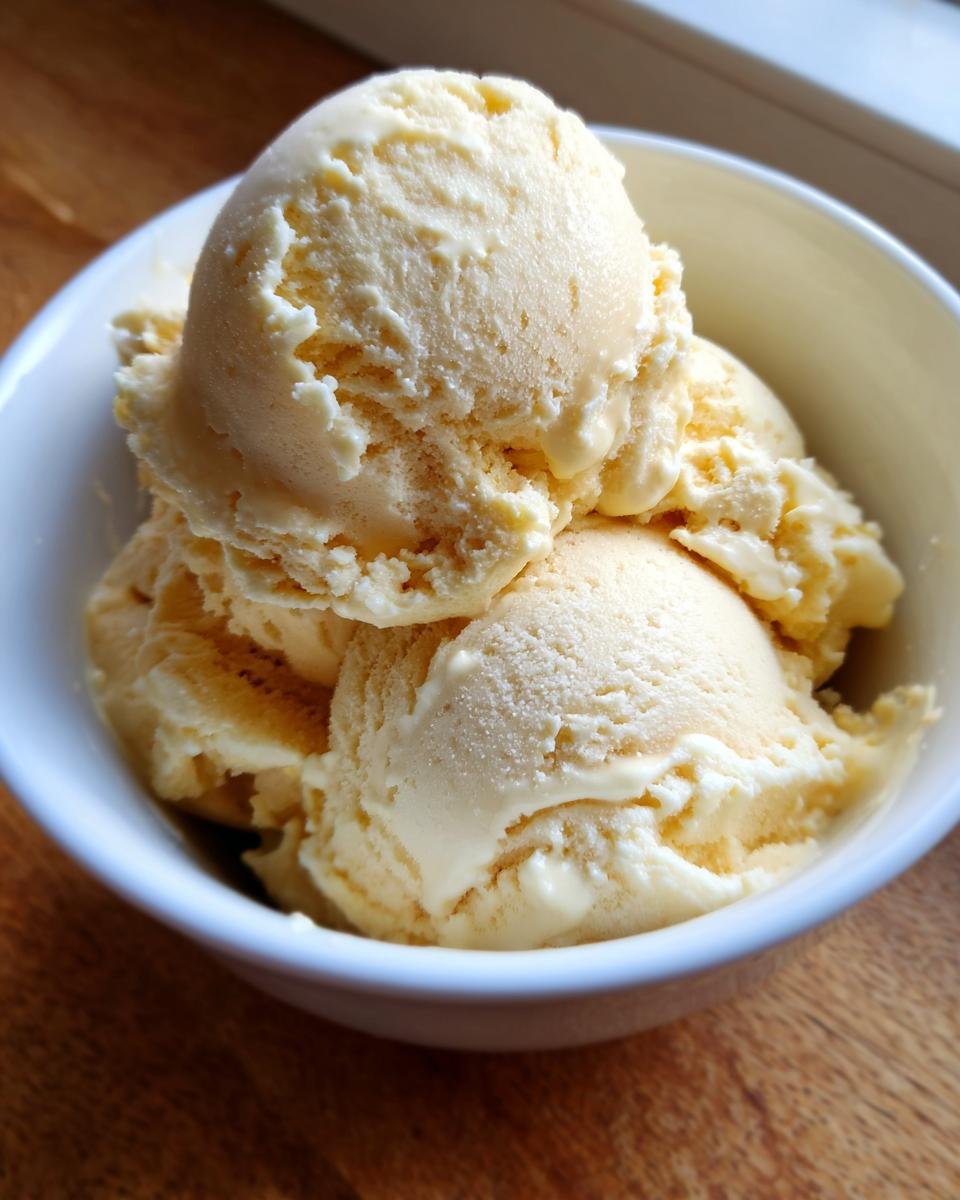
Oh, ice cream! Just thinking about it makes my mouth water, right? But then comes the guilt – all that sugar, the dairy, the… well, the *stuff* that makes it taste so amazing. For years, I wrestled with that craving, trying to find something that hit the spot without derailing my whole day. And then, like magic, I stumbled upon this incredible secret: no-churn banana ice cream. Seriously, it’s a game-changer. I finally figured out how to indulge in no-churn banana ice cream easy guilt free, and trust me, it’s so simple you’ll wonder why you never made it before.
Why You’ll Love This Easy Guilt-Free Banana Ice Cream
Seriously, this recipe is a winner for so many reasons. Here’s why you’ll be making it again and again:
- Crazy Easy: Just like, 5 minutes of work? You basically just dump stuff in a blender and go!
- Guilt-Free Bliss: It’s just bananas! No added sugar needed if your bananas are ripe enough.
- Healthy & Nutritious: Packed with potassium and fiber from real fruit.
- Super Versatile: Add anything you want – chocolate chips, peanut butter, berries… the possibilities are endless!
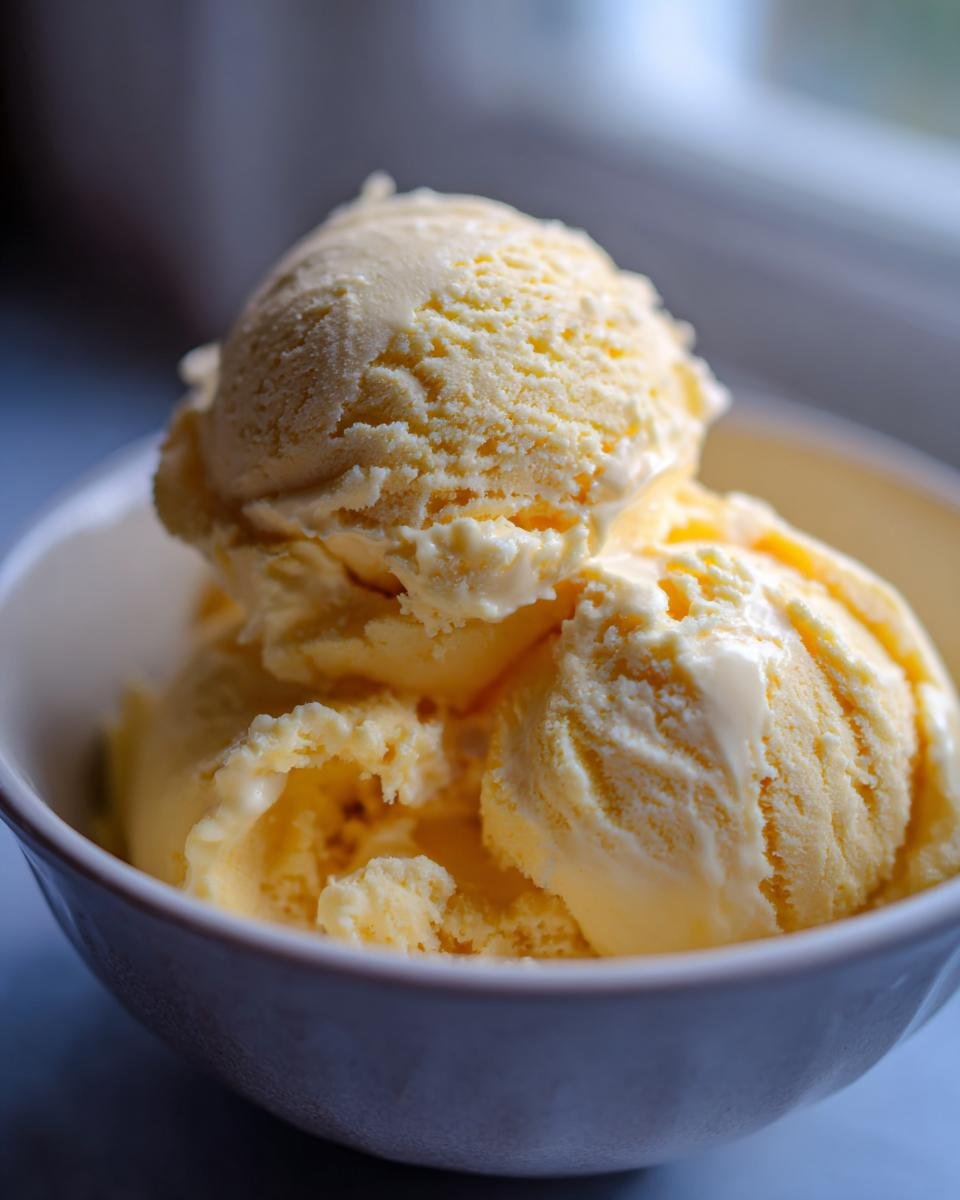
- Perfect Texture: Creamy and dreamy, just like the real deal, whether you eat it right away or freeze it.
- Dairy-Free & Vegan: A fantastic option for everyone, no dairy required!
Ingredients for Your No Churn Banana Ice Cream Easy Guilt Free Treat
So, what’s the magic behind this easy dessert? Honestly, it’s unbelievably simple. You just need a few things you probably already have in your kitchen!
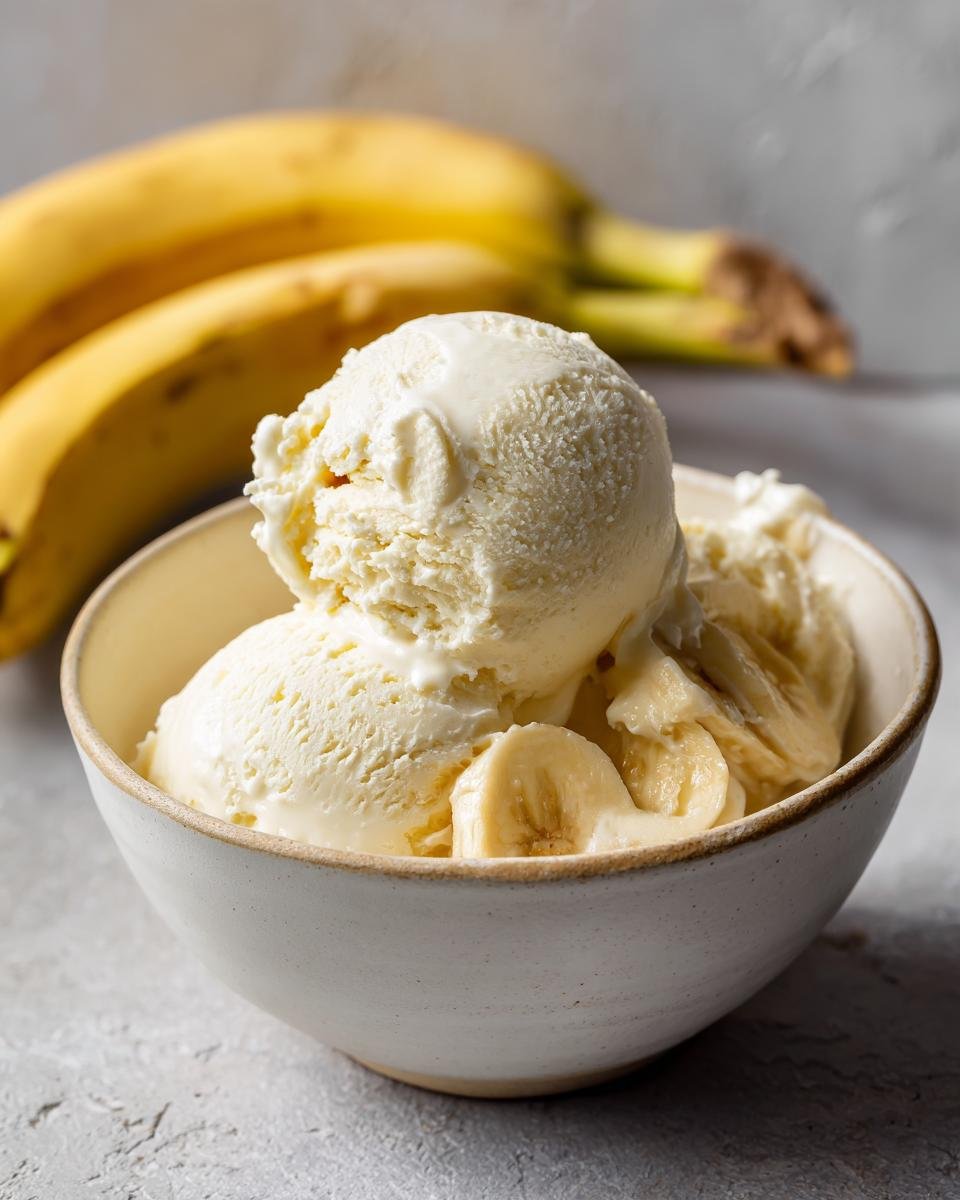
- 4 ripe bananas – And I mean *super* ripe, the ones with lots of brown spots. You’ll want to peel them, slice them up into little coins, and then freeze them solid. This is key!
- 1/4 cup milk – You can use whatever you like here, dairy or a non-dairy option like almond or oat milk works perfectly.
- 1 teaspoon vanilla extract – Just a splash to bring out all those lovely flavors.
- Optional: 1 tablespoon honey or maple syrup – If your bananas aren’t super sweet or you just like a little extra kick, you can add a touch of sweetener. Totally up to you!
Step-by-Step Guide to Making No Churn Banana Ice Cream
Okay, getting this magical ice cream made is ridiculously easy! It honestly takes longer to freeze the bananas than anything else. Just follow these simple steps and you’ll be scooping up healthy deliciousness in no time. Remember, the riper the bananas, the better the flavor – and you won’t even need extra sweetener! For more tips on staying hydrated and feeling great, check out this quick guide.
- First things first, grab those frozen banana slices. I usually slice them into little coin shapes before I freeze them, it just makes it easier for the blender to do its thing.
- Pop those frozen banana coins into your food processor or a really good, high-powered blender.
- Now, add in your splash of milk – just enough to get things moving – and that teaspoon of vanilla extract. If you decided you want it a little sweeter, now’s the time to toss in that honey or maple syrup.
- Turn it on and let it work its magic! You’ll need to process it until it’s super smooth and has that creamy, dreamy ice cream texture.
- Be patient here! You’ll probably need to stop and scrape down the sides of the processor or blender a few times to make sure everything gets blended evenly.
Blending for Creamy Perfection
This is where the magic really happens. When you’re blending the frozen bananas, it might seem like it’s not working at first. It’ll look crumbly, then maybe clumpy. Just keep going! Scrape down the sides whenever you need to. If it seems too thick and isn’t blending at all, don’t panic! Just add another tablespoon of milk – I find that doing it slowly really helps achieve that perfect, soft-serve consistency. It’s all about getting it smooth and creamy without being too runny.

Serving and Freezing Your Easy Guilt Free Ice Cream
Once you’ve got that perfect creamy texture, you have two awesome choices! You can totally dig in right away – it’ll have a fantastic soft-serve consistency, perfect for a quick treat. Or, if you want it firmer, scoop it into an airtight container. Pop that in the freezer for at least an hour or two. It’ll get nicely firm, just like regular ice cream. If you freeze it hard, just let it sit on the counter for about 5-10 minutes to soften up a bit before scooping.
Tips for the Best No Churn Banana Ice Cream Easy Guilt Free
Okay, friends, let’s talk about making this banana ice cream absolutely perfect every single time! It’s pretty foolproof, but a few little tricks really make it sing. Think of it like… well, like getting the most amazing flavor from refreshing grapes or making some speedy energy bites – a few details make all the difference!
Choosing the Right Bananas
This is HUGE, people. You absolutely, positively, have to use bananas that are super ripe. I’m talking about bananas that are practically begging to be mashed, covered in brown spots, maybe even a little black. Those are the sweetest ones, and they’re going to give you that delicious, natural ice cream flavor without needing any added sugar. If your bananas aren’t ripe enough, your ice cream will be a bit bland and maybe even icy.
Flavor Variations for Your Guilt-Free Treat
While plain banana ice cream is amazing on its own, don’t be afraid to get creative! It’s so easy to jazz it up. My absolute favorite addition is a tablespoon or two of peanut butter swirled in after it’s blended – it’s like a dream! Or, add a tablespoon of cocoa powder when you’re blending for a chocolatey banana treat. You could even toss in some frozen berries for a fruity twist, or bits of your favorite healthy protein balls for extra goodness. Just keep it simple to maintain that guilt-free vibe!
Frequently Asked Questions About Easy No Churn Banana Ice Cream
Got questions about this magical ice cream? I totally get it! It sounds almost too good to be true, but it’s legit. Here are some things people often ask:
Can I use frozen bananas that aren’t ripe enough?
Oh boy, I really don’t recommend it. For this recipe to work its magic and taste amazing without added sugar, you *need* those super ripe, brown-spotted bananas. Unripe bananas just don’t have the sweetness or the right texture when frozen. Your ice cream might end up tasting bland, a little starchy, and not nearly as creamy as it should be. So, patience is key – wait for those bananas to get nice and spotty!
How long does this banana ice cream last in the freezer?
Because it’s made with simple ingredients and no preservatives, it’s best eaten within a week or so. If you freeze it solid, just remember to let it soften up on the counter for about 5-10 minutes before scooping. If it gets too hard, you can always pop it back in the blender with a tiny splash of milk to bring it back to life! Honestly though, it’s so good, it usually disappears way before then!
Can I add other fruits to this recipe?
Absolutely! This is where the fun really begins. You can absolutely add other frozen fruits along with the bananas. Berries are fantastic — think strawberries, raspberries, or blueberries. Mango chunks are also delicious! Just remember that adding other fruits might change the texture slightly, or you might need an extra splash of milk if they make the mixture too thick. Experiment and see what yummy combos you can create!
Nutritional Information for this Easy Guilt-Free Dessert
So, about the good stuff! Since this ice cream is basically just frozen bananas with a tiny bit of milk, it’s pretty darn healthy. Keep in mind these numbers are just an estimate, okay? It can totally change depending on the sweetness of your bananas, what kind of milk you use, and if you add any sweeteners or extras. But generally, for a serving of this dreamy treat, you’re looking at around 150 calories, super low fat (like 1g!), about 1g of fat, a good dose of carbs from the fruit (around 35g), and a nice chunk of fiber (about 4g).
Print
Easy No-Churn Banana Ice Cream
- Total Time: 10 min
- Yield: 2 servings 1x
- Diet: Vegetarian
Description
A simple and guilt-free banana ice cream recipe that requires no special equipment.
Ingredients
- 4 ripe bananas, peeled, sliced, and frozen
- 1/4 cup milk (dairy or non-dairy)
- 1 teaspoon vanilla extract
- Optional: 1 tablespoon honey or maple syrup for added sweetness
Instructions
- Place the frozen banana slices in a food processor or high-powered blender.
- Add the milk and vanilla extract. If using, add the sweetener.
- Process until smooth and creamy, scraping down the sides as needed. This may take a few minutes.
- If the mixture is too hard, add another tablespoon of milk and continue processing.
- Serve immediately for a soft-serve consistency, or transfer to an airtight container and freeze for at least 1-2 hours for a firmer ice cream.
Notes
- Ensure your bananas are very ripe for the best flavor and sweetness.
- For a richer flavor, you can add a tablespoon of peanut butter or cocoa powder.
- Let the ice cream soften slightly at room temperature before scooping if it has been frozen solid.
- Prep Time: 10 min
- Cook Time: 0 min
- Category: Dessert
- Method: Blending
- Cuisine: American
Nutrition
- Serving Size: 1 serving
- Calories: 150
- Sugar: 25g
- Sodium: 5mg
- Fat: 1g
- Saturated Fat: 0g
- Unsaturated Fat: 1g
- Trans Fat: 0g
- Carbohydrates: 35g
- Fiber: 4g
- Protein: 2g
- Cholesterol: 0mg
Keywords: no churn ice cream, banana ice cream, easy dessert, guilt free, healthy ice cream, vegan ice cream, dairy free