
Oh, the holidays! There’s just something magical about this time of year, isn’t there? The twinkling lights, the cozy sweaters, and, of course, the endless parade of delicious treats. For me, holiday baking isn’t just about the food; it’s about the warmth, the sharing, and those precious moments gathered around the kitchen counter. My kitchen transforms into a little Santa’s workshop, buzzing with the scent of vanilla and sugar.
But let’s be real, the holidays are also super busy! Sometimes, you need a showstopper dessert that doesn’t require an entire afternoon of slaving away. That’s where these incredible holiday cookie bars come in. Trust me, these aren’t just any cookie bars; they’re your new secret weapon for festive cheer! They’re unbelievably easy to whip up, look absolutely gorgeous with their bright, colorful frosting, and taste like pure holiday magic. You’ll be amazed at how quickly you can go from zero to hero in the holiday dessert department with these beauties!

Why You’ll Love These Holiday Cookie Bars
Okay, so why are these holiday cookie bars going to be your new go-to for every festive gathering? Well, for starters, they’re ridiculously easy to make. Seriously, even if you think you can only bake a frozen pizza, you can rock these. They’re also incredibly versatile, so you can totally make them your own. But the best part? They just scream “holidays!” with their vibrant colors and fun sprinkles. Plus, they’re perfect for sharing, and who doesn’t love a treat that brings smiles to everyone’s faces?
- They’re super simple and quick to prepare.
- They look absolutely picture-perfect and festive.
- The taste is pure holiday joy in every bite!
- They’re great for feeding a crowd without a fuss.
Simple Holiday Cookie Bars for Everyone
I know, I know, holiday baking can sometimes feel a bit intimidating. But these cookie bars? They’re designed for stress-free cheer! You don’t need any fancy equipment or advanced baking skills. It’s just a few simple steps, and before you know it, you’ll have a pan of beautiful, delicious holiday treats ready to impress. Minimal fuss, maximum festive fun – that’s my kind of holiday baking!
Essential Ingredients for Perfect Holiday Cookie Bars
Alright, let’s talk ingredients! You know how I always say that good baking starts with good ingredients? Well, it’s totally true for these holiday cookie bars. We’re keeping it simple and classic, because sometimes, the best flavors come from straightforward, quality stuff. You won’t find any weird, hard-to-pronounce things on this list, just pantry staples that come together to create pure magic. Trust me, each one plays a super important role in getting that perfect texture and taste that’ll make everyone ask for your secret recipe!
- 1 cup (2 sticks) unsalted butter, softened: This is our base for both the cookie and the frosting! Make sure it’s softened, not melted, for that perfect creamy texture. It really gives our cookie bars that rich, tender crumb.
- ½ cup granulated sugar: Just enough sweetness for our cookie base, letting the other flavors shine.
- 1 ½ cups all-purpose flour: The backbone of our cookie bar, giving it structure without being too dense.
- ¼ teaspoon salt: Don’t skip this! It balances out the sweetness and really makes all the flavors pop.
- 1 teaspoon vanilla extract (for the cookie bars): That warm, classic flavor that just screams “homemade.”
- 2 cups powdered sugar: The star of our frosting! It makes it smooth and sweet.
- ¼ cup milk: Helps us get that perfect, spreadable consistency for our frosting.
- ¼ cup softened unsalted butter (for the frosting): Adds richness and body to our creamy frosting.
- ½ teaspoon vanilla extract (for the frosting): Another dash of vanilla for that lovely, comforting aroma and taste in the frosting.
- Food coloring (red and green): This is where the holiday fun truly begins! We’ll use these to make our frosting vibrant and festive.
- Holiday sprinkles: Because what’s a holiday treat without a generous shower of festive sparkle?
Getting Your Holiday Cookie Bars Ready: The Right Tools
Having the right tools for the job makes everything so much easier, right? For these holiday cookie bars, you don’t need a professional kitchen setup, but a few key pieces will make your life a breeze. Gather these up before you start, and you’ll be smooth sailing from start to finish. It really helps keep the baking process fun and not frustrating!
- 9×13 inch baking pan: This is the perfect size for these bars.
- Parchment paper: Your best friend for easy removal and clean-up!
- Large mixing bowls: You’ll need at least two – one for dry ingredients, one for wet.
- Electric mixer (handheld or stand): This makes creaming butter and sugar a total dream.
- Spatula or spoon: For mixing and spreading.
- Wire rack: Essential for cooling those bars completely before frosting.
Crafting Your Holiday Cookie Bars: Step-by-Step Instructions
Okay, you’ve got your ingredients, you’ve got your tools, and you’re ready to make some holiday magic! This is where the fun really begins. Don’t worry, I’m going to walk you through every single step, just like I’m right there in your kitchen with you. We’ll break it down so it’s super easy to follow, and before you know it, your house will smell amazing and you’ll have a pan full of beautiful, festive holiday cookie bars. Let’s get baking!
Baking the Base of Your Holiday Cookie Bars
First things first, let’s get that oven ready! You’ll want to preheat it to 350°F (175°C). While it’s heating up, grab your 9×13 inch baking pan and line it with parchment paper. This is a game-changer, trust me! Make sure to leave a little overhang on the sides – it’ll make lifting the cooled bars out so much easier. In a big bowl, cream together that softened butter and granulated sugar until it’s light and fluffy. This is important for a tender cookie base, so don’t rush it! Then, beat in the vanilla extract. In a separate bowl, whisk your flour and salt together, then gradually add that dry mixture to your wet ingredients. Mix just until everything’s combined. You don’t want to overmix here, or your bars might get tough. Now, press that lovely dough evenly into your prepared pan. Pop it in the oven for about 20-25 minutes, or until the edges are lightly golden. Once baked, let it cool completely in the pan on a wire rack. This patience is key – don’t try to frost a warm bar!
Decorating Your Holiday Cookie Bars with Festive Frosting
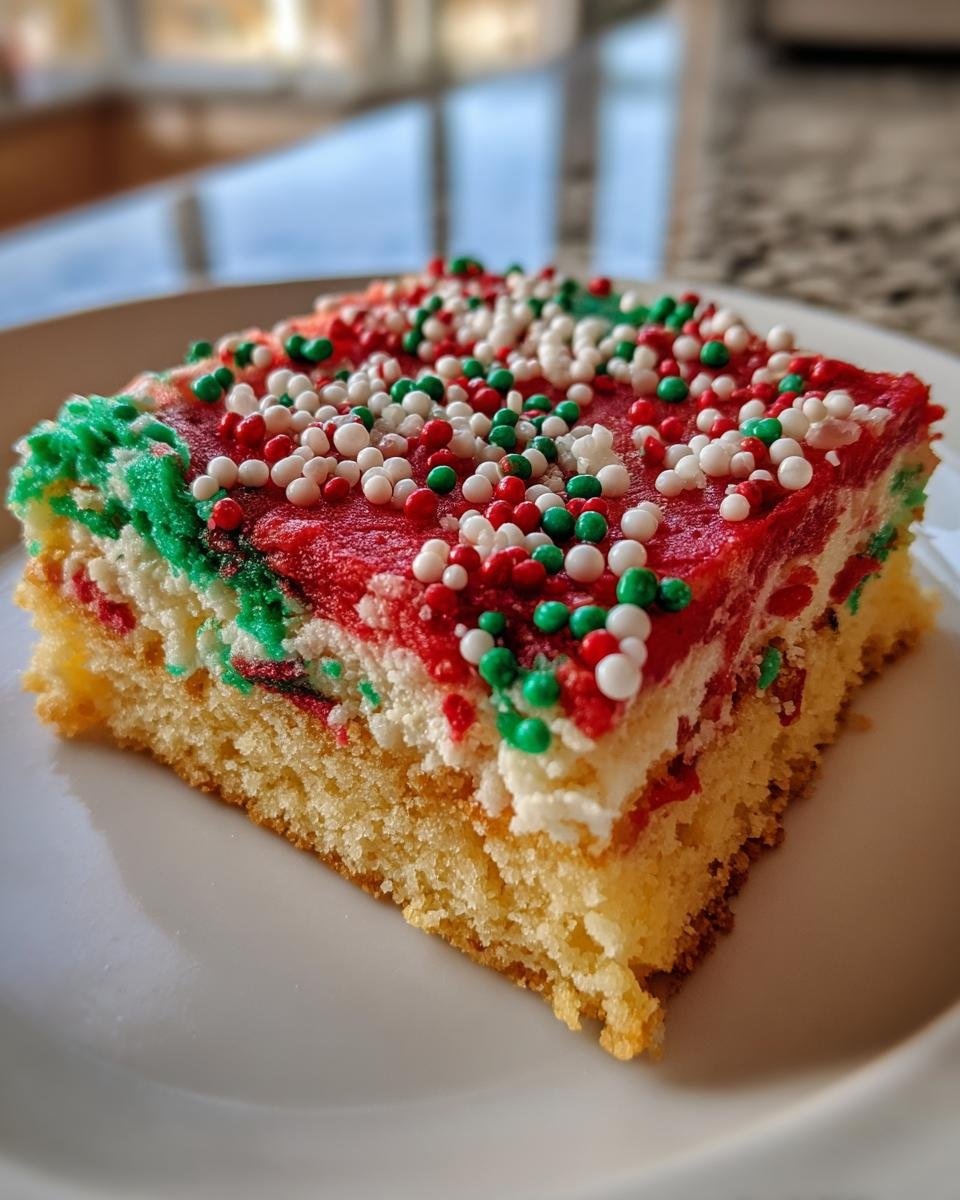
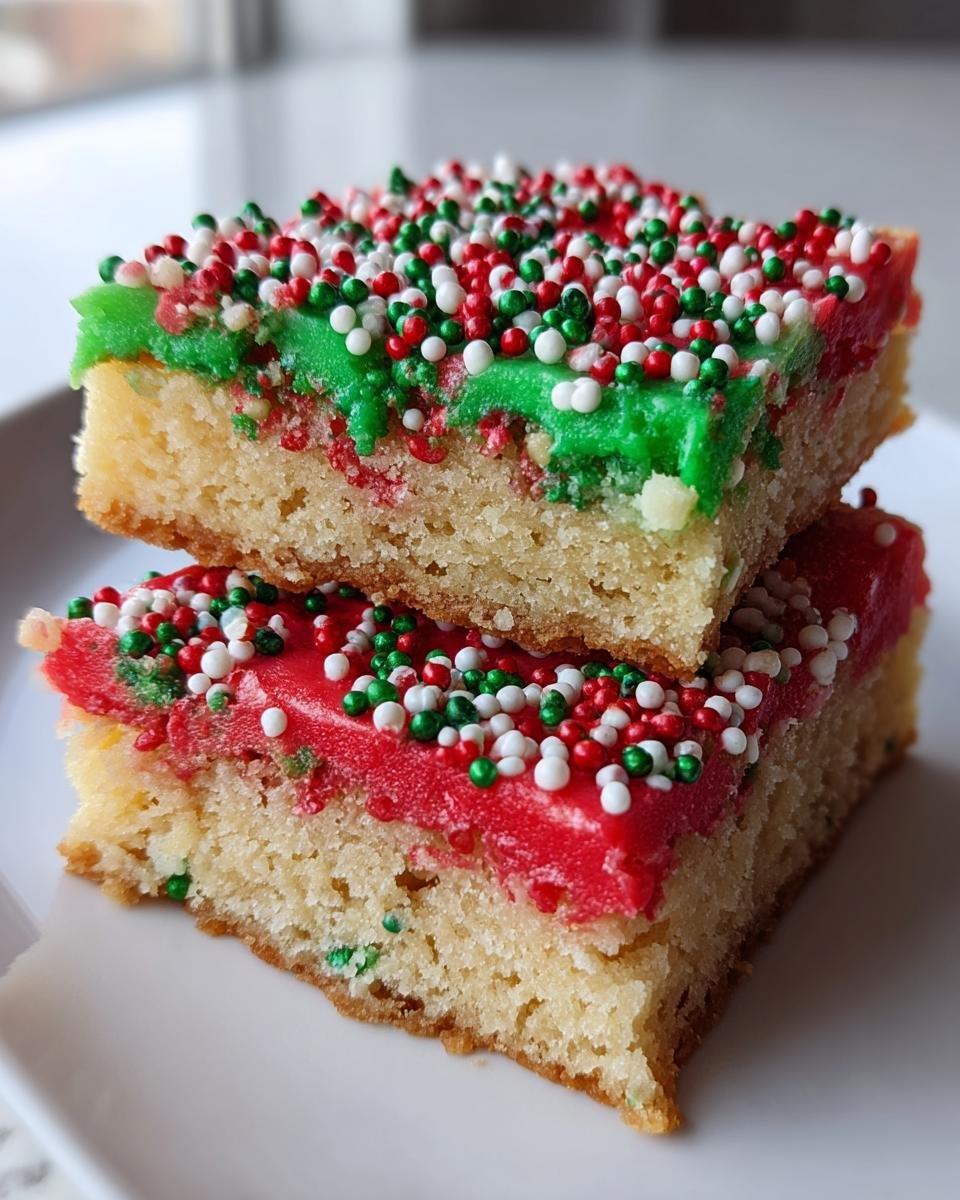
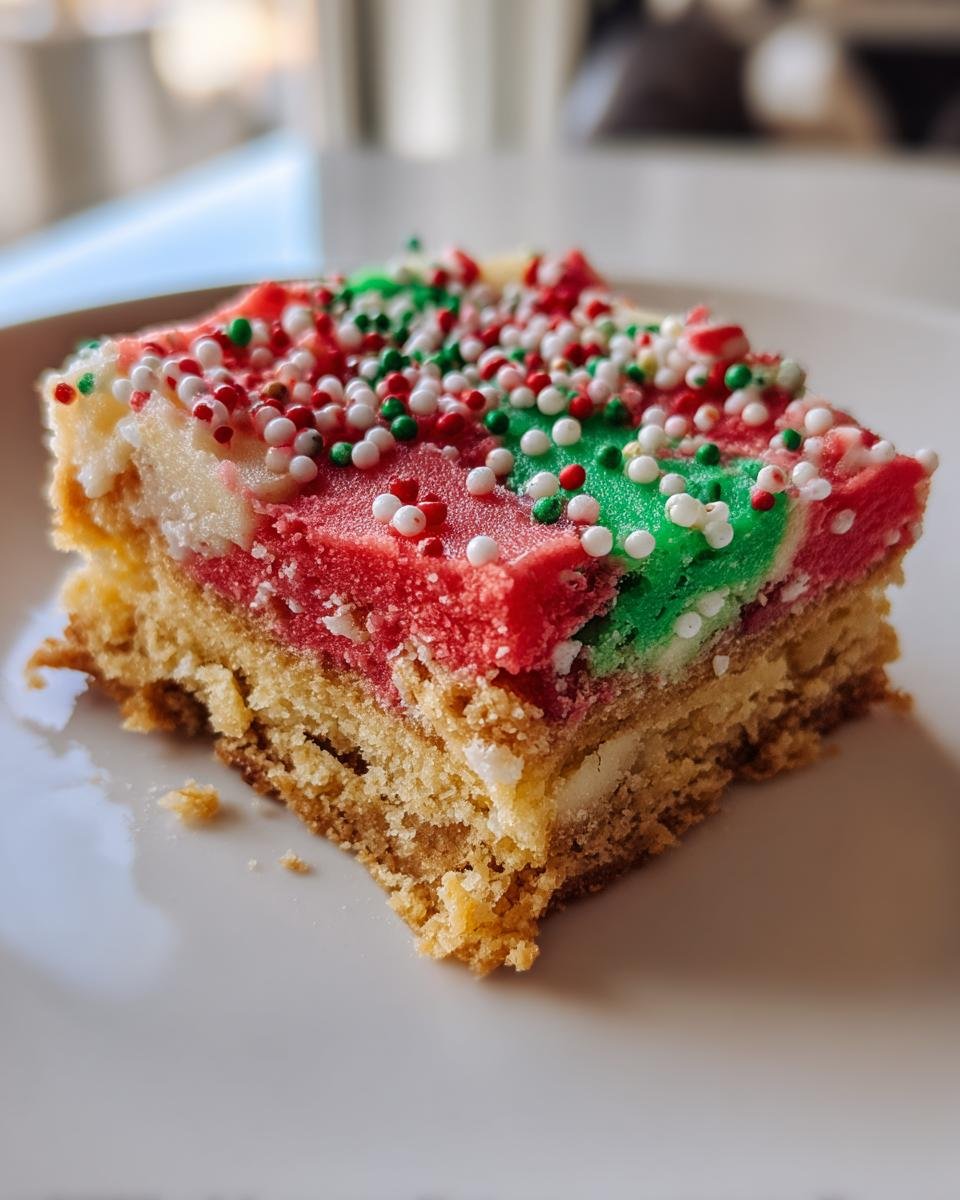
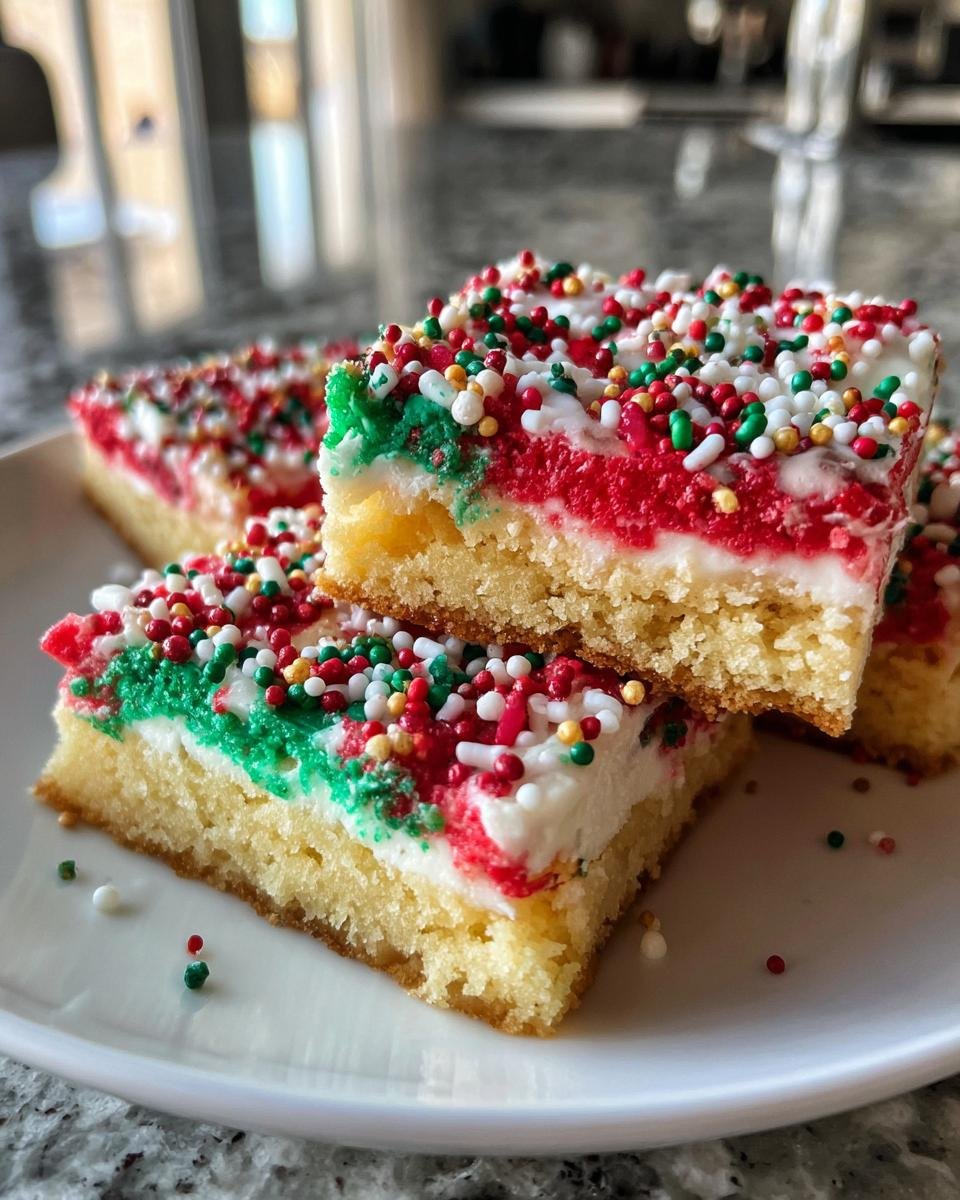
While your cookie base is chilling out and cooling down, let’s get to the fun part: the frosting! In a medium bowl, beat together your powdered sugar, the softened butter, milk, and that last bit of vanilla extract. Keep beating until it’s super smooth and creamy. If it feels a little too thick, add just a tiny splash more milk, like half a teaspoon at a time, until it’s perfect. Now, for the holiday magic! Divide your frosting into two bowls. Grab your red and green food coloring and tint one bowl red and the other green. You can go as vibrant or as subtle as you like. Once your cookie bars are completely cool (seriously, this is important!), you can get creative. Spread the colored frosting alternately, or make fun festive patterns. My favorite is doing stripes! The moment you’re done frosting, immediately sprinkle with your holiday sprinkles. This ensures they stick nicely before the frosting sets. And there you have it – beautiful, festive holiday cookie bars, ready to impress!
Tips for Success with Your Holiday Cookie Bars
You’ve got the recipe, you’ve got the steps, but sometimes a few little insider tips can make all the difference, right? Trust me on these; they’ll help you get those absolutely perfect holiday cookie bars every single time. First, that softened butter is crucial – don’t try to rush it in the microwave, or your texture will be off. Second, make sure your cookie base is *completely* cool before you even think about frosting it. If it’s warm, even a little bit, your beautiful frosting will just melt into a messy puddle. And finally, for super clean cuts, pop the frosted bars in the fridge for about 30 minutes before slicing. A warm knife can also help with those perfect edges!
Storing and Enjoying Your Holiday Cookie Bars
So, you’ve baked these beautiful holiday cookie bars, and now you want them to stay fresh and delicious! It’s super easy. Just store them in an airtight container at room temperature, and they’ll be fantastic for up to 3 days. If you need them to last a bit longer, pop them in the refrigerator, and they’ll keep well for up to a week. No need to reheat these beauties; they’re perfect served at room temperature, making them ideal for holiday parties since you can just set them out and enjoy!
Frequently Asked Questions About Holiday Cookie Bars
I know when you’re making a new recipe, especially for a special occasion like the holidays, questions pop up! So, I’ve rounded up some of the most common questions I get about these holiday cookie bars to help you out. My goal is to make sure your baking experience is as smooth and joyful as possible, so let’s dive into some of those little queries that might be swirling around in your head.
Can I Make These Holiday Cookie Bars Ahead of Time?
Absolutely, yes! These holiday cookie bars are fantastic for making ahead, which is a huge plus during the busy holiday season. You can bake the cookie base a day or two in advance, let it cool completely, and then cover it tightly until you’re ready to frost. Once frosted, they store beautifully in an airtight container at room temperature for up to 3 days, or in the refrigerator for up to a week. Perfect for getting a head start on your holiday baking!
What Are Some Variations for These Holiday Cookie Bars?
Oh, the possibilities are endless! While I adore the classic red and green, you can totally customize these holiday cookie bars to fit any theme or flavor craving. Try adding a little almond extract to the cookie dough or frosting for a different twist. You could fold in some mini chocolate chips or chopped nuts (pecans or walnuts are great!) to the cookie base before baking. For different holidays, just swap out the food coloring and sprinkles – think pastels for Easter, or orange and black for Halloween. Get creative and make them your own!
Estimated Nutritional Information for Holiday Cookie Bars
Just a quick note about the nutritional information for these holiday cookie bars! While I’ve included an estimate below, please remember that these values can vary quite a bit. It really depends on the specific brands of ingredients you use, how much frosting you pile on (no judgment here, I love a good frosting!), and even the exact size you cut your bars. Think of it as a helpful guide, not a hard-and-fast rule!
Share Your Holiday Cookie Bars Experience
Well, there you have it, friends! My absolute favorite, super easy, and incredibly festive holiday cookie bars. I really, really hope you give this recipe a try this holiday season. If you do, please come back and tell me all about it in the comments below! Did you try a fun new sprinkle combo? Did your family go crazy for them? I want to know! And hey, if you snap some photos of your beautiful creations, please share them on social media and tag me! I just love seeing what you all bake up. Happy baking, and happy holidays!
Print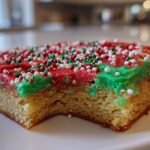
Amazing Holiday Cookie Bars: Your 3-Day Wonder
- Total Time: 1 hour 45 minutes
- Yield: 24 bars 1x
- Diet: Vegetarian
Description
These holiday cookie bars are a festive and easy-to-make treat, perfect for sharing during the holiday season. They feature a buttery cookie base topped with a sweet, colorful frosting and sprinkles.
Ingredients
- 1 cup (2 sticks) unsalted butter, softened
- ½ cup granulated sugar
- 1 ½ cups all-purpose flour
- ¼ teaspoon salt
- 1 teaspoon vanilla extract
- 2 cups powdered sugar
- ¼ cup milk
- ¼ cup softened unsalted butter
- ½ teaspoon vanilla extract
- Food coloring (red and green)
- Holiday sprinkles
Instructions
- Preheat oven to 350°F (175°C). Line a 9×13 inch baking pan with parchment paper, leaving an overhang on the sides.
- In a large bowl, cream together 1 cup softened butter and granulated sugar until light and fluffy.
- Beat in 1 teaspoon vanilla extract.
- In a separate bowl, whisk together flour and salt. Gradually add dry ingredients to wet ingredients, mixing until just combined.
- Press dough evenly into the prepared baking pan.
- Bake for 20-25 minutes, or until edges are lightly golden.
- Let cool completely in the pan on a wire rack.
- While bars cool, prepare the frosting. In a medium bowl, beat together powdered sugar, ¼ cup softened butter, milk, and ½ teaspoon vanilla extract until smooth and creamy.
- Divide frosting into two bowls. Tint one bowl red and the other green with food coloring.
- Spread colored frosting alternately or in festive patterns over the cooled cookie bars.
- Immediately sprinkle with holiday sprinkles.
- Cut into bars and serve.
Notes
- For easier cutting, chill the frosted bars for 30 minutes before slicing.
- Store bars in an airtight container at room temperature for up to 3 days or in the refrigerator for up to 1 week.
- You can use any color food coloring and sprinkles to match your holiday theme.
- Prep Time: 20 minutes
- Cook Time: 25 minutes
- Category: Dessert
- Method: Baking
- Cuisine: American
Nutrition
- Serving Size: 1 bar
- Calories: 250
- Sugar: 30g
- Sodium: 70mg
- Fat: 12g
- Saturated Fat: 7g
- Unsaturated Fat: 4g
- Trans Fat: 0g
- Carbohydrates: 35g
- Fiber: 1g
- Protein: 2g
- Cholesterol: 30mg
Keywords: holiday cookies, cookie bars, Christmas cookies, festive treats, easy dessert