
Oh my goodness, you HAVE to try this ice cream! If you’re looking for a super simple, incredibly creamy dessert that fits perfectly into a low-carb lifestyle, then you’ve found your holy grail. I stumbled upon this gem when I was craving something sweet but didn’t want to derail my eating plan, and let me tell you, it’s a total game-changer. Seriously, this creamy low-carb coconut ice cream is so easy, you’ll wonder why you ever bought store-bought stuff again. It’s pure coconut heaven!

Why You'll Love This Creamy Low-Carb Coconut Ice Cream
This isn’t just any ice cream; it’s a dream come true for anyone watching their carbs! You’re going to adore how:
- It’s unbelievably simple to make.
- It tastes incredibly rich and creamy.
- It’s a guilt-free, healthy treat.
- It truly satisfies those sweet cravings.
Quick Preparation for Creamy Low-Carb Coconut Ice Cream
Honestly, the prep work for this ice cream is ridiculously minimal. You’re basically just opening cans and whisking a few things together. It’s perfect for those nights when you want a delicious dessert without spending hours in the kitchen.
Satisfyingly Creamy Texture
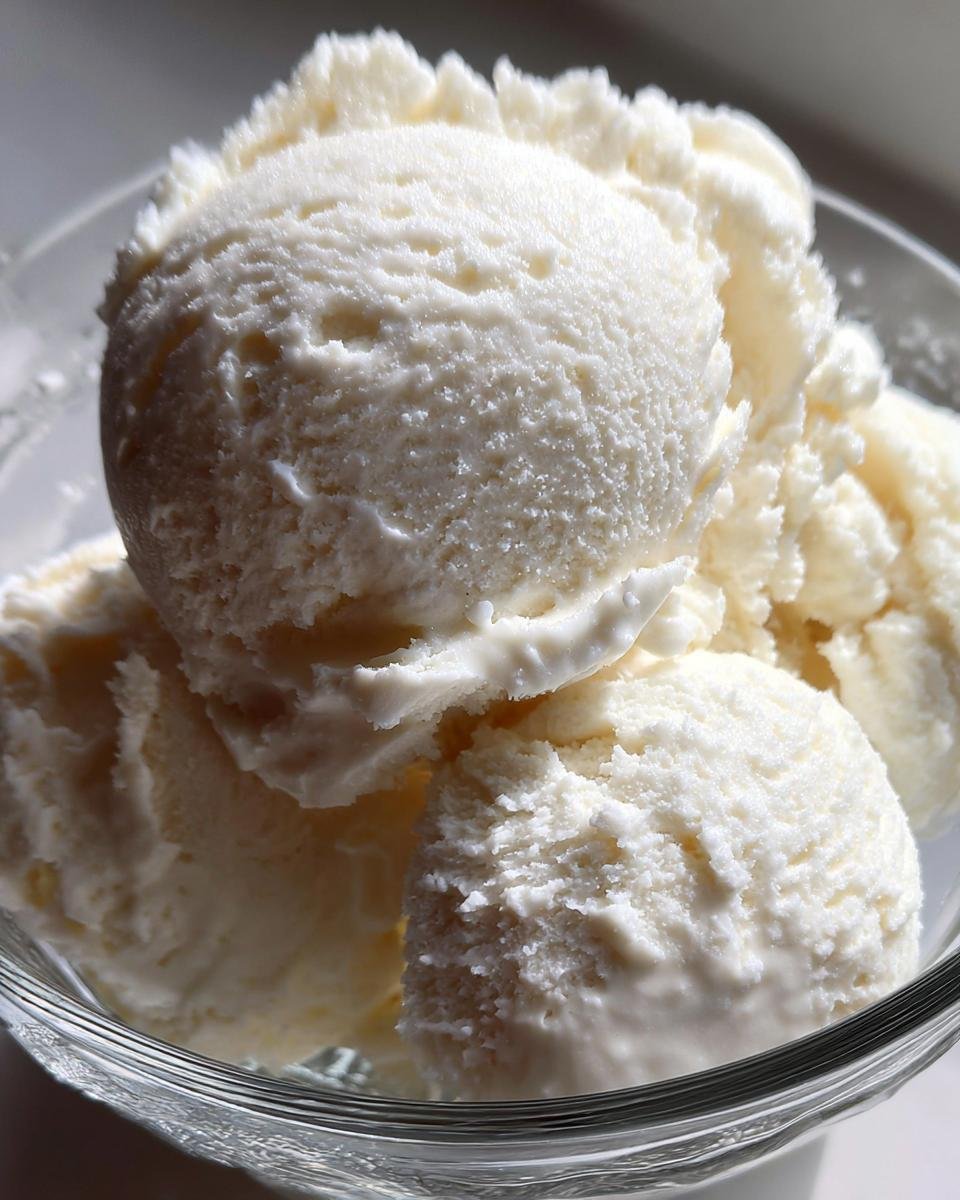
The star here is the full-fat coconut milk. It gives this ice cream that wonderfully rich, smooth, and decadent texture that you just don’t get with lighter versions. It’s so creamy, you’d never guess it’s low-carb!
Essential Ingredients for Creamy Low-Carb Coconut Ice Cream
Okay, let’s talk about what you’ll need to whip up this magic. The beauty of this recipe is its simplicity – just a few quality ingredients make all the difference. You’ll need two cans of full-fat coconut milk, about half a cup of erythritol (or your favorite granular low-carb sweetener), a teaspoon of pure vanilla extract, and just a tiny pinch of fine sea salt. That’s it! These ingredients come together to create something truly special.
Full-Fat Coconut Milk
This is non-negotiable, folks! You absolutely *must* use full-fat coconut milk for that luscious, creamy texture. The fat is what makes it so rich and prevents it from freezing into a solid block of ice.
Low-Carb Sweetener
I usually go with erythritol because it has a clean taste, but feel free to use your preferred granular sweetener like xylitol or a monk fruit blend. You can totally adjust the sweetness to your liking, so taste as you go!
Flavor Enhancers
A splash of pure vanilla extract really rounds out the flavor, and that little pinch of salt? It’s a secret weapon that makes the coconut flavor pop and balances everything out perfectly.
Step-by-Step Guide to Making Creamy Low-Carb Coconut Ice Cream
Alright, let’s get this ice cream party started! It’s so straightforward, you’ll be scooping deliciousness in no time. Just follow along with these simple steps, and you’ll have a bowl of pure, creamy joy.
Preparing the Coconut Cream
First things first, you need to chill those cans of full-fat coconut milk overnight. This is super important because it separates the thick cream from the watery liquid. When you open them, carefully scoop out only that solid cream from the top. Save that liquid for smoothies or something else – we only want the good stuff!
Mixing the Base
Now, grab a medium-sized bowl. Dump in all that lovely coconut cream you just scooped out. Add your sweetener – start with the half cup, but remember you can always add more later if you like it sweeter. Then, pour in the vanilla extract and that little pinch of salt. Whisk it all together until it’s super smooth and everything is nicely combined. No lumps allowed!
Churning Your Creamy Low-Carb Coconut Ice Cream
Time for the magic to happen! Pour your smooth, creamy mixture into your ice cream maker. Churn it according to the manufacturer’s instructions. Each machine is a little different, so just follow what yours says. It usually takes about 20 to 30 minutes, and you’ll see it start to thicken up nicely, getting that lovely soft-serve consistency.
Freezing to Perfection
Once it’s churned, it’s still a bit soft, like a thick milkshake. Transfer all that glorious ice cream into an airtight container. Now, this is where the patience comes in – you’ve got to let it freeze for at least 4 hours, or until it’s firm enough to scoop. I usually just pop it in overnight. Trust me, the wait is SO worth it for that perfect, scoopable texture!
Tips for the Perfect Creamy Low-Carb Coconut Ice Cream
You know, making this ice cream is pretty foolproof, but I’ve picked up a few little tricks along the way that really make it extra special. Following these simple tips guarantees you get the creamiest, most delicious results every single time. It’s all about those little details!
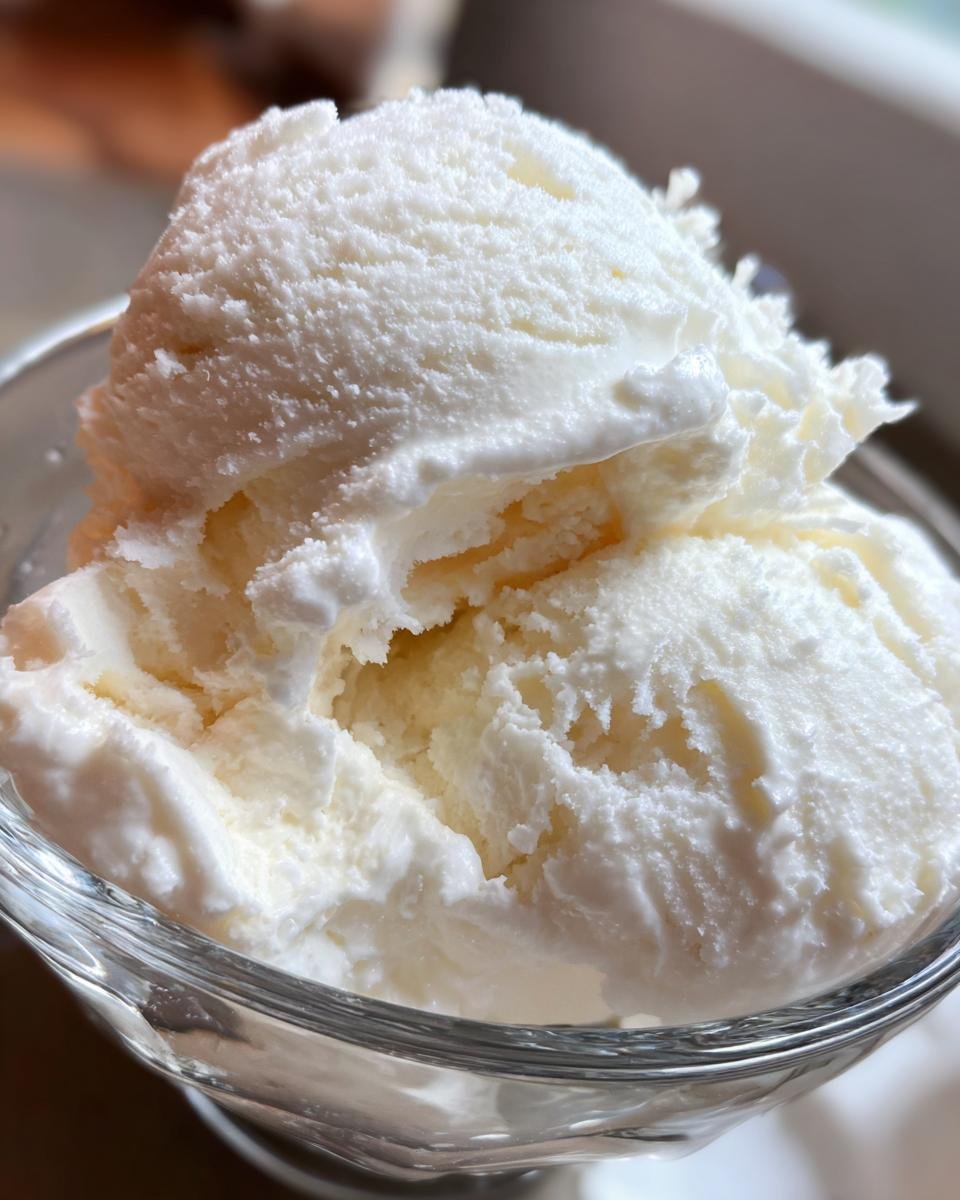
Achieving Optimal Creaminess
Seriously, the secret weapon for that unbelievably creamy texture is using *only* full-fat coconut milk. Don’t even think about the light stuff! And don’t skip chilling those cans overnight; it’s crucial for separating the cream and getting that rich base.
Sweetness Adjustment
This is your ice cream, so you get to decide how sweet it is! Always taste the mixture *before* you churn it. If it’s not sweet enough for your liking, just whisk in a bit more sweetener, a tablespoon at a time, until it’s just right. It’s so easy to customize!
Preventing Ice Crystals
If you find that your ice cream gets a bit too hard when frozen, I’ve got a little secret: add a tablespoon or two of vodka to the base before churning. Alcohol doesn’t freeze solid, so it helps keep the ice cream wonderfully scoopable, even after a long freeze. You won’t taste it, I promise!
Frequently Asked Questions about Creamy Low-Carb Coconut Ice Cream
Got questions? I’ve got answers! Making this creamy low-carb coconut ice cream is pretty straightforward, but I know sometimes little things pop up. Here are some common things people ask me.
Can I make this without an ice cream maker?
Absolutely! If you don’t have an ice cream maker, no worries. Just pour the mixture into a freezer-safe container and freeze. Every 30-45 minutes, stir it really well with a fork to break up ice crystals. Keep doing this for a few hours until it’s firm but still scoopable. It takes more effort, but it works!
How long does this Creamy Low-Carb Coconut Ice Cream last?
This delicious creamy low-carb coconut ice cream will last in your freezer for about 1 to 2 weeks. Make sure it’s in a good airtight container to prevent freezer burn. Honestly, though, it usually disappears way before that!
What are other low-carb additions I can include?
Oh, the possibilities are endless! You can stir in some sugar-free chocolate chips, a handful of fresh berries (like raspberries or blueberries), or even a swirl of sugar-free caramel sauce. Just make sure whatever you add is low-carb friendly!
Nutritional Information Disclaimer
Just a little note about the nutrition info: the numbers I’ve provided are estimates. They can change a bit depending on the exact brands of coconut milk or sweetener you use. It’s always a good idea to check your own ingredient labels for the most accurate details!
Print
Creamy Low-Carb Coconut Ice Cream: 4 Hour Magic
- Total Time: 4 hours 50 minutes (includes freezing)
- Yield: About 1 quart 1x
- Diet: Low-Carb
Description
A simple and delicious low-carb ice cream made with coconut milk. It’s creamy, satisfying, and perfect for a healthy treat.
Ingredients
- 2 cans (13.5 oz each) full-fat coconut milk
- 1/2 cup erythritol (or your preferred low-carb sweetener)
- 1 teaspoon vanilla extract
- Pinch of salt
Instructions
- Chill the cans of coconut milk in the refrigerator overnight.
- Open the chilled cans and scoop out the thick cream from the top, leaving the liquid behind.
- Combine the coconut cream, sweetener, vanilla extract, and salt in a bowl.
- Whisk until smooth and well combined.
- Pour the mixture into an ice cream maker and churn according to the manufacturer’s instructions.
- Transfer the churned ice cream to an airtight container and freeze for at least 4 hours, or until firm.
Notes
- For a firmer ice cream, you can add 1-2 tablespoons of vodka to the mixture before churning, as alcohol helps prevent excessive hardening.
- Adjust the sweetness to your preference.
- You can add sugar-free chocolate chips or berries for extra flavor.
- Prep Time: 15 minutes
- Cook Time: 20-30 minutes (churning time)
- Category: Dessert
- Method: Ice Cream Maker
- Cuisine: International
Nutrition
- Serving Size: 1/2 cup
- Calories: 250
- Sugar: 3g
- Sodium: 20mg
- Fat: 25g
- Saturated Fat: 22g
- Unsaturated Fat: 3g
- Trans Fat: 0g
- Carbohydrates: 10g
- Fiber: 2g
- Protein: 2g
- Cholesterol: 0mg
Keywords: low carb ice cream, coconut ice cream, keto ice cream, sugar-free ice cream, dairy-free ice cream