
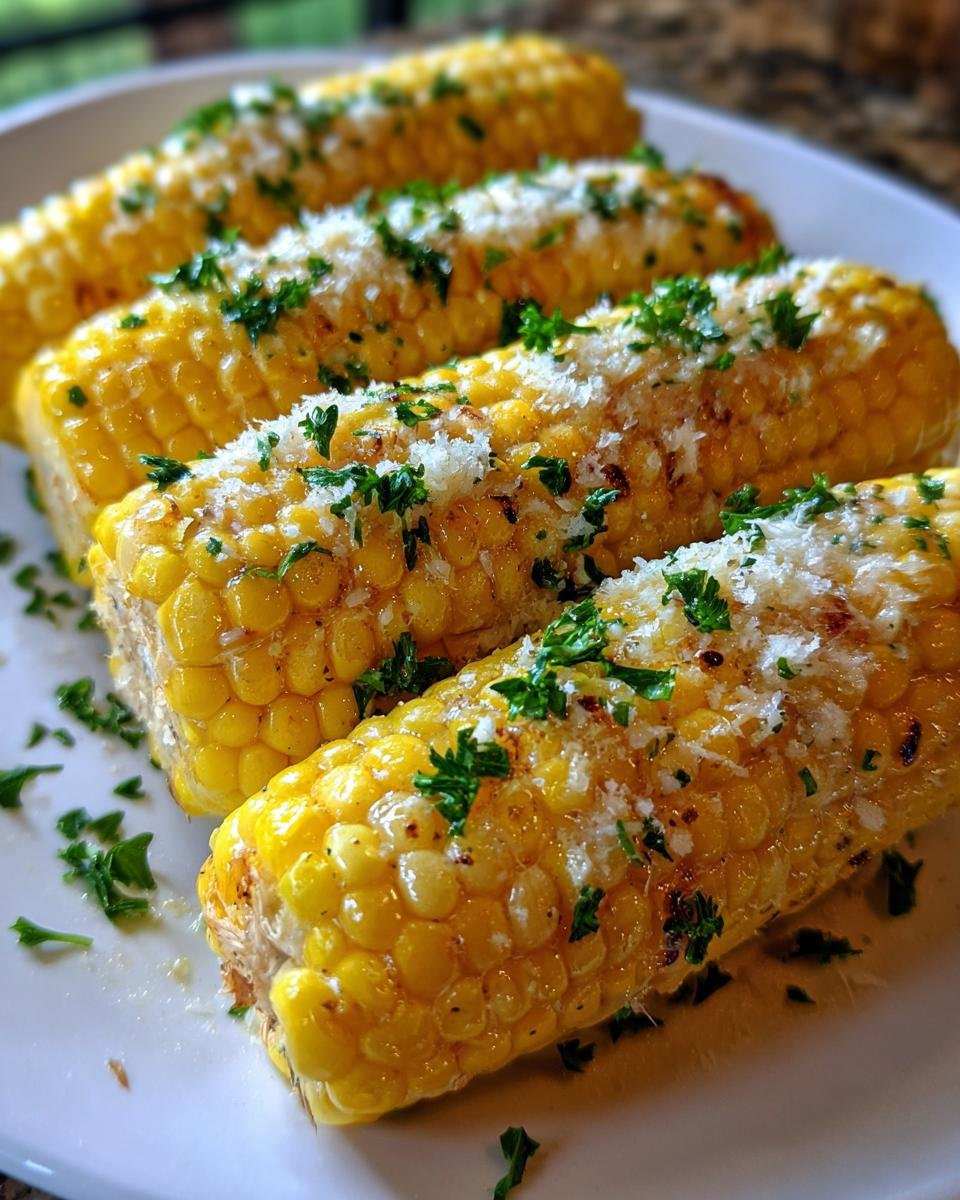
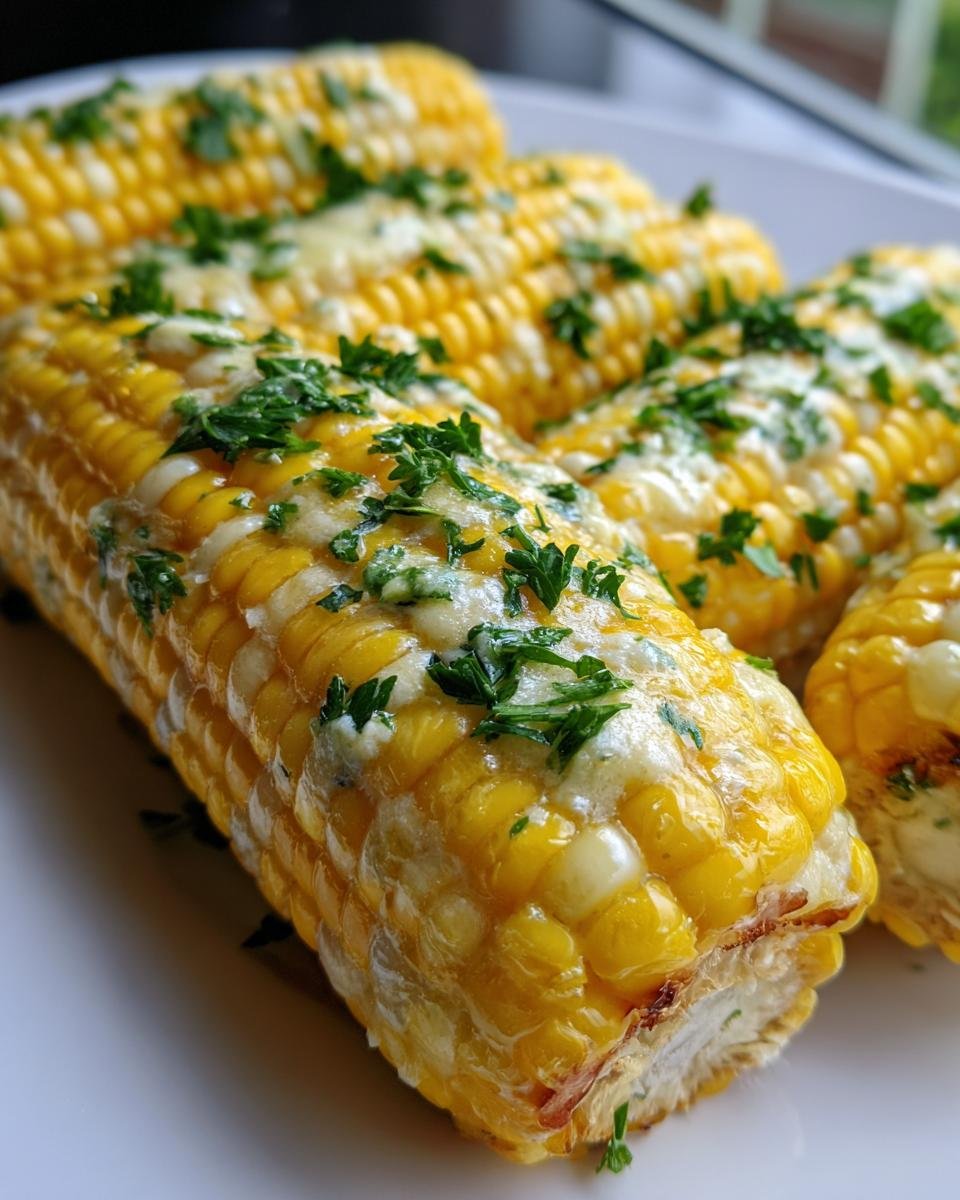
Oh, this Cheesy Garlic Butter Corn on the Cob recipe is an absolute winner, folks! Seriously, I’ve been making this for years, and it never fails to disappear. It’s the kind of side dish that just screams summer, but honestly, I’d eat it any time of year. It’s so ridiculously easy, and the combination of garlic, butter, and cheese on sweet corn? Pure magic. My kids practically inhale it, and it always brings a smile to everyone’s face. Trust me, once you try it, it’ll become a staple at your table too!
Why You’ll Love This Cheesy Garlic Butter Corn on the Cob
Seriously, what’s not to love about this Cheesy Garlic Butter Corn on the Cob? It’s the ultimate easy side dish that packs a serious flavor punch. Here’s why it’s a go-to in my kitchen:
- Super Quick: Ready in just 30 minutes, start to finish!
- Effortlessly Easy: Minimal prep, maximum deliciousness. Anyone can make this!
- Incredibly Flavorful: That garlic butter and cheesy combo is just divine.
- So Versatile: Perfect for BBQs, weeknight dinners, or potlucks.
Ingredients for Cheesy Garlic Butter Corn on the Cob
Alright, let’s talk about what you’ll need to make this incredibly tasty Cheesy Garlic Butter Corn on the Cob. It really is just a handful of simple things! You’ll want four ears of nice, fresh corn. Make sure they’re husked, meaning all those papery bits and silk are gone. Then, we’ve got half a cup of unsalted butter, and it’s super important that it’s softened. We’re not melting it, just letting it get nice and pliable. You’ll need about four cloves of garlic, and I like to mince them up really fine so you get that garlic goodness in every bite. For the cheesy part, grab a quarter cup of grated Parmesan cheese. Freshly grated is always best if you have it! And finally, two tablespoons of chopped fresh parsley for a little pop of color and freshness. Oh, and of course, just a little salt and pepper to taste!

Ingredient Notes and Substitutions for Cheesy Garlic Butter Corn on the Cob
So, about that butter – make sure it’s softened, not melted! This is key because it helps the garlic and cheese stick to the corn without making a mess. If you forget to leave it out, you can always cut it into small cubes and let it sit for about 10 minutes. For the cheese, Parmesan is fantastic, but don’t be afraid to mix it up! A sharp cheddar or even some Monterey Jack would be absolutely delicious here. You could even do a blend. And if you don’t have fresh parsley, a little bit of dried parsley will work in a pinch, though the fresh stuff really makes it sing. If you’re feeling adventurous, a pinch of cayenne pepper in the butter mixture adds a lovely little kick to your Cheesy Garlic Butter Corn on the Cob!
How to Prepare Cheesy Garlic Butter Corn on the Cob
Alright, get ready to make some seriously delicious Cheesy Garlic Butter Corn on the Cob. It’s a pretty straightforward process, and honestly, it’s hard to mess up! First things first, you’ll want to get your cooking setup ready. Preheat your grill or your oven to about 400 degrees Fahrenheit (that’s 200 Celsius). While that’s heating up, let’s make that amazing garlic butter. Just take your softened butter – remember, soft, not melted! – and pop it into a small bowl. Then, add your finely minced garlic. Give it a good mix until it’s all combined into a lovely garlicky butter paste. Now, take those husked ears of corn and spread this glorious garlic butter all over them. Make sure you get it into all the little nooks and crannies! Once they’re coated, sprinkle them with a little salt and pepper. The next step is crucial for even cooking: wrap each ear of corn tightly in aluminum foil. This traps all that yummy flavor and steam inside. Now, they’re ready for the heat!
Grilling Your Cheesy Garlic Butter Corn on the Cob
If you’re going the grilling route, carefully place those foil-wrapped corn ears directly on the grill grates. Let them cook for about 15 to 20 minutes. For an extra special touch, after unwrapping them (carefully, it’ll be steamy!), you can pop them back on the grill for a few minutes, turning them, to get some nice char marks. That char adds a whole other level of flavor!
Baking Your Cheesy Garlic Butter Corn on the Cob
If you’re baking it in the oven, just pop those foil-wrapped corn ears onto a baking sheet. They’ll need about 15 to 20 minutes in that 400°F oven. You’ll know they’re ready when the corn is nice and tender. Just be super careful when you unwrap them because all that steam is hot!
Tips for Perfect Cheesy Garlic Butter Corn on the Cob
Okay, to make sure your Cheesy Garlic Butter Corn on the Cob is absolutely perfect every single time, here are a few little tricks I’ve picked up. First, when you’re spreading that garlic butter, don’t be shy! Get it all over, right into the kernels. It’s where all the flavor lives. To check if the corn is tender, just carefully unwrap one ear – if you can easily pierce a kernel with a fork or knife, it’s ready. If it’s still a bit firm, wrap it back up and give it a few more minutes. And remember to season before wrapping; the foil helps keep that salt and pepper right where you want it, flavoring the corn as it cooks. It’s those little things that make all the difference!
Serving Suggestions for Cheesy Garlic Butter Corn on the Cob
This Cheesy Garlic Butter Corn on the Cob is such a crowd-pleaser, and it goes with pretty much everything, especially during the summer months! It’s fantastic alongside grilled chicken or burgers hot off the grill. It also makes a perfect partner for pulled pork or ribs. If you’re having a potluck or a BBQ, this corn is always a welcome addition. It’s a simple side that really elevates any meal, making your whole spread feel a little more special and oh-so-delicious!
Storing and Reheating Your Cheesy Garlic Butter Corn on the Cob
Got some yummy leftover Cheesy Garlic Butter Corn on the Cob? Don’t let it go to waste! Once it’s cooled down a bit, you can wrap those ears tightly in plastic wrap or pop them into an airtight container. They’ll keep nicely in the fridge for about two to three days. To reheat, you can unwrap them and pop them back in a 350°F (175°C) oven for about 10-15 minutes, or until warmed through. You can also give them a quick zap in the microwave, but the oven really helps keep that butter and cheese from getting too messy!
Frequently Asked Questions about Cheesy Garlic Butter Corn on the Cob
Got a few questions swirling around about this amazing Cheesy Garlic Butter Corn on the Cob? I get it! It’s such a popular and easy recipe, but sometimes little things can pop up. Let’s clear a few things up so you can make it perfectly every time. This really is the ultimate summer side dish, and I love how simple it is!
Can I use frozen corn for this recipe?
You sure can! If you’re using frozen corn on the cob, just make sure to thaw it first. You might need to add a couple of extra minutes to the cooking time since it’ll be starting out colder. Just keep an eye on it!
How do I make this recipe spicier?
Oh, easy peasy! If you like a little heat, just add a pinch of cayenne pepper right into that garlic butter mixture before you spread it on the corn. You can also try adding a tiny bit of finely minced jalapeño to the butter. Delicious!
What other cheeses can I use?
Parmesan is fantastic, but feel free to get creative! A sharp cheddar, a melty Monterey Jack, or even a sprinkle of cotija cheese would be amazing on this Cheesy Garlic Butter Corn on the Cob. Sometimes I even do a mix!
Nutritional Information
Just a little heads-up, the nutritional info for this Cheesy Garlic Butter Corn on the Cob is an estimate. It can totally change depending on the exact brands you use and even how much butter and cheese you decide to pile on – no judgment here! It’s all part of the fun of cooking, right?
Print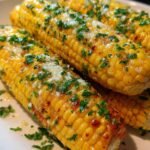
Cheesy Garlic Butter Corn on the Cob: 30 Minute Magic
- Total Time: 30 minutes
- Yield: 4 servings 1x
- Diet: Vegetarian
Description
A simple and delicious recipe for corn on the cob coated in garlic butter and cheese, perfect for any occasion.
Ingredients
- 4 ears of corn, husked
- 1/2 cup unsalted butter, softened
- 4 cloves garlic, minced
- 1/4 cup grated Parmesan cheese
- 2 tablespoons chopped fresh parsley
- Salt and black pepper to taste
Instructions
- Preheat your grill or oven to 400°F (200°C).
- In a small bowl, mix together the softened butter and minced garlic.
- Spread the garlic butter evenly over each ear of corn.
- Season the corn with salt and pepper.
- Wrap each ear of corn tightly in aluminum foil.
- Grill or bake for 15-20 minutes, or until the corn is tender.
- Carefully unwrap the corn.
- Top each ear with grated Parmesan cheese and chopped parsley.
- Serve immediately.
Notes
- You can use cheddar cheese or mozzarella cheese if you prefer.
- For extra flavor, add a pinch of cayenne pepper to the garlic butter.
- If grilling, you can also roast the corn directly on the grill grates for a few minutes after unwrapping to get some char marks.
- Prep Time: 10 minutes
- Cook Time: 20 minutes
- Category: Side Dish
- Method: Grilling or Baking
- Cuisine: American
Nutrition
- Serving Size: 1 ear of corn
- Calories: 300
- Sugar: 6g
- Sodium: 200mg
- Fat: 20g
- Saturated Fat: 12g
- Unsaturated Fat: 8g
- Trans Fat: 0g
- Carbohydrates: 30g
- Fiber: 4g
- Protein: 7g
- Cholesterol: 50mg
Keywords: cheesy corn, garlic corn, buttered corn, grilled corn, baked corn, summer side dish, easy recipe