
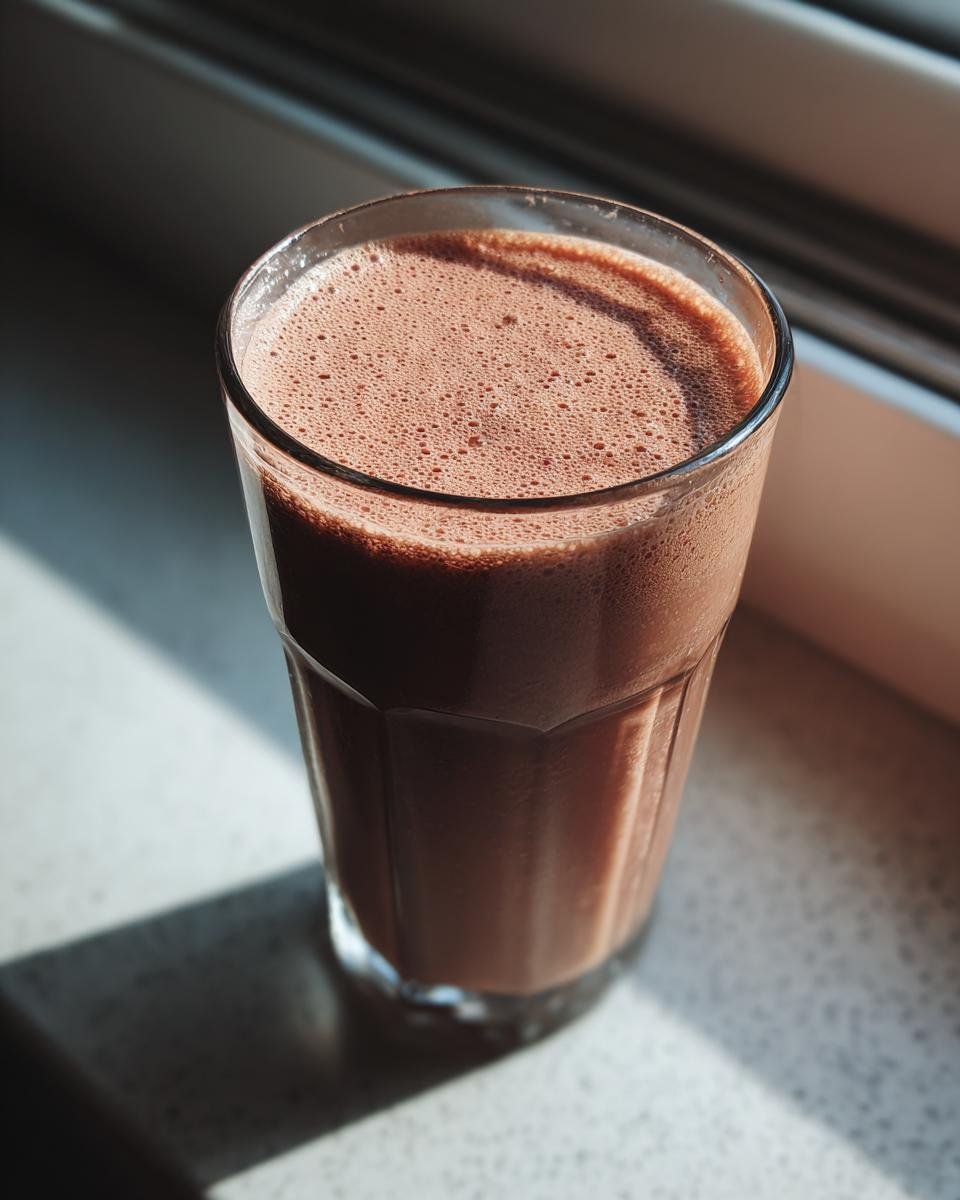
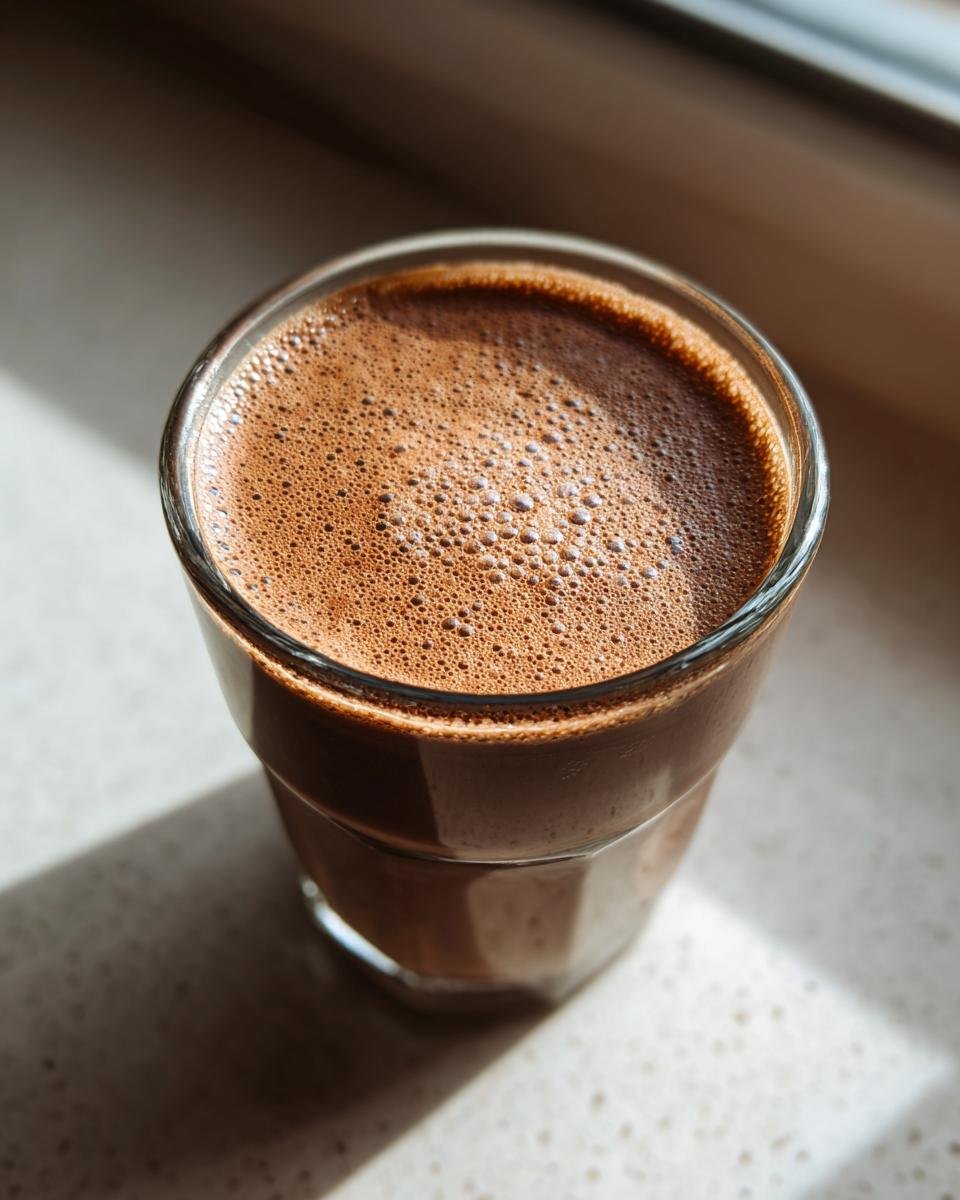
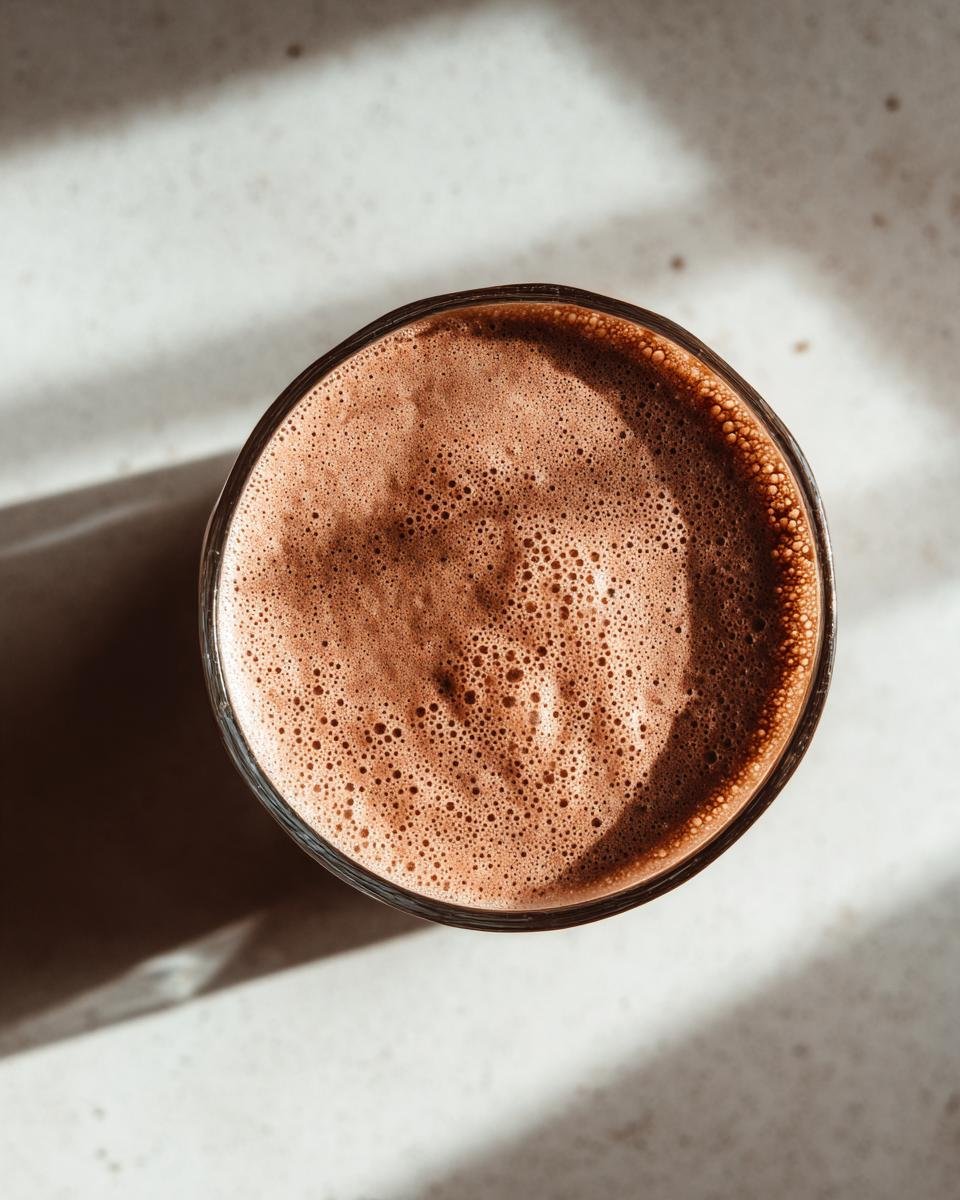
Oh, you know those days when all you want is something delicious, maybe a little decadent, but you also want to feel *good* about what you’re sipping? That’s totally me! I started making my own Chocolate Almond Milk after one too many grocery store runs where I couldn’t pronounce half the ingredients. Seriously, who needs that much “stabilizer”? So, I dove headfirst into the wonderful world of homemade plant-based milks, and let me tell you, whipping up a batch of creamy, dreamy Chocolate Almond Milk has become my go-to sanity saver. Customizing the sweetness is a game-changer, and knowing exactly what’s going into my glass? Pure bliss!
Why You’ll Love This Chocolate Almond Milk
Seriously, you’re gonna be hooked on this chocolate almond milk. It’s one of those recipes that just whispers sweet nothings to your tastebuds while making you feel like a kitchen wizard. Here’s why it’s about to become your new best friend:
- Super Easy! Like, seriously, if you can press a button on a blender, you can make this. Minimal fuss, maximum yummy.
- Healthy & Wholesome: Forget those weird additives. This is pure, creamy goodness powered by almonds, cocoa, and a touch of sweetness. Your body will thank you!
- Tastes Amazing: It’s rich, it’s chocolatey, it’s got that perfect hint of almond. It’s the ultimate treat without the guilt.
- So Versatile: Drink it straight up, pour it on cereal, blend it into smoothies, or even use it in your baking. The possibilities are endless!

Ingredients for Your Perfect Chocolate Almond Milk
Okay, so getting this chocolate almond milk just right is all about using good stuff. It’s actually super simple – you probably have most of it already! Here’s what you’ll need to make a fantastic batch:
- 1 cup raw almonds: Make sure they’re raw (not roasted or salted) so they blend up nicely.
- 3 cups fresh water: This is for blending with the almonds. We’ll add more later if you want it thinner!
- 1/4 cup unsweetened cocoa powder: This is where all that deep chocolate flavor comes from! Use good quality stuff if you have it.
- 1/4 cup maple syrup or other sweetener: I’m a big fan of maple syrup for that subtle hint of caramel, but honey, agave, or even a couple of pitted Medjool dates work WONDERFULLY too! Adjust this to how sweet *you* like it.
- 1 teaspoon vanilla extract: This just rounds out all the flavors and makes everything sing.
- Pinch of salt: Don’t skip this! It really wakes up the chocolate flavor and balances the sweetness. Just a tiny pinch, promise!
Step-by-Step Guide to Making Chocolate Almond Milk
Alright, ready to make some magic happen? This is where the fun starts! Making your own chocolate almond milk is way easier than you might think. It’s all about a few simple steps that lead to pure deliciousness. Don’t worry if your first try isn’t *exactly* like a store-bought carton – homemade is always better, and you’ll get the hang of it super fast. Trust me, the aroma alone is worth it! If you’re feeling adventurous after this, you might even want to try making something like [homemade chili garlic sauce] – but let’s master this first!
Soaking and Preparing the Almonds
First things first, those almonds need a little spa treatment! Pop your raw almonds into a bowl and cover them with water. You can do this for at least 4 hours, but I usually just let them hang out overnight in the fridge. This softens them up so much, making them super creamy when blended. After they’ve had their soak, just drain ’em and give ’em a good rinse. Easy peasy!
Blending for Smooth Chocolate Almond Milk
Now for the fun part! Dump those soaked and rinsed almonds into your blender. Add your 3 cups of fresh water. If you have a super-duper powerful blender, go for it! Blend it all up until it looks really smooth and creamy. I usually go for about a minute or two, letting the blender do all the hard work. You want it super smooth before we strain it.
Straining for Silky Texture
This step is key for that silky smooth texture you’re looking for. Grab a fine-mesh sieve or even some cheesecloth if you have it. Line your sieve with the cheesecloth if you’re using it, and place it over a bowl. Slowly pour your blended almond mixture through. Let gravity do its thing! You might need to gently help it along by pressing down with a spoon or your clean hands if you’re only using a sieve. Squeeze out every last drop you can! You can save that leftover almond pulp for baking – so don’t toss it!
Adding the Chocolatey Goodness
Now, pour that lovely strained almond milk back into your blender. This is where it gets decadent! Add in your unsweetened cocoa powder, your maple syrup (or your choice of sweetener – feel free to add a little more or less!), that splash of vanilla extract, and that tiny pinch of salt. Blend it all again until everything is perfectly mixed and you have a gorgeously smooth, chocolatey liquid. Taste it here and add a bit more sweetener if you like it sweeter. You’re the boss!
Tips for the Best Chocolate Almond Milk
Now that you’ve got the basic idea down, let’s talk about making this chocolate almond milk absolutely *perfect* every single time. It’s all about tweaking things just so. Think of me as your little kitchen cheer squad, here to help you avoid any epic fails and land on pure, chocolatey gold. Sometimes, I even feel like I’m on a mission, kind of like when I was trying to perfect my [homemade ketchup] – you just gotta play around with it!
Achieving Your Ideal Consistency
So, how thick or thin do you like your chocolate almond milk? It’s totally up to you! If you want it richer and thicker, like a decadent milkshake base, just cut back on the water next time. Try using only 2.5 cups instead of 3. For a lighter, more drinkable version, you can add up to 3.5 cups of water. Just remember, more water means a less intense almond flavor, so start slow!
Sweetener Options and Adjustments
Sweetness is SO personal, right? Maple syrup is my go-to because it adds a lovely depth, but don’t feel boxed in! Pitted dates are amazing for a natural, caramelly sweetness, or agave nectar works beautifully too. Just add your sweetener a little at a time after blending in the cocoa, taste, and add more if you need it. Remember, some cocoa powders can be a bit bitter, so a little extra sweetness might be needed!
Flavor Variations for Your Chocolate Almond Milk
Want to get a little fancy? I totally do! A little pinch of cinnamon pairs wonderfully with chocolate and almond. Or, if you’re feeling brave, just a teensy bit of cayenne pepper or chili powder gives it a subtle kick that’s absolutely divine. My kids love it when I add a tiny swirl of mint extract – it makes it taste like a chocolate mint dream!
Storage and Enjoyment of Your Homemade Chocolate Almond Milk
Alright, so you’ve made this liquid gold, and now you’re wondering how to keep it fresh and what to do with it. Good question! Store your homemade chocolate almond milk in a sealed container – a nice glass jar with a tight lid is perfect – in the fridge. It’ll stay delicious for about 3 to 4 days. Give it a good shake before each use, as it will naturally separate a bit. Trust me, you’ll probably drink it all way before then! It’s perfect on its own when you need a chocolate fix, but it’s also amazing in smoothies, poured over granola, or even used to make a dreamy hot chocolate. If you’re feeling inspired, you could even use it in some of those no-bake dessert recipes, like [these incredible no-bake cakes]! The possibilities are, as they say, endless.
Frequently Asked Questions about Chocolate Almond Milk
Got questions about whipping up this amazing homemade chocolate almond milk? I totally get it! It’s always good to have a few pointers. Here are some things people often ask, and I’m happy to spill the beans!
Can I use pre-soaked almonds?
Absolutely! Using pre-soaked almonds is actually the *best* way to go. Soaking them overnight (or for at least 4 hours) makes them much softer and easier to blend into a super creamy, smooth dairy-free milk. It really makes all the difference for that dreamy texture.
How long does homemade Chocolate Almond Milk last?
This is a great question for anyone wanting to make a batch for the week! Your delicious homemade chocolate almond milk will stay fresh and tasty in the refrigerator for about 3 to 4 days. Just make sure it’s in a good, airtight container. Oh, and give it a good shake before you pour it, since it will naturally separate a little.
What can I do with the leftover almond pulp?
Don’t you dare toss that almond pulp! It’s packed with goodness. I love to dry it out a bit and then add it to my pancake or waffle batter for extra fiber and texture. You can also stir it into oatmeal, use it in energy balls (like these yummy [blueberry cookies] – maybe not cookies, but similar idea!), or even add it to muffins or quick breads. It’s a little bit of kitchen magic you can totally reuse!
Nutritional Information Estimate
Just a little heads-up, the nutrition info for homemade chocolate almond milk can wiggle around depending on exactly what you toss in! But, generally, a 1-cup serving (that’s around 3-4 cups total yield) is roughly 150 calories. You’re looking at about 8g of fat (mostly the good kind!), some protein, and around 20g of carbs. It’s a pretty sweet deal for such a delicious drink, especially when compared to, say, a fancy [coconut lime daiquiri] – though that has its own fun place! Remember, these are just ballpark figures to give you an idea!
Print
Chocolate Almond Milk
- Total Time: 10 min
- Yield: 4 cups 1x
- Diet: Vegan
Description
A simple recipe for homemade chocolate almond milk.
Ingredients
- 1 cup raw almonds
- 3 cups water
- 1/4 cup unsweetened cocoa powder
- 1/4 cup maple syrup or other sweetener
- 1 teaspoon vanilla extract
- Pinch of salt
Instructions
- Soak almonds in water for at least 4 hours or overnight.
- Drain and rinse the almonds.
- Combine soaked almonds and 3 cups of fresh water in a blender. Blend until smooth.
- Strain the almond milk through a fine-mesh sieve or cheesecloth into a bowl. Discard the pulp or save for other uses.
- Return the almond milk to the blender. Add cocoa powder, sweetener, vanilla extract, and salt.
- Blend until well combined and smooth.
- Pour into a sealed container and refrigerate.
Notes
- For a thicker milk, use less water.
- Adjust sweetener to your preference.
- Store in the refrigerator for up to 3-4 days.
- Prep Time: 10 min
- Cook Time: 0 min
- Category: Beverage
- Method: Blending
- Cuisine: General
Nutrition
- Serving Size: 1 cup
- Calories: 150
- Sugar: 15g
- Sodium: 50mg
- Fat: 8g
- Saturated Fat: 1g
- Unsaturated Fat: 7g
- Trans Fat: 0g
- Carbohydrates: 20g
- Fiber: 3g
- Protein: 4g
- Cholesterol: 0mg
Keywords: chocolate almond milk, homemade almond milk, dairy-free milk, vegan chocolate milk, plant-based milk