
Oh, the sheer joy of a perfectly sweet moment! For me, those moments almost always involve something chocolatey, and nothing quite hits the spot like homemade chocolate bark. It’s like a little edible gift you can whip up in minutes, perfect for making any occasion feel special. Seriously, who says you need hours in the kitchen to create something magical? These Irresistible Chocolate Bark Recipes For Sweet Moments are my absolute go-to when I want to treat myself or share a little happiness. I remember making my first batch ever, and it was so simple yet so incredibly rewarding. I just love how easy it is to transform a few basic ingredients into something utterly delightful!
Why You’ll Love These Irresistible Chocolate Bark Recipes
Seriously, you’re going to adore making these Irresistible Chocolate Bark Recipes For Sweet Moments. They’re a total game-changer!
- Super Simple: Anyone can make this, no fancy skills needed!
- Lightning Fast: Ready in about 15 minutes (plus setting time!).
- Totally You: Customize every single bite with your favorite toppings.
- Deliciously Rewarding: Pure, unadulterated chocolatey goodness.
Essential Ingredients for Irresistible Chocolate Bark Recipes
Okay, let’s get down to the good stuff! Making these Irresistible Chocolate Bark Recipes For Sweet Moments is blessedly simple. You only need two main stars, but the magic really comes in with those amazing toppings!
First up, you’ll need about 12 ounces of good quality chocolate. This is where you can really play! I love using a mix of dark and milk chocolate, or sometimes just pure dark chocolate when I’m feeling fancy. White chocolate is also fantastic, especially with certain toppings. Make sure it’s chocolate you actually love to eat on its own, because its flavor really shines here. You’ll want to have it ready to be melted down to a smooth, luscious liquid.

Then comes the fun part: the toppings! You’ll want around 1 cup of your chosen goodies. Honestly, the sky’s the limit here! Think crunchy nuts like almonds, pistachios, or pecans. Sweet and chewy dried fruits like cranberries, apricots, or cherries. Salty pretzels or potato chips for that perfect sweet-and-salty combo. Little candies, sprinkles, crushed cookies – whatever your heart desires! Just remember to have them prepped and ready to go because once the chocolate is melted, things move fast!
Step-by-Step Guide to Making Irresistible Chocolate Bark
Alright, let’s get down to business and make some of these amazing Irresistible Chocolate Bark Recipes For Sweet Moments! It’s honestly so straightforward, you’ll be wondering why you haven’t been making this all your life. Here’s how we do it, step-by-step:
- First things first, grab a baking sheet and line it with some parchment paper. Trust me on this – it makes cleanup a total breeze and ensures your bark slides right off later.
- Get your gorgeous chocolate ready! You can melt it super gently either in a double boiler (that’s a bowl over a pot of barely simmering water) or in the microwave. If you use the microwave, just do it in 30-second bursts, stirring *really* well between each zap. We want smooth, glossy chocolate, not sadness! For more meltin’ tips, check out this foolproof fudge recipe – many of the same principles apply!
- Once it’s all melted and lovely, pour that beautiful chocolate onto your prepared baking sheet. Use a spatula to spread it out into a nice, even layer. Aim for about a quarter-inch thick – not too thin, not too thick.
- Here’s where your personality shines! As soon as it’s spread, sprinkle all those yummy toppings you picked out right over the top. Don’t wait too long, we want them to stick!
- Now, let the magic happen. Leave it at room temperature for about 30 minutes, or until it feels totally firm to the touch. If your kitchen is super warm, the fridge might be a tad faster, but room temp usually gives it the best texture.
- Once it’s set, grab it and break it into yummy, random pieces. It’s supposed to look rustic and homemade!
- Pop your beautiful bark into an airtight container. It’ll keep perfectly at room temperature for a good week or so (if it lasts that long!).
Melting Your Chocolate Base
Melting chocolate can feel a little intimidating, but it’s seriously no biggie if you’re gentle. My favorite way is the double boiler method because it gives you such great control. Just make sure the water isn’t touching the bottom of your bowl! If you’re microwaving, really, *really* stir between those short bursts. It prevents those dreaded burnt bits. For that super glossy finish, I always give it a good stir with a silicone spatula until it looks like liquid velvet. It’s so satisfying!
Adding Your Favorite Toppings
This is the part where you can let your wild side show! Beyond nuts and pretzels, think crushed up Oreos, a sprinkle of flaky sea salt, chopped up candy bars, dried edible flowers, or even a drizzle of caramel or peanut butter over the top! I’m obsessed with mixing crunchy toasted pecans with tart dried cranberries. Just remember, whatever goodies you choose, make sure they’re nice and dry. Any moisture can make your chocolate go all weird and seize up on you. And for extra pizzazz? Try swirling two kinds of chocolate together first for a cool marbled look before adding your toppings!
Setting and Breaking Your Irresistible Chocolate Bark
Patience, my friends! Letting the bark set at room temperature (about 30 minutes) usually gives it the best texture – nice and firm but not brittle. If you’re in a rush or it’s a hot day, a quick 10-15 minutes in the fridge works too. When it’s all set, just grab the edges of the parchment paper and lift it onto a cutting board. Then, use your hands to break it into pieces. For super clean edges on your breaks, you can gently tap it with the back of a knife, but honestly, most of the charm is in those handmade, jagged edges!
Creative Topping Combinations for Your Chocolate Bark
Oh, the topping possibilities for these Irresistible Chocolate Bark Recipes For Sweet Moments are just endless, and honestly, they’re my very favorite part to brainstorm! It’s where you can really make the bark your own. I love thinking about different flavor themes:
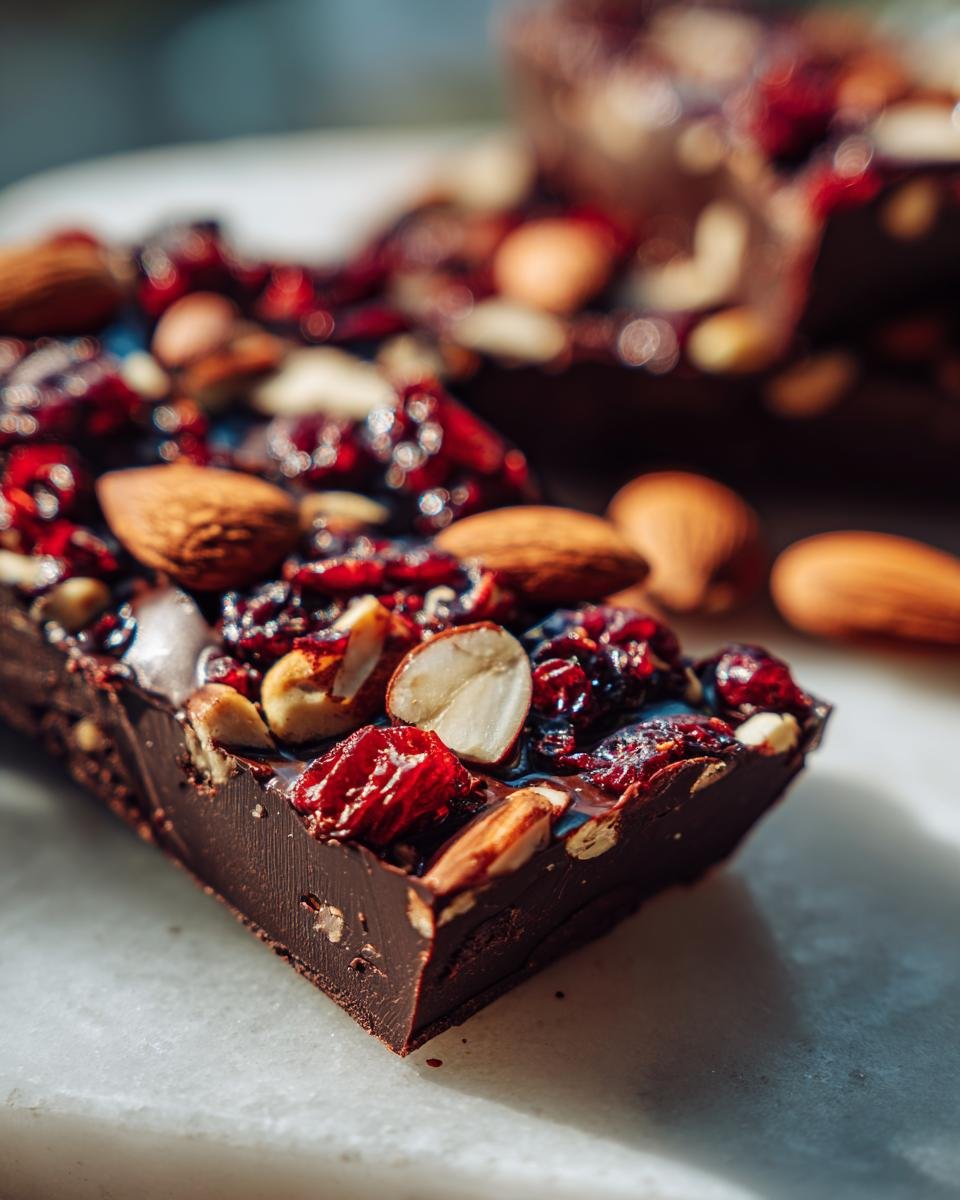
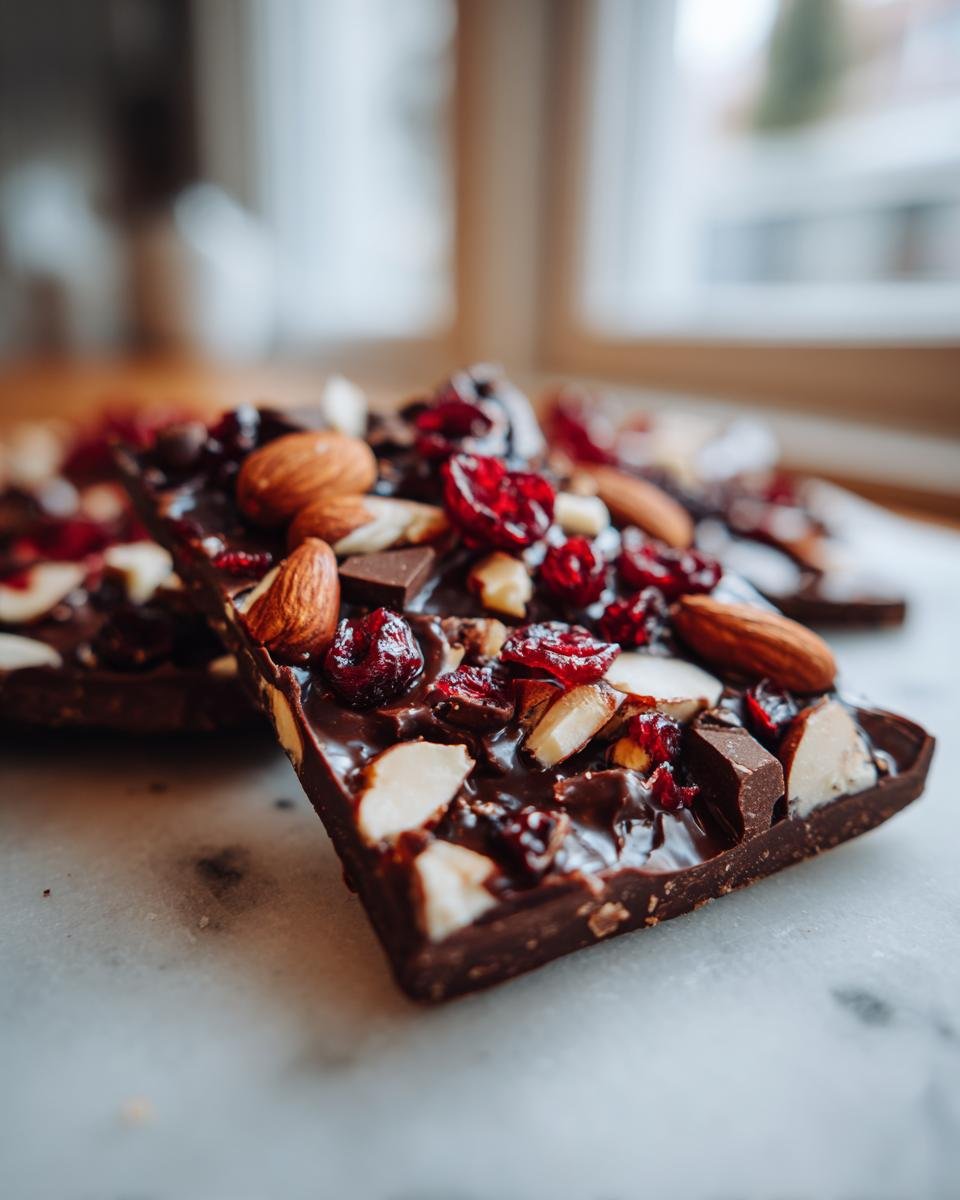
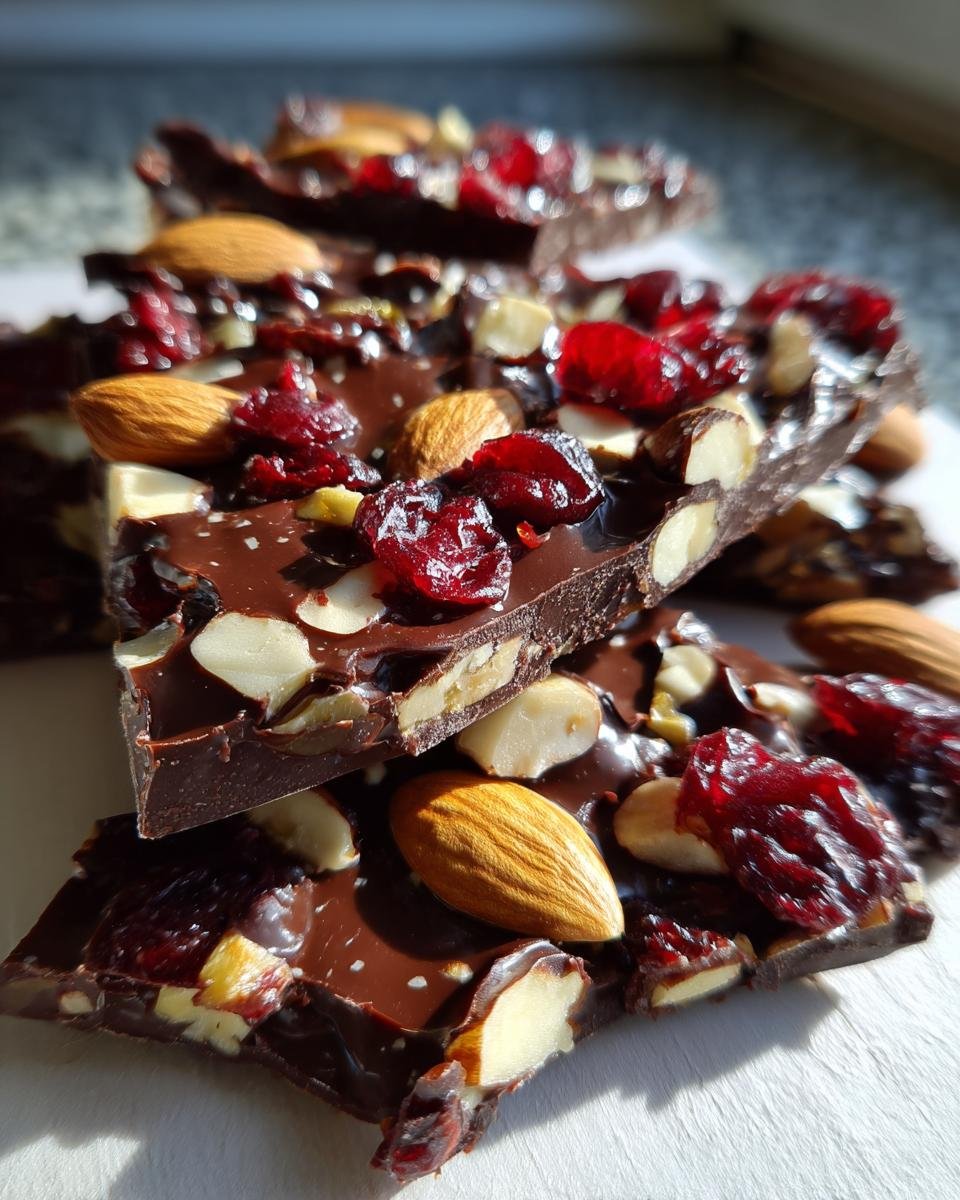
Fruity Fiesta: Think dried cranberries, dried cherries, chopped dried apricots, or even freeze-dried raspberries. A little bit of zest from orange or lime peel, dried, is divine too! My personal fave combo here is dark chocolate with tart cherries and slivered almonds – so good!
Nutty Indulgence: Toasted pecans, crunchy almonds, buttery macadamia nuts, salty pistachios, or even chopped hazelnuts work like a dream. You can even add a drizzle of caramel or peanut butter over the nuts after they’re on the chocolate. Oh, and if you need more truffle inspo, check out these no-bake truffle recipes – they’re packed with great ideas!
Sweet & Salty Crunch: This is where pretzels, mini marshmallows, crushed potato chips, or even crispy rice cereal come in. A sprinkle of flaky sea salt over *any* kind of chocolate bark takes it to a whole new level. My go-to here is milk chocolate with chopped pretzels and a generous pinch of sea salt.
And don’t forget fun things like colorful sprinkles, crushed candy canes during the holidays, cookie crumbles, or even edible flowers for a pretty touch!
Tips for Perfect Chocolate Bark Every Time
Alright, you’ve made this amazing Irresistible Chocolate Bark Recipe For Sweet Moments, and you want it to be absolutely perfect, right? I’ve learned a few little secrets over the years that make all the difference. Don’t worry if your chocolate doesn’t look *exactly* like the pros the first time; a little practice and these tips will have you making gorgeous bark consistently.
First off, about that chocolate not setting? Make SURE your toppings and bowl are totally dry, otherwise, your chocolate can seize up and get all thick and clumpy. If it does happen, don’t panic! You can sometimes salvage it by stirring in a tiny bit more melted chocolate or a teaspoon of neutral oil, but it’s best to prevent it! And for that beautiful, non-chalky look, try to avoid refrigerating it for too long. If you do, condensation can form, leading to something called “bloom.” Room temperature setting is your friend!
Also, for super clean breaks that look professional, let it set *completely* firm. Then, instead of just randomly snapping it, place it on a sturdy board and carefully, but firmly, tap down on it with the back of a heavy knife or even a meat mallet. It helps create more uniform pieces. If you’re thinking about presentation, a little drizzle of contrasting chocolate or strategically placed sprinkles can make it look extra special. For more kitchen tricks, remember this guacamole recipe also has tips on keeping things fresh and looking good!
Storage and Serving Suggestions
Keeping your gorgeous homemade chocolate bark fresh is super easy! Just pop it into an airtight container at room temperature – it’ll stay yummy for about a week, assuming it lasts that long, of course! Avoid the fridge if you can, as condensation can make it a little dull looking; room temp is best. Serve it up with your morning coffee, alongside a cozy cup of tea, or even break off a few pieces to gift to friends. It always feels so special to get a little taste of homemade love!
Frequently Asked Questions About Chocolate Bark
You’ve got questions, and I’ve got answers! Making these Irresistible Chocolate Bark Recipes For Sweet Moments is so simple, but sometimes a little clarification helps. Here are a few things folks often ask:
Q: Can I use candy melts instead of real chocolate?
A: You totally can! Candy melts are designed to set up firm and are super easy to work with. They don’t have that same complex flavor as real chocolate, but they’re fantastic for bright colors or when you want a foolproof melt and set. They’re often what I grab when I’m doing really intricate designs or crazy colors, like for kids’ parties.
Q: How do I get really clean breaks in my chocolate bark?
A: Ah, the clean break! The key is making sure your bark is completely set and firm – no wiggle room! Letting it set at cool room temperature usually gives a better texture than the fridge. Once it’s solid, place it on a sturdy surface and give it a firm, decisive tap with the back of a heavy knife or even a small meat mallet, right along where you want to break it. It sounds a little aggressive, but it helps snap it cleanly!
Q: Can I freeze chocolate bark?
A: You can, but I usually don’t recommend it for long-term. Freezing can sometimes cause condensation when you take it out, which can lead to ‘bloom’ (those chalky white streaks) or make the texture a bit off. It’s best stored at cool room temperature. If you *have* to freeze it, wrap it super well and try to thaw it slowly in the fridge first to minimize condensation. It’s often better suited for recipes like these no-bake S’mores delights that freeze a bit better!
Estimated Nutritional Information
Just a heads-up, the nutritional info for this stuff can change depending on what kind of chocolate you use and, of course, all those yummy toppings you add! But as a general idea, a serving (about 1 ounce) usually hovers around 150 calories, with about 9g of fat, 17g of carbs, and a couple of grams of protein. It’s a little sweet treat, so enjoy it guilt-free!
Print
Irresistible Chocolate Bark Recipes For Sweet Moments
- Total Time: 15 min
- Yield: 16 servings 1x
- Diet: Vegetarian
Description
A collection of easy and delicious chocolate bark recipes perfect for any sweet occasion.
Ingredients
- 12 ounces good quality chocolate (milk, dark, or white)
- 1 cup assorted toppings (nuts, dried fruit, pretzels, candies, sprinkles)
Instructions
- Line a baking sheet with parchment paper.
- Melt the chocolate using a double boiler or microwave in 30-second intervals, stirring between each.
- Pour the melted chocolate onto the prepared baking sheet and spread it into an even layer, about 1/4 inch thick.
- Immediately sprinkle your chosen toppings evenly over the melted chocolate.
- Let the bark set at room temperature for about 30 minutes, or until firm.
- Once set, break the bark into pieces.
- Store in an airtight container at room temperature.
Notes
- Experiment with different chocolate types and topping combinations.
- For a marbled effect, swirl two types of melted chocolate together before adding toppings.
- Ensure toppings are dry to prevent chocolate from seizing.
- Prep Time: 15 min
- Cook Time: 0 min
- Category: Dessert
- Method: No-Bake
- Cuisine: American
Nutrition
- Serving Size: 1 ounce
- Calories: 150
- Sugar: 15g
- Sodium: 10mg
- Fat: 9g
- Saturated Fat: 5g
- Unsaturated Fat: 4g
- Trans Fat: 0g
- Carbohydrates: 17g
- Fiber: 1g
- Protein: 2g
- Cholesterol: 15mg
Keywords: chocolate bark, easy dessert, no-bake recipe, sweet treats, holiday candy, homemade candy, chocolate recipes