
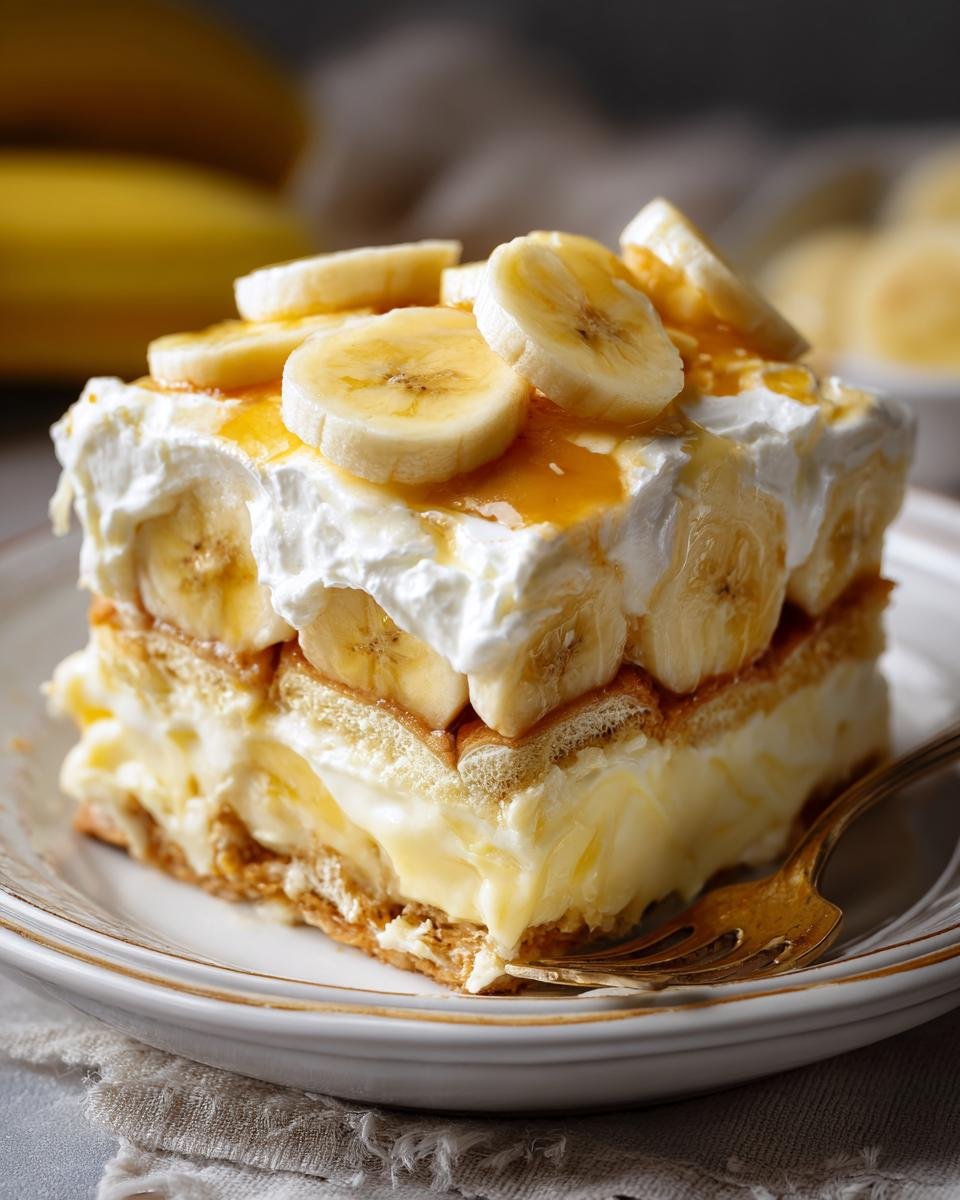
Oh, banana pudding! Just saying the name brings back such amazing memories. There’s something so incredibly comforting and nostalgic about a big dish of creamy, dreamy banana pudding, don’t you think? It’s one of those desserts that just screams ‘home’ and ‘love.’ This isn’t just any banana pudding recipe; it’s the one that always gets rave reviews, guaranteed to disappear in minutes at any get-together. It’s ridiculously simple to make, but the flavor and texture? Absolutely divine. My grandma used to make this for our Sunday dinners, and the smell alone was enough to make us all gather around the kitchen table, practically vibrating with anticipation. Trust me, this classic banana pudding recipe is a keeper!
Why You’ll Love This Banana Pudding Recipe
Seriously, what’s not to adore about this dessert? Here’s why it’s become my go-to:
- Super Simple: You won’t believe how easy it is. No fancy techniques needed!
- Lightning Fast: From start to finish (minus the chilling time, of course!), it takes barely any time at all.
- Crowd Favorite: This always disappears first at parties. It’s a guaranteed hit for all ages.
- Perfectly Creamy: The texture is just spot-on – smooth, rich, and oh-so-satisfying.
- Versatile Delight: Perfect for picnics, potlucks, holidays, or just a Tuesday night treat!
- Classic Comfort: It’s pure nostalgia in a dish, bringing back all those happy food memories.
Ingredients for the Perfect Banana Pudding Recipe
Here’s what you’ll need to whip up this dreamy dessert:
- 1 (3.4 ounce) package instant vanilla pudding mix
- 2 cups milk
- 1 (14 ounce) can sweetened condensed milk
- 1 (12 ounce) container frozen whipped topping, thawed
- 1 (11 ounce) box vanilla wafers
- 3 ripe bananas, sliced
Tips for Success with Your Banana Pudding Recipe
Okay, so making this amazing banana pudding recipe is pretty foolproof, but I’ve picked up a few little tricks over the years that really make it sing. Trust me, these make all the difference between a good banana pudding and an absolutely *spectacular* one!
Ripe Bananas are Key!
This is probably the most important tip for a truly delicious banana pudding. You want your bananas to be *really* ripe. I’m talking yellow with plenty of brown spots already starting to show. They should be soft and super sweet. If your bananas aren’t ripe enough, they won’t have that burst of banana flavor, and they might be a bit too firm. Overripe is perfect here!
Don’t Skimp on the Chilling Time
I know it’s tempting to dive right in after you finish assembling, but that chilling time is crucial for this banana pudding recipe. You need at least 4 hours, but overnight is even better. This gives the vanilla wafers time to soften up and soak in all that yummy pudding goodness, and it lets all the flavors meld together perfectly. It turns this from just pudding with bananas and cookies into a cohesive, heavenly dessert!
Layer Wisely for the Best Texture
When you’re building your layers, think about where you want the softest parts. I like to make sure the vanilla wafers are nicely covered with pudding, especially on the bottom and top layers, so you don’t get any dry, crunchy bits. If you’re making this banana pudding recipe for a special occasion, consider adding a final layer of wafers on top too, maybe just before serving, for a bit of crunch if you want it.
Handle the Whipped Topping Gently
When you fold in the thawed whipped topping, be gentle! You want to keep as much of that airy fluffiness as possible. Don’t overmix it. Just fold until you don’t see any streaks of white topping anymore. This is what gives the pudding that light, creamy texture, rather than a dense, heavy one.
How to Make This Classic Banana Pudding Recipe
Alright, let’s get this pudding party started! Making this banana pudding is honestly a breeze, and the best part is, there’s no oven involved! It’s perfect when you want something sweet and delicious without breaking a sweat. Just follow these simple steps, and you’ll have a crowd-pleasing dessert ready to chill.
First things first, grab a big ol’ mixing bowl. You’re going to whisk together the instant vanilla pudding mix and the milk. Just give it a good whisking until it’s nice and smooth, with no powdery bits hiding anywhere. Then, pour in that can of sweetened condensed milk, and stir it all up until it’s beautifully combined. This is what’s going to make our pudding extra rich and creamy.
Next up is a lighter touch! Gently fold in your thawed whipped topping. Be careful not to overmix here – we want to keep it light and airy. Just fold until you don’t see any streaks of white anymore. It should look like lovely, fluffy clouds! This is where the magic happens for that perfect pudding texture. It’s a method you’ll find in lots of great no-bake cake recipes, actually!
Now for the assembly! Get your 9×13 inch baking dish ready. Spread out a nice, even layer of vanilla wafers on the bottom. Don’t be shy, cover the whole base! Then, arrange your sliced bananas right on top of those wafers. Make sure they’re nicely distributed.

Pour half of your delicious pudding mixture over the banana and wafer layer. Smooth it out gently. And guess what? We just repeat those layers! Add another layer of vanilla wafers, then more sliced bananas. Finally, pour the rest of the pudding mixture over everything, making sure it covers all those yummy bits underneath. It’s like a delicious puzzle!
Once it’s all layered up, cover the dish tightly with plastic wrap or a lid. Pop it into the refrigerator to chill for at least 4 hours. Honestly, if you can let it chill overnight, that’s even better! This gives the wafers time to soften up perfectly and all those flavors to meld into pure bliss. It’s the key to truly amazing banana pudding. It’s so satisfying to pull out a dish this beautiful, kind of like how I feel when I make my delicious no-bake cake recipes.
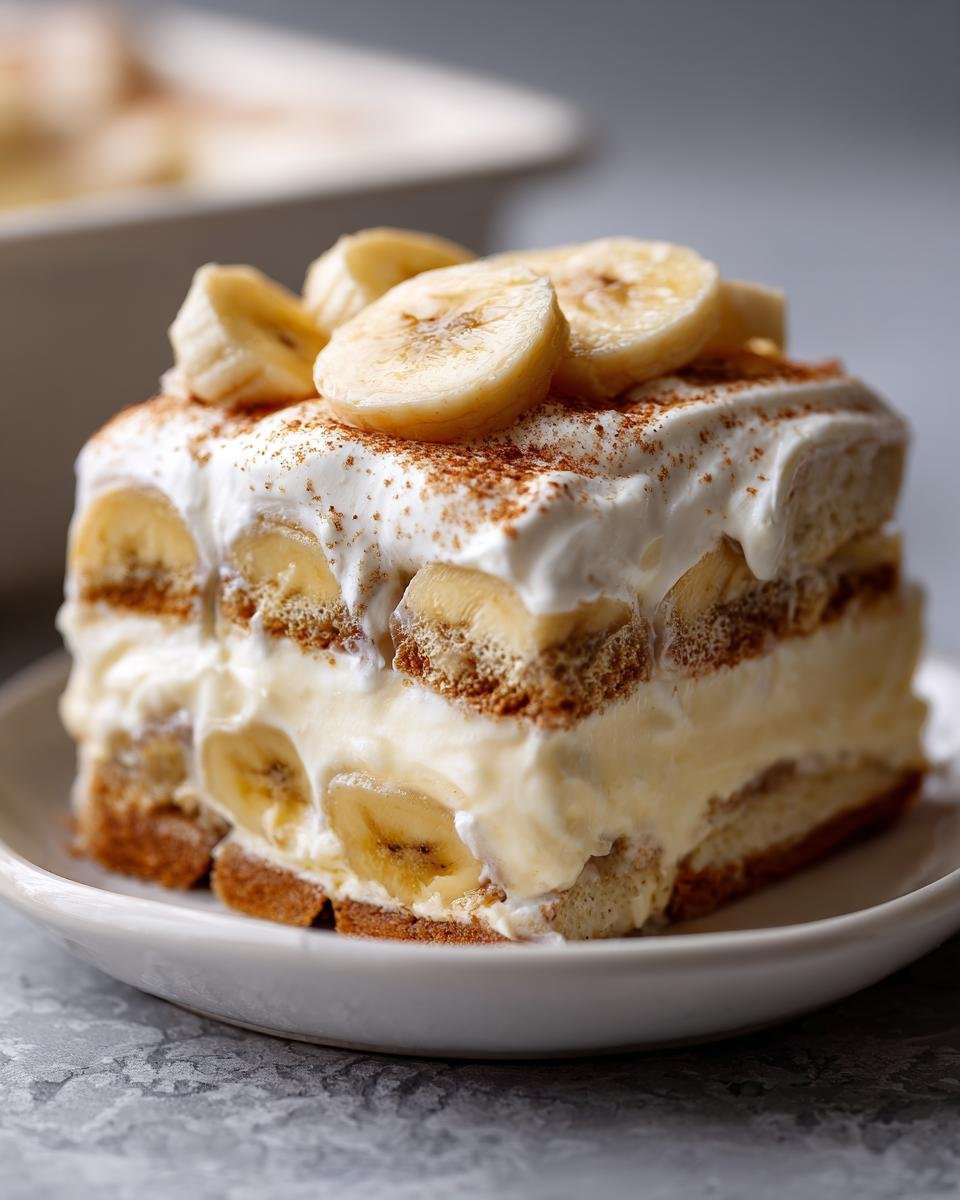
Before serving, feel free to add a dollop of extra whipped topping or some fresh banana slices just for looks. It’s ready to be devoured after chilling!
Ingredient Notes and Substitutions for Banana Pudding
Sometimes you’re in the middle of making this amazing banana pudding and realize you’re missing something, or maybe you just want to switch it up a little! Don’t worry, this recipe is super forgiving.
For the milk, I usually just grab whatever 2% milk I have in the fridge. Whole milk works too and makes it a tad richer, but any milk will do the trick. If you’re out of regular whipped topping, you can totally use a stabilized whipped cream you make yourself, just make sure it’s stiff enough to fold in without deflating. And vanilla wafers? They’re classic for a reason, but if you can’t find them, almost any plain, crisp cookie will work. Think shortbread, even some of those buttery crescent cookies could be fun!
Storage and Reheating Instructions
So, you have some leftover banana pudding? Lucky you! It stores like an absolute dream. Just cover the dish tightly with plastic wrap or tuck it into an airtight container. It’s best eaten within 1 to 2 days. The vanilla wafers will get softer the longer it sits, which some people absolutely love! As for reheating, honestly, this pudding is meant to be served chilled or at room temperature. I wouldn’t recommend reheating it, as it can make the pudding watery and the wafers mushy. Just pop it out of the fridge about 15-20 minutes before serving if it’s too cold.
Serving Suggestions for Your Banana Pudding
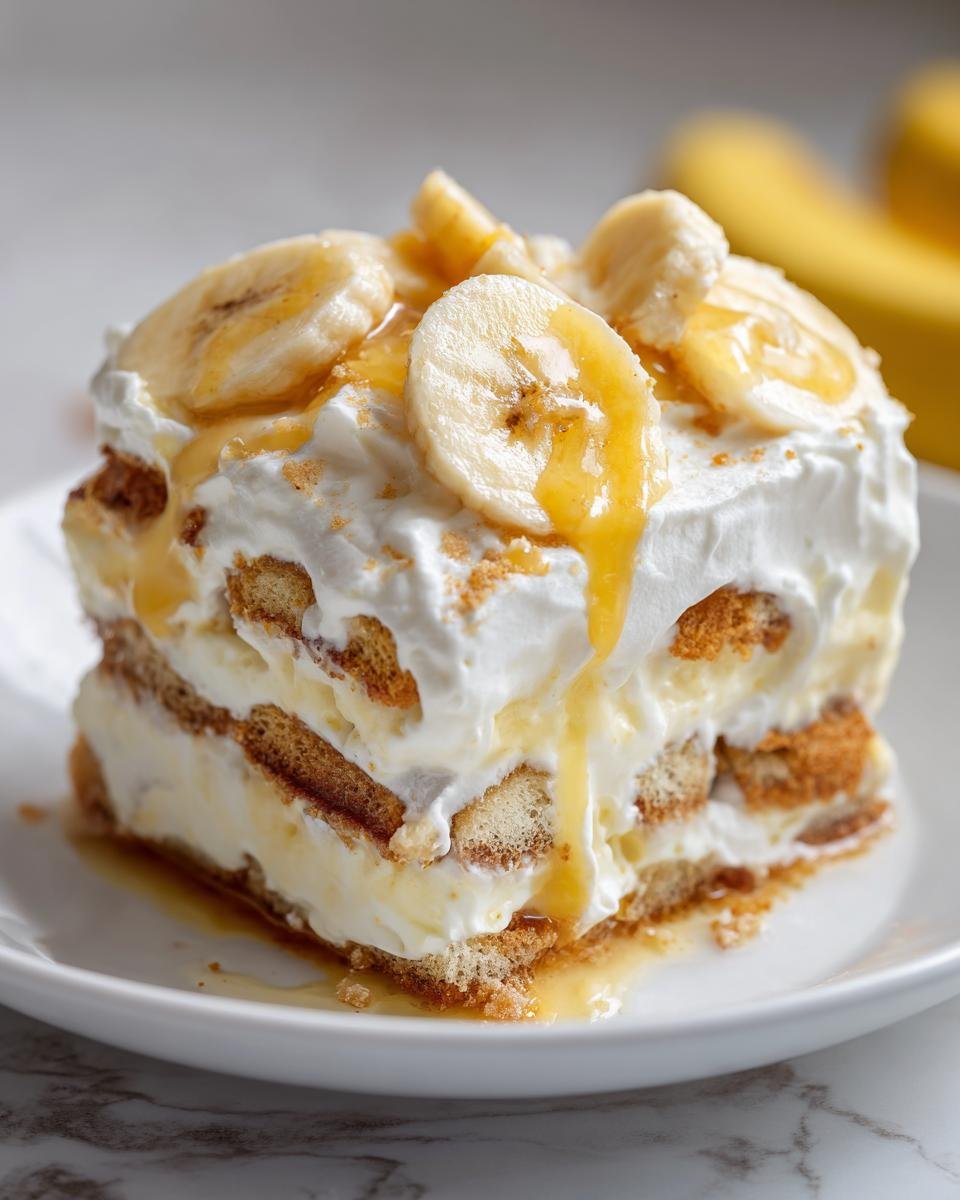
This classic banana pudding recipe is already a star on its own, but a little extra flair never hurt anyone! For a beautiful presentation, I love to add a final dollop of whipped cream or swirl some extra topping right on top just before serving. A few thin slices of fresh banana or even a sprinkle of crushed vanilla wafers can add a lovely touch, too. It’s just perfect on its own after any meal, but it also pairs wonderfully with a light, fruity salad or a simple cup of coffee. Honestly, though, it’s so good, it deserves its own moment center stage as the ultimate dessert!
Frequently Asked Questions about Banana Pudding
Can I make this banana pudding recipe ahead of time?
Absolutely! This banana pudding recipe is actually *better* when made ahead. You’ll want to chill it for at least 4 hours, but overnight is even ideal. This gives the vanilla wafers time to soften up perfectly and all those delicious flavors to meld together. It’s perfect for potlucks or parties because you can make it the day before and just pull it out when you’re ready to serve!
What kind of bananas should I use for banana pudding?
For the absolute best flavor and texture in your banana pudding, you want to use *very ripe* bananas. Look for ones that are mostly yellow with plenty of brown spots all over them. They should be soft and smell really sweet. Less ripe bananas won’t have as much flavor and can sometimes be too firm, which isn’t ideal when you want that creamy, melt-in-your-mouth goodness.
Can I use something other than vanilla wafers?
Yes, you can! While vanilla wafers are the classic choice for this banana pudding recipe, they’re not your only option. Shortbread cookies are a fantastic substitute and add a lovely buttery flavor. Even some types of crisp, plain cookies can work in a pinch. Just make sure they’re not too heavily flavored so they don’t overpower the banana and pudding!
How long does banana pudding last in the refrigerator?
This classic banana pudding recipe is best enjoyed within 1 to 2 days after making it. Since it’s chilled, it stays fresh in the fridge. Just be aware that the longer it sits, the softer the vanilla wafers will become. Some people love that super soft texture, while others prefer a little more chew. If you’re not a fan of super soft wafers, it’s best to enjoy it within the first day or two.
Nutritional Information (Estimated)
Okay, so while this banana pudding recipe is pure comfort and joy, I know some of you like to keep an eye on things! Here’s a general idea of what you’re looking at per serving. Remember, these numbers can totally wiggle around depending on the specific brands you use and how generous you are with your servings. For more on sugar, you might want to check out this article!
- Serving Size: 1 serving
- Calories: ~350
- Sugar: ~45g
- Fat: ~15g
- Carbohydrates: ~50g
- Protein: ~5g
Classic Banana Pudding
- Total Time: 4 hr 20 min
- Yield: 8 servings 1x
- Diet: Vegetarian
Description
A simple and delicious recipe for homemade banana pudding.
Ingredients
- 1 (3.4 ounce) package instant vanilla pudding mix
- 2 cups milk
- 1 (14 ounce) can sweetened condensed milk
- 1 (12 ounce) container frozen whipped topping, thawed
- 1 (11 ounce) box vanilla wafers
- 3 ripe bananas, sliced
Instructions
- In a large bowl, whisk together the instant vanilla pudding mix and milk until smooth.
- Stir in the sweetened condensed milk until well combined.
- Gently fold in the thawed whipped topping until no streaks remain.
- Arrange a layer of vanilla wafers in the bottom of a 9×13 inch baking dish.
- Top the wafers with a layer of sliced bananas.
- Pour half of the pudding mixture over the bananas and wafers.
- Repeat the layers: vanilla wafers, bananas, and the remaining pudding mixture.
- Cover the dish and refrigerate for at least 4 hours, or until firm.
- Before serving, you can garnish with additional whipped topping or banana slices if desired.
Notes
- For best results, use very ripe bananas.
- Chill the pudding for at least 4 hours to allow the flavors to meld and the wafers to soften.
- You can substitute shortbread cookies for vanilla wafers if preferred.
- Prep Time: 20 min
- Cook Time: 0 min
- Category: Dessert
- Method: No Bake
- Cuisine: American
Nutrition
- Serving Size: 1 serving
- Calories: 350
- Sugar: 45g
- Sodium: 200mg
- Fat: 15g
- Saturated Fat: 8g
- Unsaturated Fat: 7g
- Trans Fat: 0g
- Carbohydrates: 50g
- Fiber: 2g
- Protein: 5g
- Cholesterol: 25mg
Keywords: banana pudding, vanilla pudding, no bake dessert, easy dessert, banana dessert, vanilla wafers