
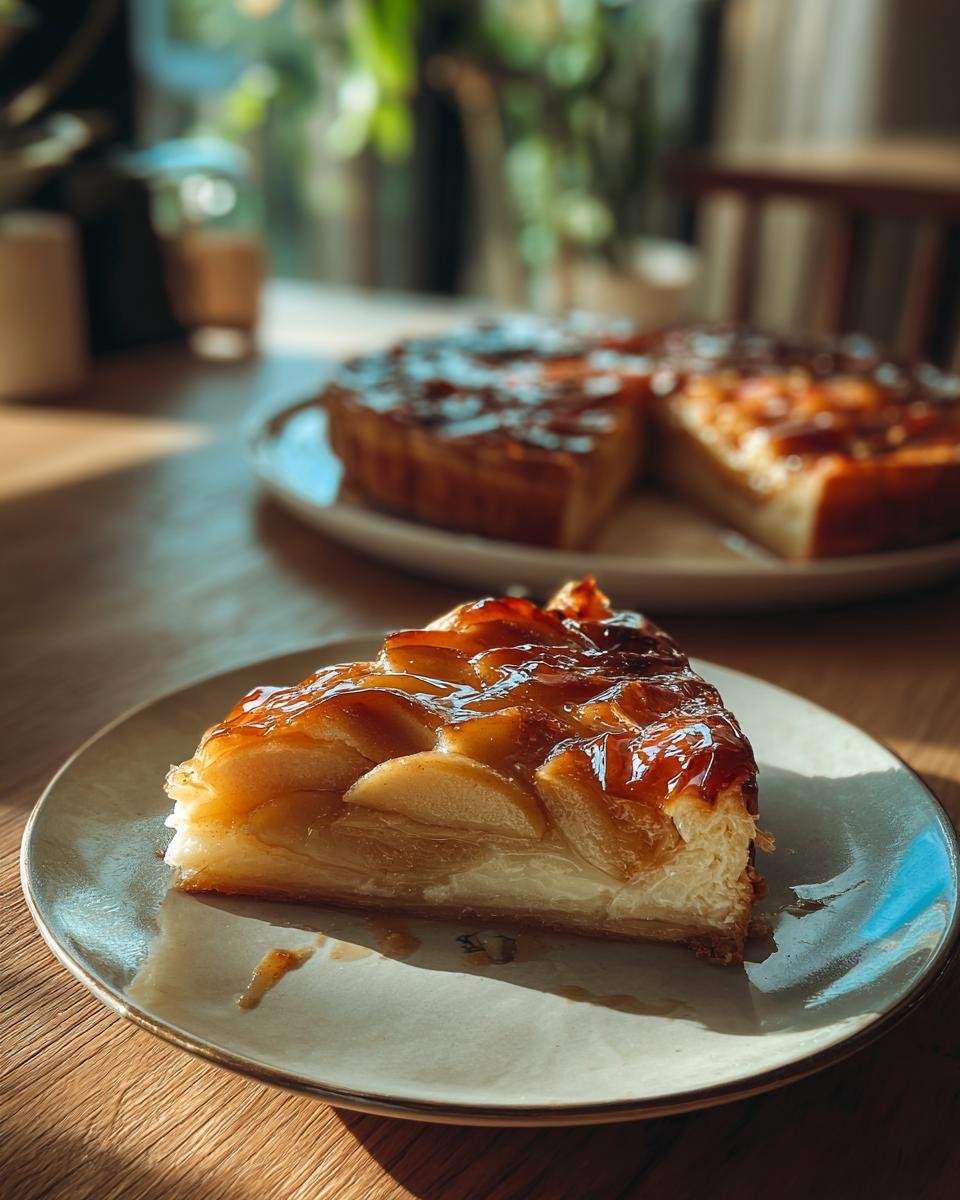
Oh, this Upside-Down Apple Tart! It’s one of those desserts that just feels fancy, you know? Like you’re whisking yourself away to a little French patisserie with every bite. I remember the first time I ever tried making a true Tarte Tatin – it felt a bit intimidating, but honestly, this version of an Upside-Down Apple Tart is surprisingly simple and totally worth it. My absolute favorite part is that moment of truth when you flip it over and see those perfectly caramelized apples gleaming. It’s pure magic for your taste buds and your eyes!

Why You'll Love This Upside-Down Apple Tart
Seriously, this Upside-Down Apple Tart is a winner for so many reasons! You’ll adore it because:
- It’s shockingly easy to whip up, even if you’re new to baking.
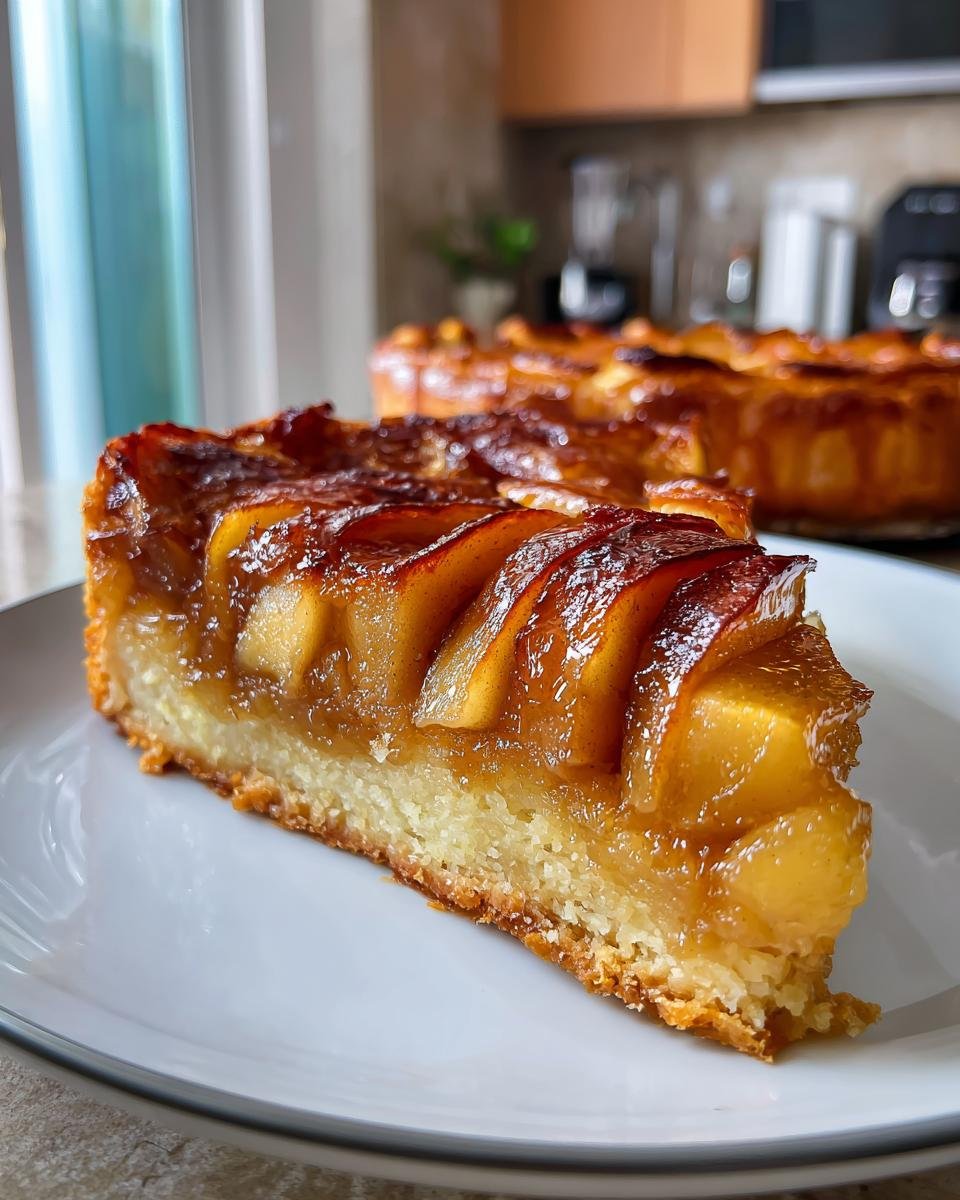
- The flavor combo of sweet, caramelized apples and buttery pastry is just divine.
- It looks absolutely stunning when you flip it out – total showstopper!
- It’s perfect for anything from a cozy weeknight treat to a special dinner party.
Essential Ingredients for Your Upside-Down Apple Tart
Getting your ingredients ready is half the fun, and for this incredible Upside-Down Apple Tart, it’s super straightforward! We’re talking basic pantry staples that transform into something truly special with just a little bit of love and heat. You’ll be amazed at how simple ingredients create such a show-stopping dessert.
Ingredient Clarity for Your Upside-Down Apple Tart
Okay, let’s get down to business with what you’ll need for this gorgeous Upside-Down Apple Tart. First up, puff pastry! You want one sheet, and make sure it’s thawed according to the package directions. Trust me, trying to work with frozen puff pastry is a recipe for frustration. For the caramel layer, which is basically the heart of this tart, you’ll need 2 tablespoons of good old unsalted butter and about 1/4 cup of granulated sugar. And don’t forget a teaspoon of ground cinnamon – it just makes everything smell like cozy heaven! The star of the show, of course, is the apples. You’ll need three large ones, and the key here is to use firm apples that hold their shape. My favorites are Gala, Fuji, or Honeycrisp because they get wonderfully tender but don’t turn to mush. Just peel ‘em, core them, and then slice them up nice and thin – aim for about 1/4 inch thick so they bake evenly. It might seem like a lot of apples, but they cook down quite a bit, and you want a lovely, full layer in your Upside-Down Apple Tart!
Step-by-Step Instructions for Making an Upside-Down Apple Tart
Alright, let’s get this beautiful Upside-Down Apple Tart into the oven! It’s a pretty straightforward process, and honestly, the most fun part is watching it all come together. Just follow these steps and you’ll have a stunning dessert that tastes even better than it looks.
Preheating and Preparing the Skillet
First things first, get that oven preheated to 400°F (200°C). You want it nice and hot before the tart goes in. While that’s happening, grab your oven-safe skillet – and yes, make sure it’s definitely oven-safe, like cast iron or a heavy-bottomed stainless steel pan. Pop it over medium heat on the stovetop and melt that butter. It should sizzle gently, not smoke!
Creating the Caramel Base for Your Upside-Down Apple Tart
Once the butter is melted and looks all shimmery, it’s time to stir in your granulated sugar and that lovely cinnamon. Give it a good mix until it’s all combined into a gooey, fragrant caramel mixture. This is going to be the delicious, sticky topping for your Upside-Down Apple Tart, so make sure it’s evenly distributed in the bottom of the pan.
Arranging the Apples and Pastry
Now for the artistic part! Take your thinly sliced apples and start arranging them over the caramel mixture in the skillet. You can get creative here – a circular pattern, overlapping them slightly, whatever looks prettiest to you! Once your apples are all nestled in, carefully lay your thawed sheet of puff pastry right over the top. Gently tuck in the edges of the pastry down around the sides of the apples and into the skillet. This helps seal everything in and creates a lovely crust.
Baking and Cooling Your Upside-Down Apple Tart
Pop that skillet into your preheated oven and let it bake for about 25 to 30 minutes. You’re looking for the puff pastry to get beautifully golden brown and puffed up like a little cloud. Once it’s out of the oven, resist the urge to flip it immediately! Let it sit in the skillet for about 5 minutes. This little cooling period is super important; it lets the caramel settle just a bit so your Upside-Down Apple Tart doesn’t fall apart when you invert it.
Inverting and Serving Your Upside-Down Apple Tart
This is the moment of truth! Place a serving plate that’s larger than your skillet directly over the top of the tart. With one confident motion, and using oven mitts because that skillet is still hot, carefully flip the whole thing over. Lift off the skillet, and voilà! You should have a gorgeous, caramelized Upside-Down Apple Tart staring back at you.
Tips for a Perfect Upside-Down Apple Tart
Making a truly spectacular Upside-Down Apple Tart is all about a few key things. First, that skillet you’re using? It absolutely *has* to be oven-safe. Cast iron is my go-to because it heats so evenly, but a heavy-bottomed stainless steel pan works too. Just double-check before you start! Another crucial tip is the cooling time after baking. Let your Upside-Down Apple Tart rest in the skillet for about 5 minutes before you try to flip it. This lets the super-hot caramel settle just enough so everything holds together beautifully, avoiding any sad apple-slide disasters. Trust me on this one, it’s a game-changer for presentation!
Frequently Asked Questions About Upside-Down Apple Tart
Got questions about making this lovely Upside-Down Apple Tart? I’ve got answers!
Q: Can I use any kind of apple for this tart?
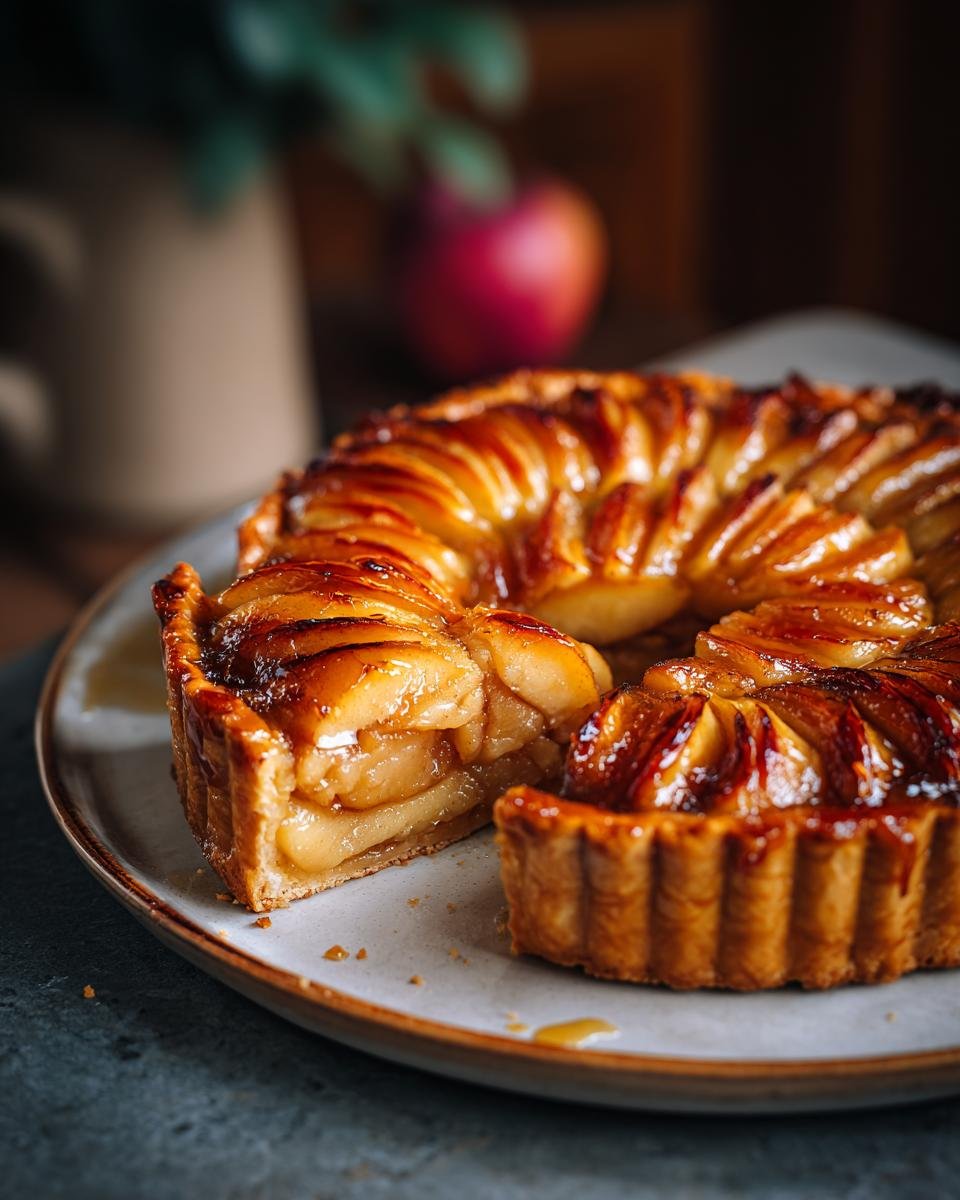
While you *can* use any apple, I really recommend sticking to firm varieties like Gala, Fuji, or Honeycrisp. They hold their shape so much better during baking, giving you those beautiful, distinct apple slices in your finished French Apple Tart. Softer apples can turn a bit mushy, and that’s not quite the look we’re going for!
Q: My caramel seems really dark, is that okay?
A little bit of deep caramel color is perfectly fine, especially if you like a richer flavor. Just make sure it doesn’t smell burnt. If it starts to smell acrid, it’s probably gone too far, and you might want to start over with the caramel base. The goal is a lovely amber to deep golden brown, not black!
Q: What if the apples stick to the pan when I invert it?
This can happen if the caramel cools too much or if you don’t let it rest for those crucial 5 minutes. If a few apples stick, don’t panic! Just gently scrape them off the skillet and place them back onto the tart. A little repositioning and nobody will ever know the difference. It’s still going to taste amazing!
Q: Can I make this ahead of time?
You can bake the tart ahead, let it cool completely, and then cover it tightly. Reheat it gently in a low oven (around 300°F or 150°C) for about 10 minutes before inverting and serving. This helps soften the pastry and caramel again. It’s best enjoyed the same day, but reheating works well!
Nutritional Information for Your Upside-Down Apple Tart
Just a heads-up, these numbers are estimates and can vary a bit based on the exact ingredients you use. But for a slice of this glorious Upside-Down Apple Tart, you’re generally looking at around 350 calories. It’s packed with about 20g of fat (with 12g being saturated), 40g of carbohydrates, and a modest 4g of protein. It’s a treat, for sure, but a totally delicious one!
Sharing Your Delicious Upside-Down Apple Tart
I just love hearing about your baking adventures! If you make this Upside-Down Apple Tart, please tell me how it turned out in the comments below. I’d also be thrilled if you shared a photo on social media – tag me so I can see your beautiful creation! Your feedback really helps other bakers too.
Print
Divine Upside-Down Apple Tart: 3 Easy Steps
- Total Time: 45 minutes
- Yield: 6 servings 1x
- Diet: Vegetarian
Description
A classic French dessert featuring tender apples caramelized in butter and sugar, baked under a buttery pastry crust, and then inverted to reveal a beautiful apple topping.
Ingredients
- 1 sheet puff pastry, thawed
- 2 tablespoons unsalted butter
- 1/4 cup granulated sugar
- 1 teaspoon ground cinnamon
- 3 large apples, peeled, cored, and thinly sliced
Instructions
- Preheat your oven to 400°F (200°C).
- In an oven-safe skillet, melt the butter over medium heat.
- Stir in the sugar and cinnamon until well combined.
- Arrange the apple slices in a decorative pattern over the sugar mixture in the skillet.
- Place the puff pastry sheet over the apples, tucking in the edges around the fruit.
- Bake for 25-30 minutes, or until the pastry is golden brown and puffed.
- Let it cool in the skillet for 5 minutes.
- Carefully invert the tart onto a serving plate.
Notes
- Use firm apples like Gala, Fuji, or Honeycrisp for best results.
- Ensure the skillet is oven-safe.
- Allow the tart to cool slightly before inverting to prevent it from falling apart.
- Prep Time: 15 minutes
- Cook Time: 30 minutes
- Category: Dessert
- Method: Baking
- Cuisine: French
Nutrition
- Serving Size: 1 tart slice
- Calories: 350
- Sugar: 25g
- Sodium: 150mg
- Fat: 20g
- Saturated Fat: 12g
- Unsaturated Fat: 8g
- Trans Fat: 0g
- Carbohydrates: 40g
- Fiber: 3g
- Protein: 4g
- Cholesterol: 50mg
Keywords: Upside-Down Apple Tart, Tarte Tatin, French Apple Tart, Caramelized Apple Tart, Puff Pastry Dessert