
Oh, summer! Is there anything better than fresh corn on the cob? I used to dread cooking it – boiling water forever, messy grills. But then I discovered this absolute game-changer: Genius Microwave Corn on the Cob! Seriously, it’s the quickest, easiest way to get perfectly tender, sweet corn, and it’s become my go-to. Forget the fuss; this method will change your corn game forever!

Why This Genius Microwave Corn on the Cob is a Must-Try
Honestly, this recipe is pure magic for anyone who loves corn but hates the hassle. Here’s why you absolutely need to try it:
- It’s seriously the quickest way to enjoy corn on the cob – like, under 10 minutes from start to finish!
- The cleanup is practically non-existent. Just a plate and maybe a paper towel.
- You get perfectly cooked, tender corn every single time.
- It’s an absolute lifesaver for those busy weeknights or when you’re hosting and need a simple, delicious side dish stat!
Gathering Your Ingredients for Genius Microwave Corn on the Cob
Okay, so the best part about this genius method is how ridiculously simple the ingredient list is. Seriously, you probably have most of it already! You’ll need:
- Fresh Corn Ears: Grab yourself 1 to 4 ears of the freshest corn you can find. Look for bright green husks and plump kernels – that’s the good stuff! Make sure they’re nice and fresh because that’s where all the sweetness comes from.
- Water: This is totally optional, but I like to have a little bit of tap water handy, maybe just a tablespoon or two. It helps create a little steam inside the microwave, which makes the corn extra tender and juicy. Don’t overthink it; regular tap water is perfect.
That’s it! No fancy oils, no weird spices needed for the cooking part. Just good ol’ corn and maybe a splash of water. Easy peasy!
Step-by-Step Guide to Genius Microwave Corn on the Cob
Alright, let’s get this corn party started! It’s so simple, you’ll wonder why you ever did it any other way.
Preparing the Corn: Husking and Silking
First things first, you gotta get that corn ready. Grab your ears of corn and just pull off all those papery husks and those annoying little silk threads. Honestly, I just use my hands for this, and sometimes a quick swipe with a paper towel helps get the last stubborn bits of silk off. Don’t stress about getting every single tiny silk strand; it’s not a beauty contest!
Arrangement in the Microwave
Now, take your naked corn ears and place them on a microwave-safe plate. I usually do one or two ears at a time. If you’re doing more, they might not cook as evenly, so stick to two max for the best results. No need to crowd them!
The Steaming Option: Dampening the Corn
This is where you can add a little *oomph* to your corn. If you want it super tender and juicy, give the corn a quick splash of water. Just a little bit! You can use your hands to lightly dampen the kernels all around. It’s not strictly necessary, but trust me, it makes a difference. If you skip this, it’s still going to be great, just maybe a tad less steamy-tender.
Covering for Optimal Cooking
Next, you need to trap that steam. You can use a damp paper towel – just lightly dampen it, wring out the excess water – and loosely cover the corn. Or, if you have microwave-safe plastic wrap, a loose covering works too. The key is *loosely*; you don’t want it sealed tight, just enough to let some steam escape.
Microwave Cooking Times: Timing is Everything for Genius Microwave Corn on the Cob
Here’s the part that takes just a few minutes. Pop that plate into your microwave and cook on high power. For one ear, I usually go for about 3 minutes. If you’re doing two ears, bump it up to around 4-5 minutes. This can change depending on your microwave’s power, so start with the lower end and add time if needed. You’re looking for the kernels to be bright yellow and plump.
The Crucial Resting Period
Okay, this is super important! Once the microwave dings, don’t just yank it out and start eating. Carefully take the plate out (it’ll be hot!) and let the corn sit for about a minute. This lets the residual heat finish cooking the corn perfectly and makes it safe to handle. It’s like a little flavor-infusing nap for your corn!
Serving Your Genius Microwave Corn on the Cob
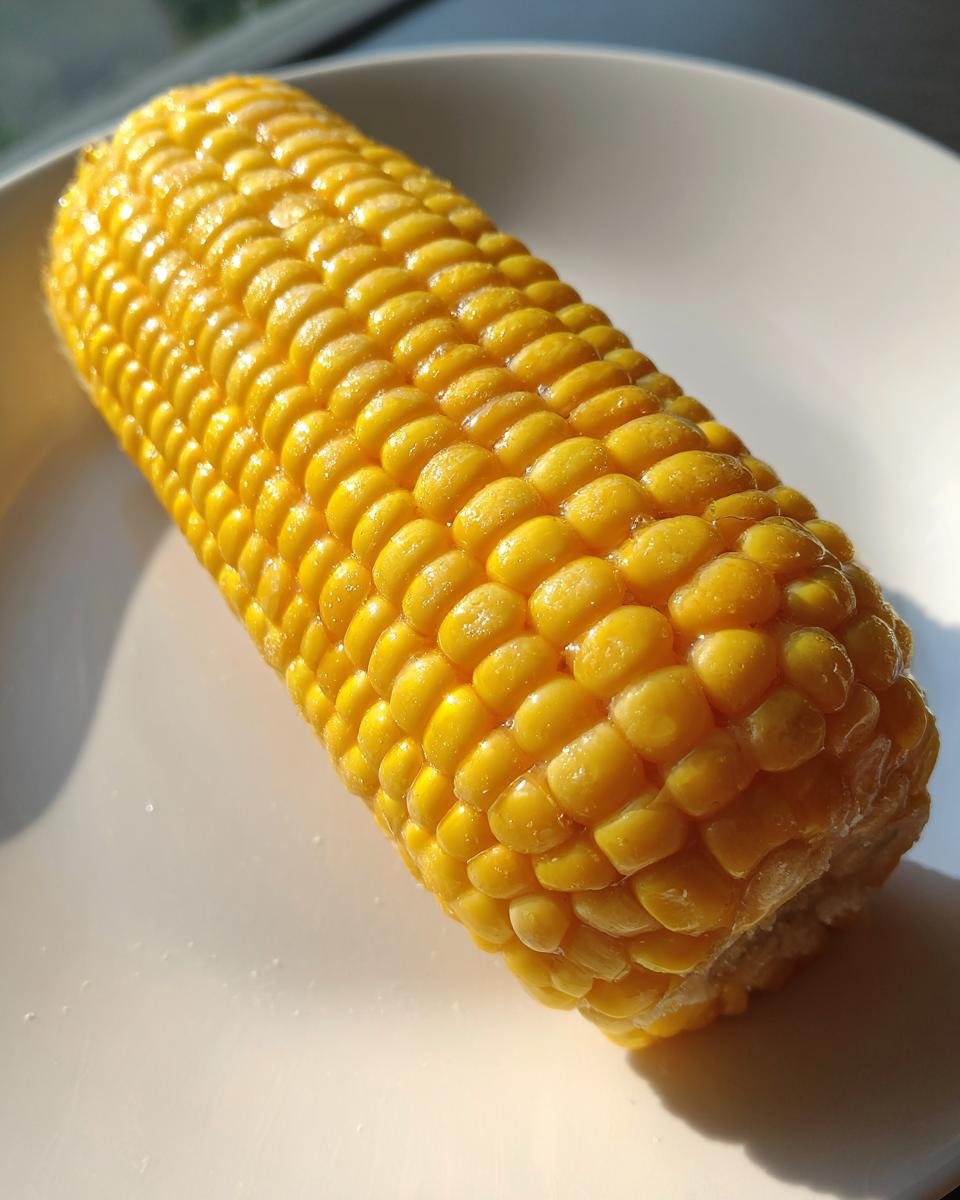
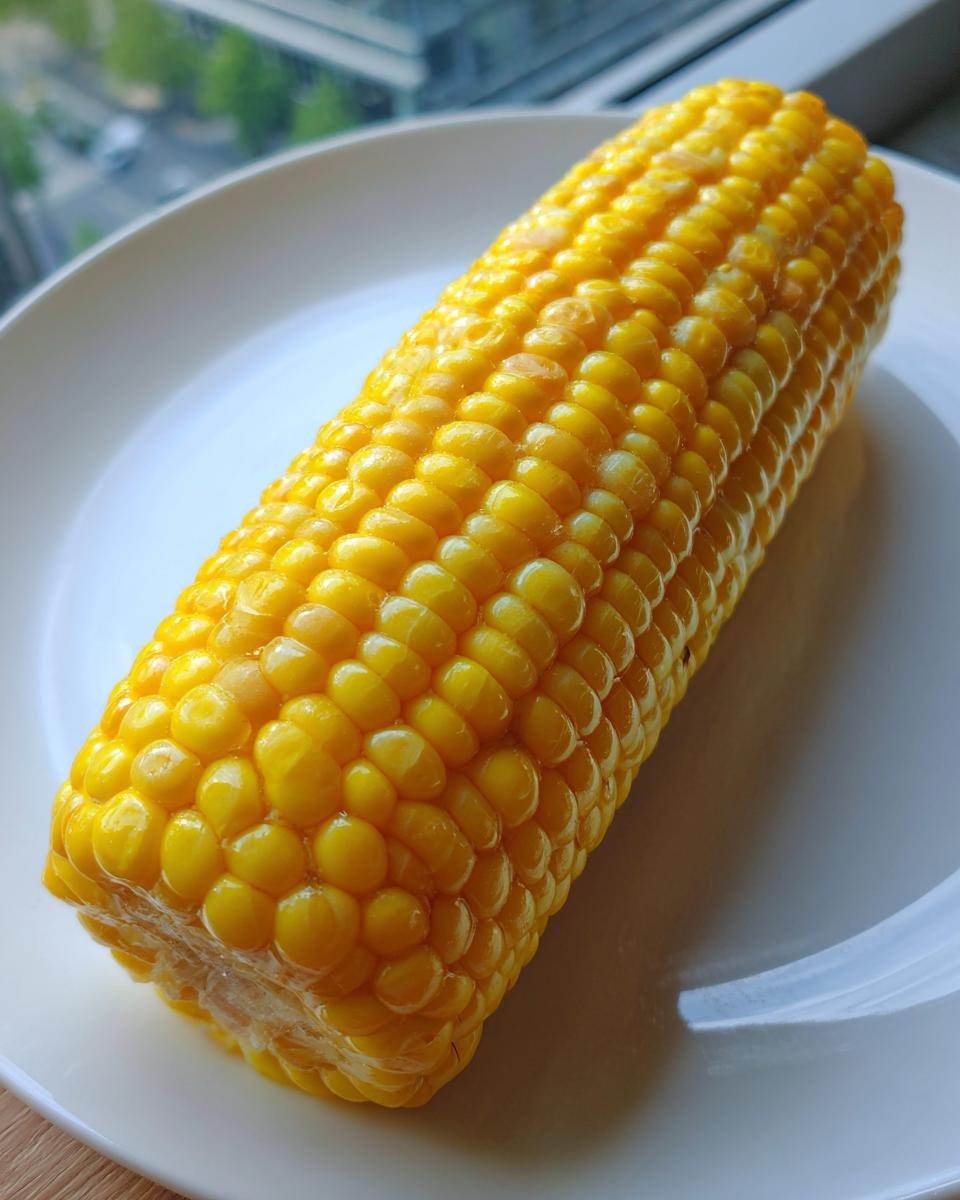
And there you have it! Perfectly cooked corn on the cob, ready in minutes. Carefully remove the paper towel or wrap, add your favorite toppings – butter, salt, maybe some chili lime seasoning – and enjoy your delicious, fuss-free corn!
Tips for Perfect Genius Microwave Corn on the Cob
While this method is pretty foolproof, a few little tricks can make your Genius Microwave Corn on the Cob absolutely perfect every single time. It’s all about understanding your microwave and your corn!
Microwave Wattage Variations
Okay, so microwaves are NOT created equal! Mine is pretty powerful, so I stick to the times I mentioned. But if yours is a bit older or lower wattage, you might need to add an extra minute or two. It’s always better to start with less time and add more if needed. You don’t want mushy corn!
Adjusting for Corn Size
The times I gave are for average-sized ears. If you’ve got some giant ears, they’ll need a little longer. Smaller, more tender ears might cook a bit faster. Just keep an eye on them and use your best judgment. They should look plump and bright yellow when they’re done.
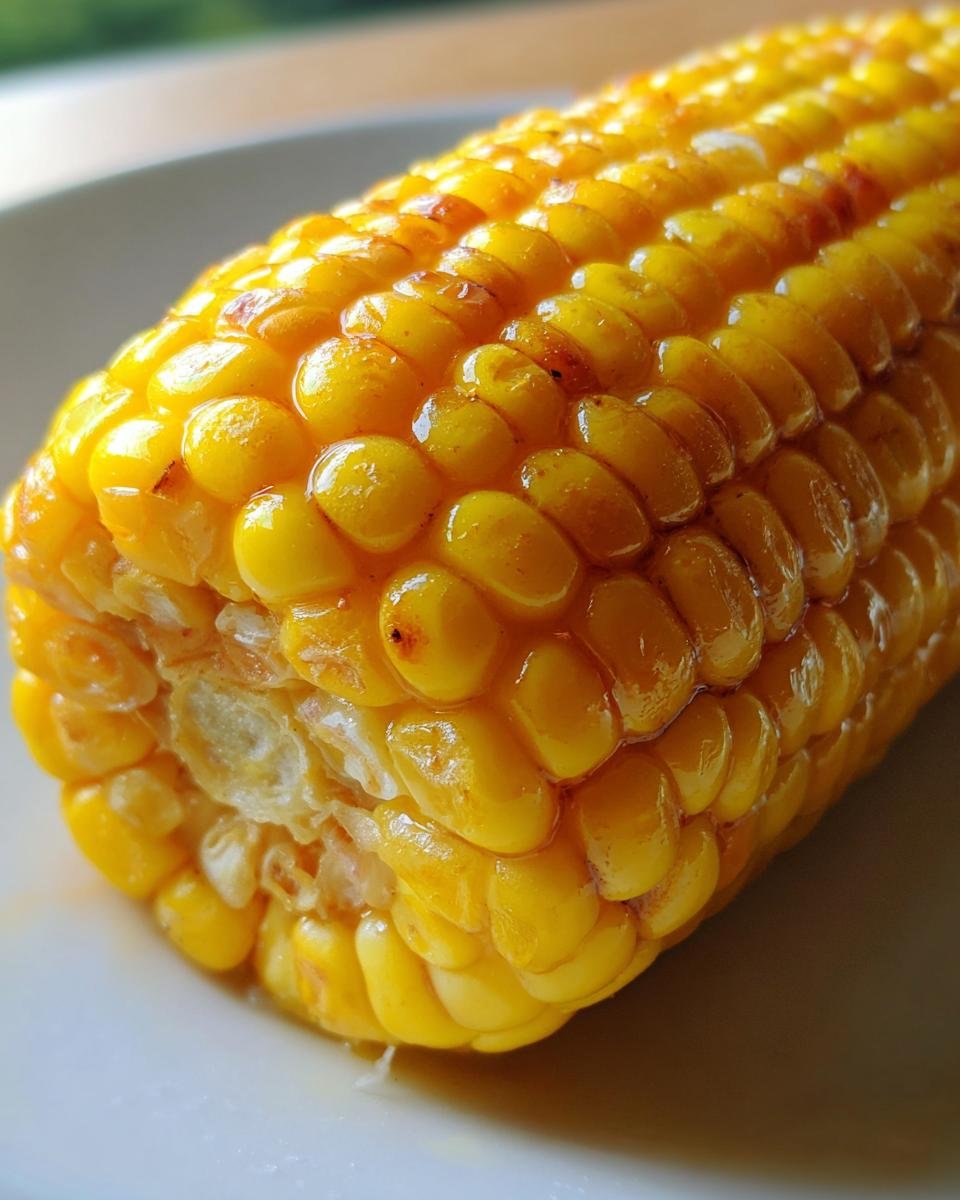
The “Pop” Test: Ensuring Doneness
Besides looking plump, you can tell your corn is ready when you can *almost* hear a faint “pop” from the kernels as they cook. It’s subtle, but it’s a good sign they’re tender and juicy. If they look a little sad and wrinkly, they probably need another 30 seconds to a minute. A quick taste test is always the best way to be sure, though!
Serving Suggestions for Your Genius Microwave Corn on the Cob
Now that you’ve got this amazing Genius Microwave Corn on the Cob ready in minutes, what do you do with it? Oh, the possibilities! My absolute favorite, of course, is the classic. Just slather on some good quality butter and a sprinkle of salt. It’s simple perfection that lets the sweet corn flavor shine through.
But if you’re feeling a little fancy, try whipping up some herb butter! Just mix softened butter with finely chopped parsley, chives, or even a little garlic powder. It adds a lovely flavor boost. And for those who like a little kick, a sprinkle of chili powder, a dash of lime juice, or even some crumbled cotija cheese takes it to a whole new level. It’s the perfect sidekick for burgers, grilled chicken, or just a simple summer salad!
Frequently Asked Questions about Genius Microwave Corn on the Cob
Got questions about this super easy Genius Microwave Corn on the Cob? I’ve got answers! This method is pretty straightforward, but it’s always good to clear things up.
Can I cook more than two ears at once?
You *can*, but I really don’t recommend it if you want perfectly cooked corn. Microwaves heat unevenly, and if you cram too many ears in there, they won’t get that nice, even steam. Stick to one or two ears per batch for the best results. It’s quick enough to do a second batch if you need more!
What if my corn isn’t fully cooked?
No worries, it happens! If your corn comes out and it’s still a bit firm or not quite bright yellow, just pop it back in the microwave for another 30 seconds to a minute. Keep checking it until it’s perfectly tender. Remember, microwave wattages vary, so it might take a little trial and error to find your perfect timing.
Is it necessary to add water?
Honestly, no, it’s not strictly necessary, but I find it really helps! A little bit of water creates extra steam, which makes the corn super tender and moist. If you skip it, the corn will still cook, but it might be a little less juicy. It’s a tiny step that makes a noticeable difference for that perfect, almost steamed texture.
How do I know when the corn is done?
You’ll know your corn is done when the kernels look plump and bright yellow. They should feel tender when you gently poke them. If you’re unsure, you can carefully pierce a kernel with a fork or knife; it should give way easily. The resting time also helps to ensure it finishes cooking through!
Storing and Reheating Your Genius Microwave Corn on the Cob
Got leftover Genius Microwave Corn on the Cob? Lucky you! To store it, let it cool completely, then wrap the ears tightly in plastic wrap or aluminum foil, or place them in an airtight container. They’ll keep nicely in the fridge for a couple of days. When you’re ready to reheat, just pop them back into the microwave, covered loosely with a damp paper towel, for about 30-60 seconds per ear until heated through. It’s almost as good as fresh!
Print
Genius Microwave Corn on Cob: 3-Min Sweetness
- Total Time: 5-10 minutes
- Yield: 1-4 servings 1x
- Diet: Vegetarian
Description
A simple and quick method for cooking corn on the cob in the microwave.
Ingredients
- 1–4 ears of fresh corn
- Water (optional, for steaming)
Instructions
- Remove the husks and silk from the corn.
- Place 1-2 ears of corn on a microwave-safe plate.
- If desired, lightly dampen the corn with water.
- Cover the corn loosely with a damp paper towel or microwave-safe plastic wrap.
- Microwave on high for 3-5 minutes per ear, depending on your microwave’s wattage and corn size.
- Carefully remove from the microwave and let sit for 1 minute before serving.
- Repeat for additional ears of corn.
Notes
- Cooking time may vary based on microwave power.
- Adjust cooking time for larger or smaller ears of corn.
- Serve with butter and salt to taste.
- Prep Time: 2 minutes
- Cook Time: 3-5 minutes per ear
- Category: Side Dish
- Method: Microwave
- Cuisine: American
Nutrition
- Serving Size: 1 ear of corn
- Calories: 80
- Sugar: 3g
- Sodium: 1mg
- Fat: 1g
- Saturated Fat: 0g
- Unsaturated Fat: 0g
- Trans Fat: 0g
- Carbohydrates: 19g
- Fiber: 2g
- Protein: 3g
- Cholesterol: 0mg
Keywords: microwave corn, corn on the cob, quick corn, easy corn, summer side dish, genius corn