
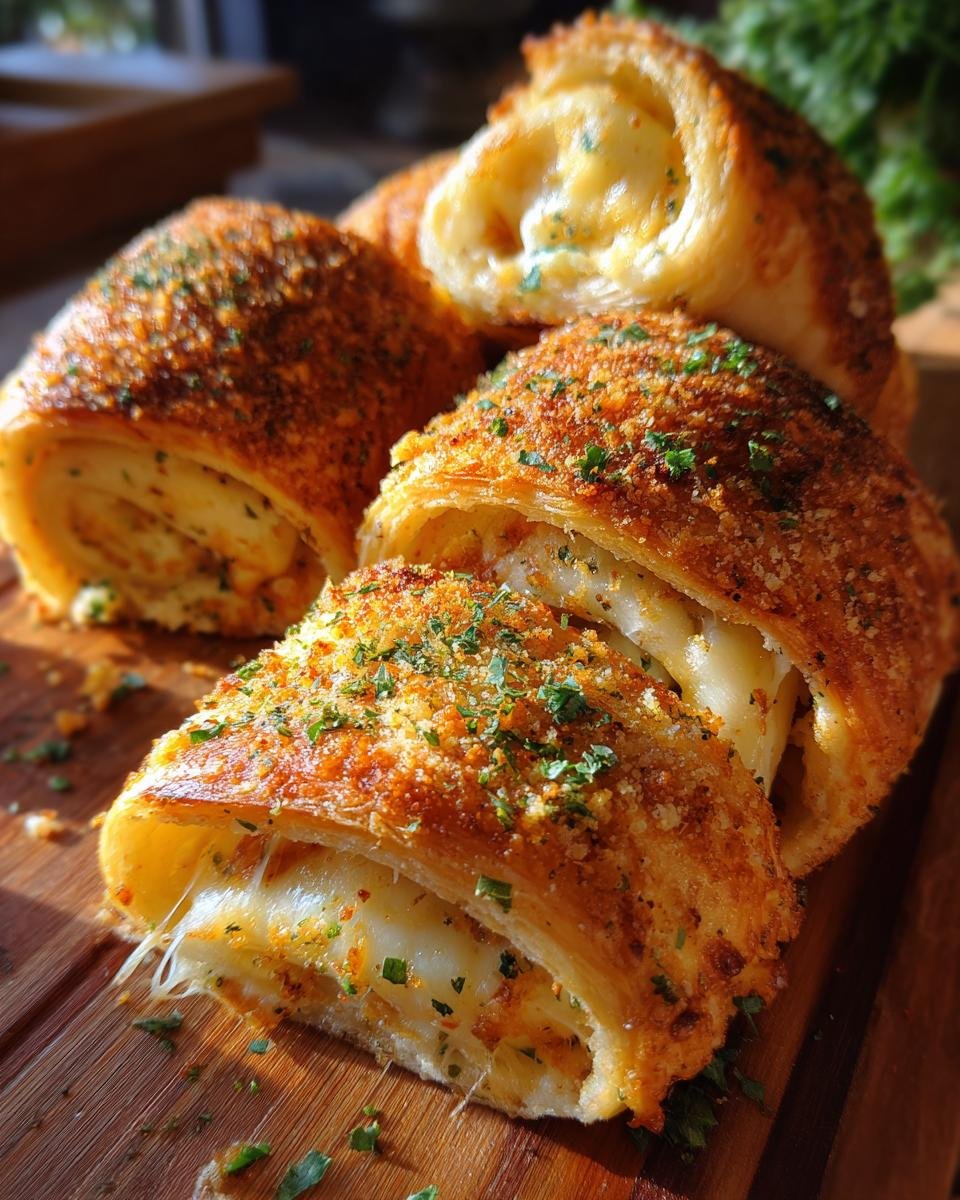
Oh my goodness, you guys HAVE to try these Cheesy Garlic Butter Rollups! Seriously, they’re like little bites of heaven. I whipped these up for the first time when we had friends over last minute, and they were gone in about five minutes flat. Everyone was asking for the recipe, which is always the best compliment, right? They’re just so ridiculously easy to make, and the smell when they’re baking? Pure magic!

Why You’ll Love These Cheesy Garlic Butter Rollups
Honestly, what’s not to love? These Cheesy Garlic Butter Rollups tick all the boxes for a perfect crowd-pleaser:
- Super Easy: Seriously, you just unroll, brush, sprinkle, and roll! It’s almost foolproof.
- Lightning Fast: From start to finish, you’re looking at maybe 25 minutes, tops. Perfect for when you need a quick appetizer or side dish.
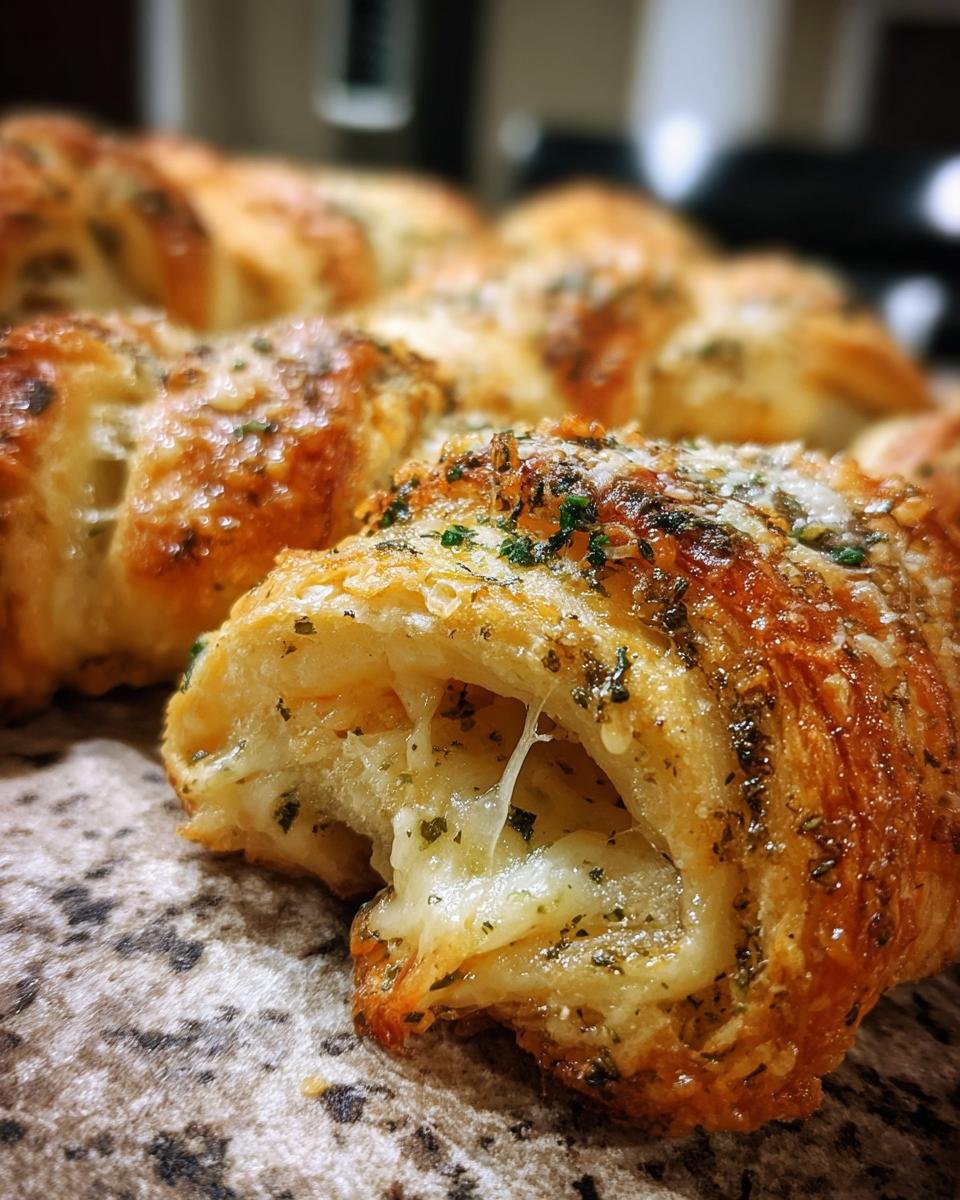
- Flavor Explosion: That garlicky, buttery goodness mixed with gooey, melted cheese? It’s a winning combo every single time.
- So Versatile: Serve them as an appetizer at parties, alongside pasta, with soup, or even just as a snack. They’re welcome everywhere!
- Kid-Approved: Even the pickiest eaters usually go crazy for these. They’re just that good.
A Taste of Home: My Cheesy Garlic Butter Rollups Journey
I remember the first time I made these Cheesy Garlic Butter Rollups. It was for a casual game night, and I needed something quick. I saw a can of crescent rolls in the fridge and had some leftover cheese, and bam! Inspiration struck. They turned out even better than I expected, fluffy on the inside with that perfectly crisp, garlicky exterior. It reminded me of the garlic bread my mom used to make, but with a fun, cheesy twist. Now, they’re my go-to for pretty much any occasion.
Gather Your Ingredients for Cheesy Garlic Butter Rollups
Alright, let’s get down to business! The beauty of these Cheesy Garlic Butter Rollups is that you probably already have most of what you need lurking in your kitchen. They’re made with simple, everyday stuff, which is exactly how I like it. You won’t need any fancy gadgets or hard-to-find ingredients here, just good old pantry staples that come together to make something truly special.
Essential Ingredients for Cheesy Garlic Butter Rollups
Here’s what you’ll need to grab:
- 1 can (8 ounces) refrigerated crescent dinner rolls: Make sure they’re the kind that come in the big tube. They’re super convenient and give you that perfect flaky base.
- 1/4 cup butter, melted: Gotta have that butter! I usually just pop mine in a little bowl in the microwave for about 20-30 seconds until it’s nice and liquid.
- 1 clove garlic, minced: Fresh garlic is key here for that amazing punch of flavor. I just mince it up really fine with my knife.
- 1/4 teaspoon dried parsley: This adds a little color and a subtle herby note.
- 1/4 teaspoon garlic powder: Because you can never have too much garlic, right? This just boosts that garlic flavor even more.
- 1/2 cup shredded mozzarella cheese: For that lovely, gooey, melty cheese pull!
- 1/4 cup grated Parmesan cheese: This adds a nice salty, nutty depth to the cheese blend.
Crafting Perfect Cheesy Garlic Butter Rollups: Step-by-Step
Okay, so now that you’ve got all your goodies ready, let’s get these amazing Cheesy Garlic Butter Rollups made! It’s honestly such a simple process, I promise. It feels fancy, but it’s really just a few easy steps that lead to pure deliciousness. You’ll be amazed at how quickly these come together, and the aroma filling your kitchen? Divine!
Preparing the Dough and Flavor Base
First things first, get that oven preheating to 375°F (190°C). While it’s doing its thing, grab a baking sheet and give it a little grease. You can use cooking spray, butter, or a bit of oil – whatever you have handy. Now, take out that can of crescent rolls. Carefully unroll the dough and then separate it into those little triangles. Don’t worry if they’re not perfect triangles; mine never are!
Next, in a small bowl, let’s make that magical garlic butter mixture. Just pour in your melted butter, add that finely minced garlic clove, the dried parsley, and the garlic powder. Give it a good stir until it’s all combined. This is where all the amazing flavor comes from, so don’t skimp on the stirring!
Now, take a pastry brush or even the back of a spoon and brush this glorious garlic butter all over the dough triangles. Make sure you get a nice even coating. Once they’re all slathered up, it’s time for the cheese! Sprinkle that shredded mozzarella cheese generously over the buttered dough, and then follow it up with the grated Parmesan. Get it all over there; we want maximum cheesiness!
Rolling and Baking Your Cheesy Garlic Butter Rollups
Here comes the fun part: rolling them up! Take each triangle, starting from the wide end, and roll it up towards the pointy tip. Try to keep it snug, but don’t worry if it’s not super tight. Just roll it up so it holds its shape. These are going to puff up a bit in the oven anyway!
Once they’re all rolled, carefully place your Cheesy Garlic Butter Rollups seam-side down onto that prepared baking sheet. This just helps them keep their shape while they bake. Give them a little space between each one; they’ll expand a bit.
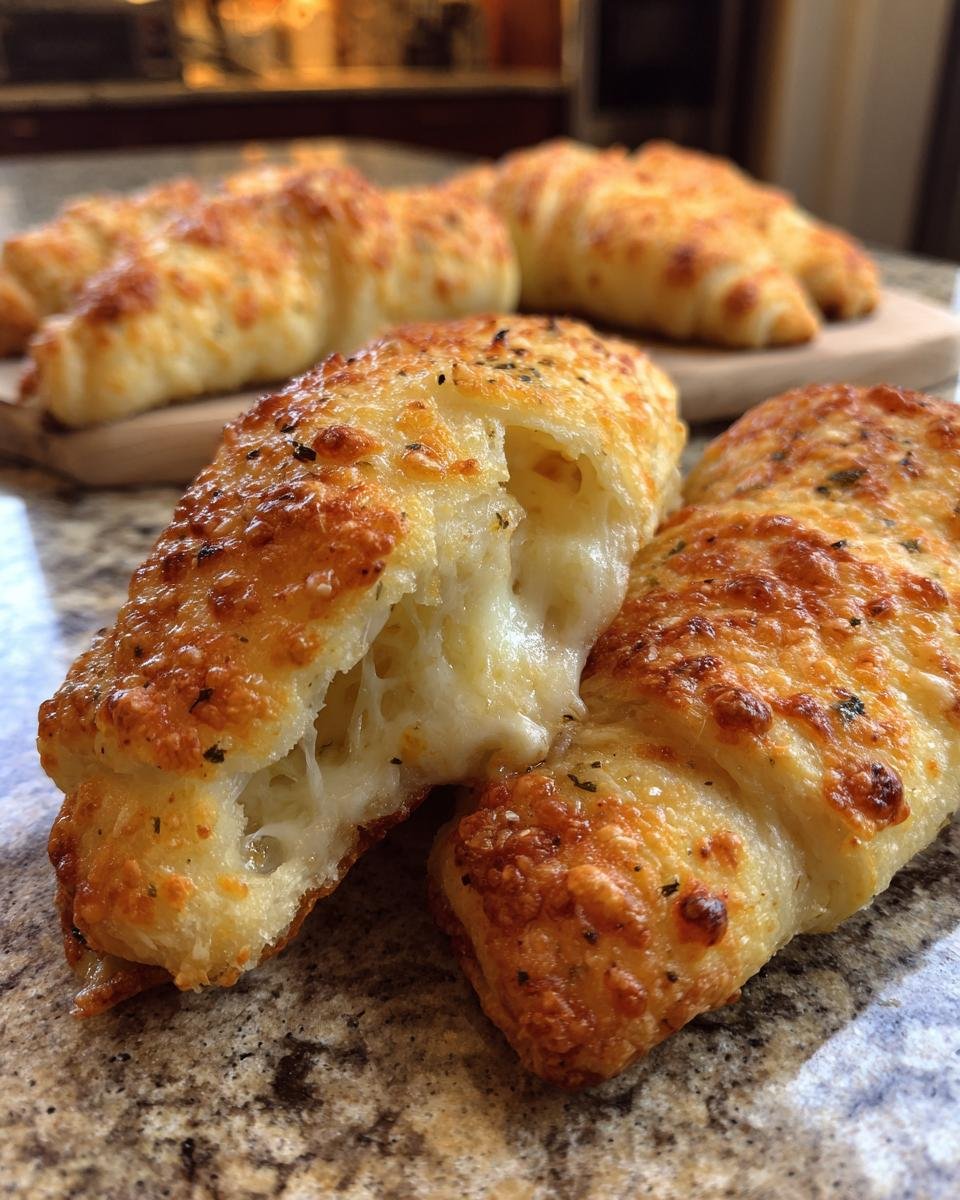
Now, pop that baking sheet into your preheated oven. You’ll want to bake them for about 12 to 15 minutes. Keep an eye on them! You’re looking for that beautiful golden brown color on the dough and that cheese should be all melty and bubbly. Once they look perfect, carefully take them out of the oven. Let them cool just a tiny bit – they’ll be hot! – and then serve them up warm. Trust me, they’re best when they’re fresh out of the oven!
Tips for Achieving the Best Cheesy Garlic Butter Rollups
You know, making these Cheesy Garlic Butter Rollups is pretty straightforward, but there are a few little tricks that can really take them from “good” to “OMG, I need more!” I’ve played around with this recipe a bunch, and I’ve picked up a few things that I think make all the difference in getting that perfect flavor and texture every single time. It’s all about those little details!
Pro Tips for Flavor and Texture
For the best flavor, don’t be shy with that garlic butter mixture! Make sure you brush it all over the dough, getting into all the nooks and crannies. And when it comes to the cheese, a good, even sprinkle is key. You want that cheesy goodness in every bite, not just in the middle. Also, watch them closely while they bake – ovens can be so different! You want them golden brown and bubbly, but don’t let them get too dark or they can become a little dry.
Ingredient Notes and Delicious Substitutions
That little bit of garlic powder along with the fresh garlic really amps up the flavor, so don’t skip it if you can help it! If you’re a total garlic fiend like me, you can totally add another clove of minced garlic or even a pinch more garlic powder to the butter. And cheese! Mozzarella is great for that stringy pull, but feel free to swap it out for cheddar, Monterey Jack, or a mix if you prefer. It all works!
Serving and Storing Your Cheesy Garlic Butter Rollups
These Cheesy Garlic Butter Rollups are honestly so good, they don’t really need much to shine, but I do have a couple of favorite ways to serve them up. And if, by some miracle, you have any leftovers, here’s how to keep them tasting great!
Serving Suggestions
They’re fantastic served warm, right off the baking sheet. They make a perfect appetizer for parties, a great side dish for pasta night, or even just something yummy to have with a bowl of soup or salad. They’re just so versatile! Sometimes, I’ll even sprinkle a little extra Parmesan on top right before serving, or a tiny bit of fresh chopped parsley if I’m feeling fancy. They’re just pure comfort food!
Storage and Reheating Instructions
If you happen to have any leftover Cheesy Garlic Butter Rollups (which is rare in my house!), just let them cool completely and pop them into an airtight container or a resealable bag. They should be good in the fridge for about 2-3 days. To reheat them and get them nice and crispy again, I like to pop them back in the oven at around 350°F (175°C) for about 5-7 minutes, or until they’re warmed through and a little bit toasty. Microwaving works too, but they might not get quite as crisp. Enjoy!
Frequently Asked Questions about Cheesy Garlic Butter Rollups
People always have questions when they try these Cheesy Garlic Butter Rollups for the first time, and that’s totally understandable because they’re just SO good! Here are a few things folks often ask me, and hopefully, this helps clear things up!
Can I make Cheesy Garlic Butter Rollups ahead of time?
You can definitely prep the rollups ahead of time! The best way to do it is to assemble them completely, roll them up, and then place them on your baking sheet, cover them tightly with plastic wrap, and pop them in the fridge. You can do this a few hours before you plan to bake them. When you’re ready to bake, just pull them out of the fridge, brush on a tiny bit more of that garlic butter if you like, and bake as usual, maybe adding a minute or two to the baking time since they’ll be starting out cold. They’re really best baked fresh, though!
What kind of cheese is best for Cheesy Garlic Butter Rollups?
Honestly, the recipe calls for mozzarella and Parmesan, and that’s a fantastic combo for that classic gooey, slightly sharp flavor. But the great thing about these is you can totally play around with the cheese! I’ve used shredded cheddar, Monterey Jack, a Mexican blend, or even a little bit of provolone. Just make sure it’s cheese that melts well. You want that lovely cheese pull, right? The Parmesan adds a nice salty kick, so if you skip that, maybe add a tiny pinch of salt to your butter mixture.
How do I prevent the garlic butter from making the dough soggy?
That’s a great question! The key is really in how you apply the butter and how you bake them. Make sure your butter isn’t too hot when you brush it on; just melted is perfect. Also, try not to overload the dough with butter – just a nice, even coating is all you need. The crescent roll dough itself is pretty forgiving! Baking them at the right temperature (375°F) helps them crisp up nicely. And, of course, serving them warm right out of the oven is the best way to enjoy that perfect balance of soft, cheesy inside and slightly crisp outside. You don’t want them sitting around too long before serving!
Nutritional Estimate for Cheesy Garlic Butter Rollups
Just a friendly heads-up! The nutritional details for these yummy Cheesy Garlic Butter Rollups are an estimate, of course. It can totally change depending on the brands of ingredients you use, like the crescent rolls or the type of cheese. The values are meant to give you a general idea, but happy baking!
Print
AMAZING Cheesy Garlic Butter Rollups, 1 Tray
- Total Time: 25 minutes
- Yield: 8 rollups 1x
- Diet: Vegetarian
Description
Easy and delicious cheesy garlic butter rollups, perfect as an appetizer or side dish.
Ingredients
- 1 can (8 ounces) refrigerated crescent dinner rolls
- 1/4 cup butter, melted
- 1 clove garlic, minced
- 1/4 teaspoon dried parsley
- 1/4 teaspoon garlic powder
- 1/2 cup shredded mozzarella cheese
- 1/4 cup grated Parmesan cheese
Instructions
- Preheat oven to 375°F (190°C). Grease a baking sheet.
- Unroll crescent dough and separate into triangles.
- In a small bowl, combine melted butter, minced garlic, parsley, and garlic powder.
- Brush the butter mixture over the dough triangles.
- Sprinkle mozzarella and Parmesan cheese over the buttered dough.
- Roll up each triangle starting from the wide end to the point.
- Place rollups seam-side down on the prepared baking sheet.
- Bake for 12-15 minutes, or until golden brown and cheese is melted.
- Serve warm.
Notes
- For extra garlic flavor, add another clove of minced garlic to the butter mixture.
- You can substitute cheddar cheese for mozzarella if desired.
- Garnish with fresh parsley before serving.
- Prep Time: 10 minutes
- Cook Time: 15 minutes
- Category: Appetizer/Side Dish
- Method: Baking
- Cuisine: American
Nutrition
- Serving Size: 1 rollup
- Calories: 150
- Sugar: 2g
- Sodium: 250mg
- Fat: 9g
- Saturated Fat: 5g
- Unsaturated Fat: 4g
- Trans Fat: 0g
- Carbohydrates: 15g
- Fiber: 1g
- Protein: 5g
- Cholesterol: 20mg
Keywords: cheesy garlic butter rollups, garlic rolls, cheese bread, appetizer, side dish, crescent roll recipe