
Oh, shaved ice! Just thinking about that icy goodness brings me right back to those hot summer days. There’s nothing quite like a big fluffy mound of ice, piled high and drowning in a super flavorful syrup. Forget those expensive store-bought bottles that taste a little…well, artificial. We’re diving into the world of making your *own* basic syrups for shaved ice, and trust me, it’s ridiculously easy and so much more rewarding!
Seriously, you can whip these up in minutes, and the control you have over the flavors and colors is just amazing. It’s become my go-to for backyard parties, and the kids absolutely go wild for it. We’ve perfected a few simple recipes that are truly foolproof, so get ready to become the hero of your next get-together!
Why You’ll Love Making Basic Syrups for Shaved Ice
- Super Speedy: You can have these ready to go in about 15 minutes, start to finish!
- Crazy Easy: Seriously, it’s just a few ingredients and a little stirring. No fancy equipment needed.
- Endless Customization: Want raspberry? Done. Grape? Easy. Mix and match flavors to create your own signature taste!
- Bright & Beautiful: Add a drop of food coloring and watch your syrups come alive. Perfect for making those shaved ice creations totally Instagram-worthy.
- Deliciously Homemade: Taste the difference when you use real flavors. It’s so much better than those artificial syrups.
Essential Ingredients for Basic Syrups for Shaved Ice
Alright, let’s talk about what you’ll need to bring these amazing shaved ice dreams to life! It’s honestly just a handful of things you probably already have in your pantry. The beauty of this recipe is its simplicity, and getting the ingredients right is the first step to pure frozen bliss.
Sweetener: The Foundation of Your Basic Syrups for Shaved Ice
We’re going with good old granulated sugar here. It’s the backbone of our syrup, giving it that perfect sweet kick. You’ll need exactly 1 cup of it. It dissolves beautifully and creates that classic syrupy texture we’re after.
Liquid Base: Creating the Syrup Consistency
Water is our liquid base. Simple, right? You’ll need 1 cup of plain water to dissolve all that sugar. It’s the magic ingredient that turns sugar crystals into a smooth, pourable syrup that coats every icy flake.
Flavoring & Coloring: Personalizing Your Basic Syrups for Shaved Ice
Now for the fun part! You’ll want about 1 to 2 teaspoons of your favorite flavoring extract – vanilla, strawberry, cherry, whatever makes your taste buds happy! And if you’re feeling fancy, a few drops of food coloring can make your syrups pop. Totally optional, but it really makes the shaved ice look extra special, especially for the kiddos!
Step-by-Step Guide to Making Basic Syrups for Shaved Ice
Okay, let’s get down to business! Making these syrups is seriously as easy as 1, 2, 3. You’ll be drizzling deliciousness onto your ice in no time. We’re sticking to the stovetop here because it’s quick and effective, and the whole process takes about 15 minutes from start to finish. Just follow these simple steps and you’ll have homemade flavor magic!

Combining and Dissolving the Base
First things first, grab a medium saucepan. We’re going to combine our 1 cup of granulated sugar and 1 cup of water right into the pan. Now, this is important: you want to stir this mixture over medium heat. Keep stirring gently until that sugar is completely dissolved. No grainy bits allowed! It should look clear, like simple syrup.
Infusing Flavor and Color into Your Basic Syrups for Shaved Ice
Once the sugar is all dissolved and the mixture is clear, take the saucepan off the heat. This is where the magic really happens! Let it cool just a tiny bit – you don’t want to cook the flavor out. Then, stir in your flavoring extract. Start with about 1 to 2 teaspoons, but feel free to add a little more if you want a stronger taste. If you’re using food coloring, add just a few drops now and stir until you get that beautiful, vibrant color you’re going for. Give it a good mix to make sure everything is well combined!
Storing Your Homemade Basic Syrups for Shaved Ice
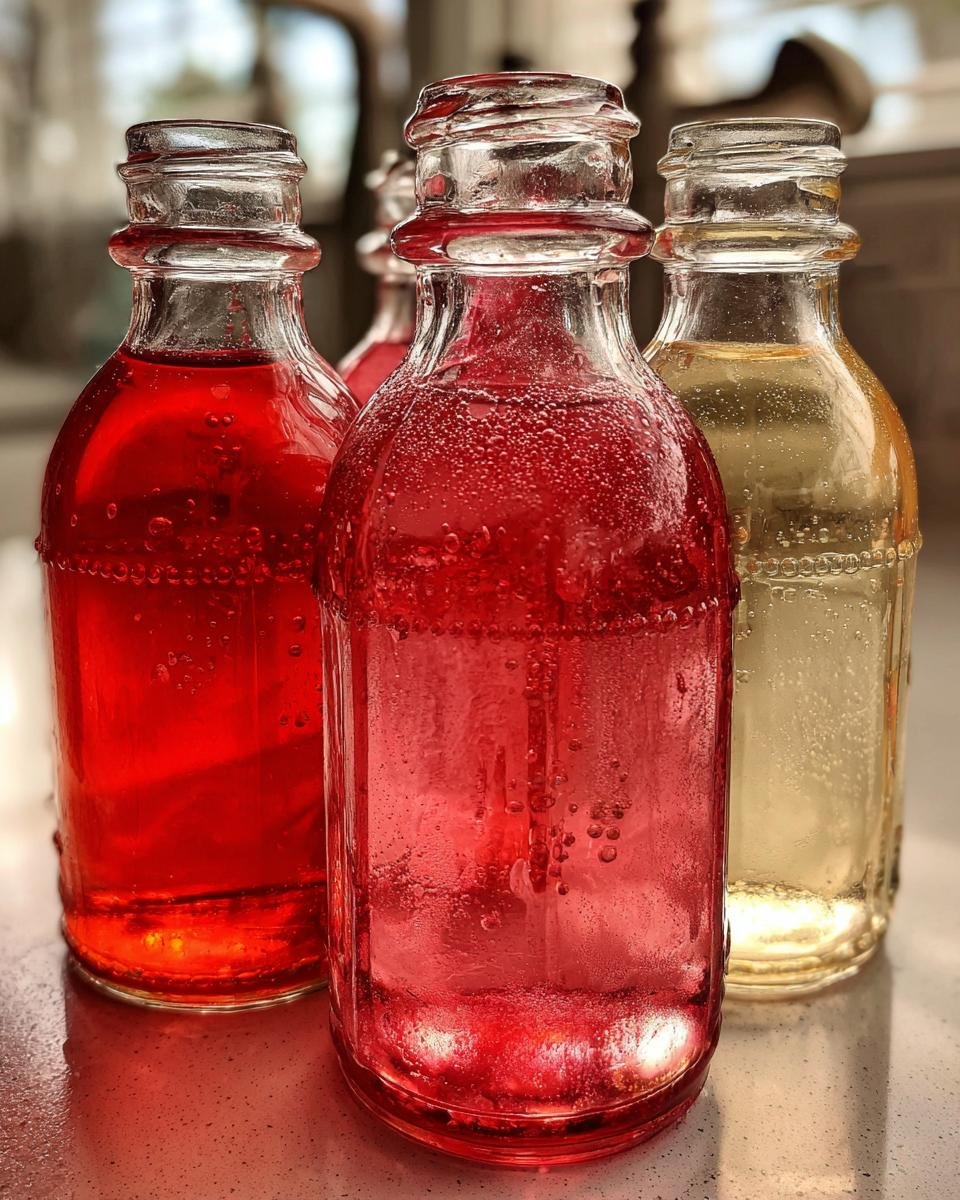
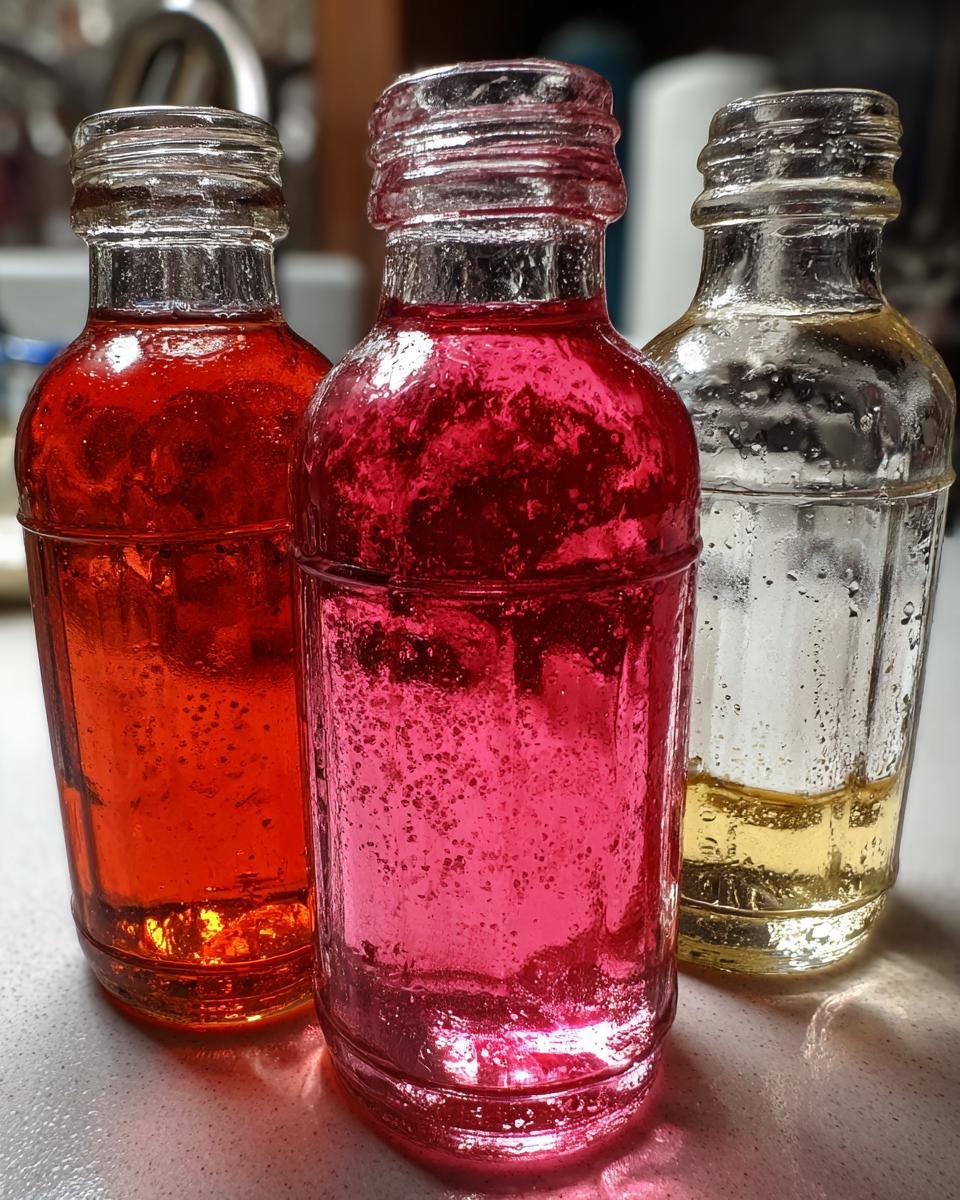
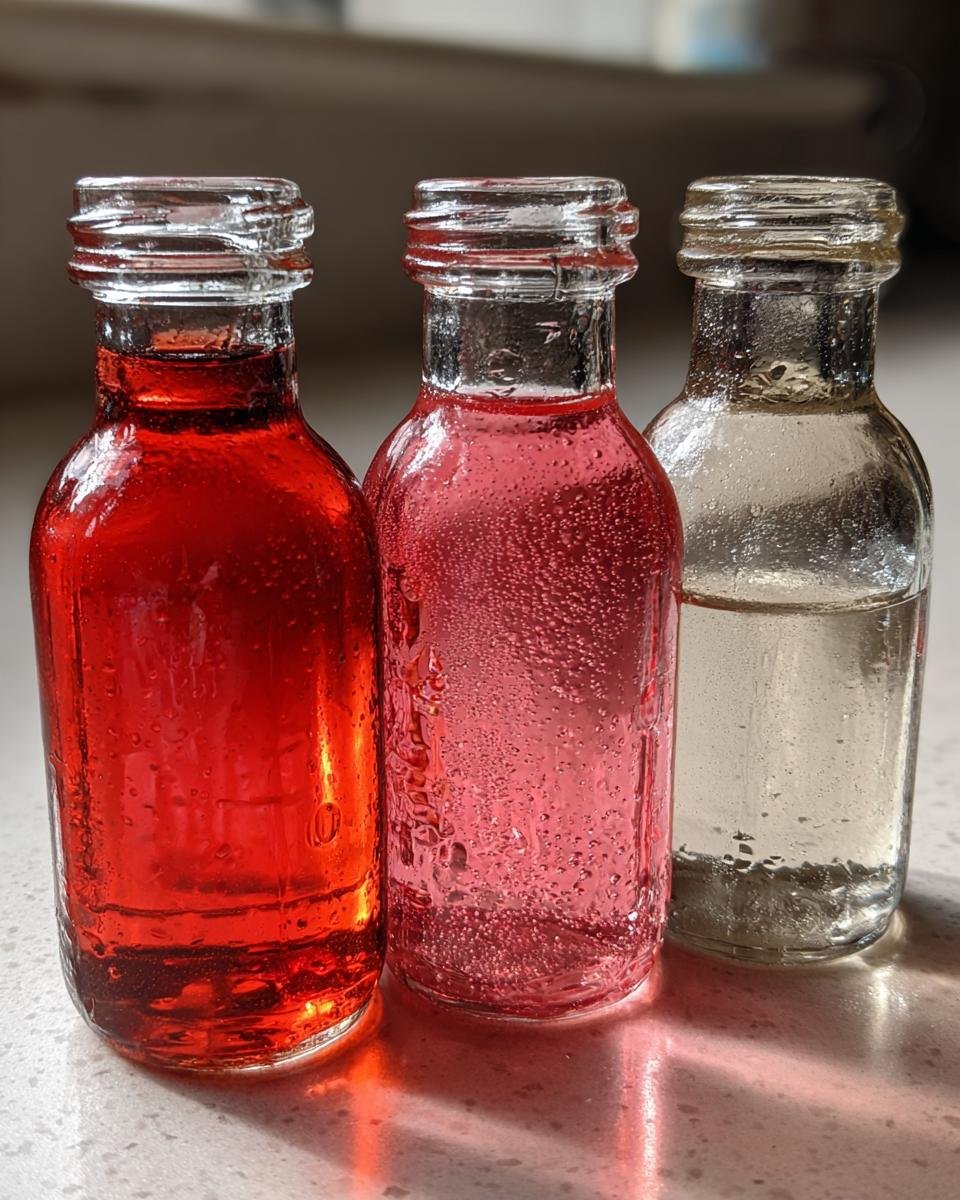
Once your syrup is all mixed up and looks and smells amazing, it’s time to store it. Carefully pour your beautiful syrup into a clean bottle or container. A glass bottle with a tight-fitting lid works great, but any clean airtight container will do. Pop it in the refrigerator, and it should stay fresh and delicious for about 2 weeks. Perfect for having on hand whenever that shaved ice craving strikes!
Tips for Perfect Basic Syrups for Shaved Ice Every Time
Want to take your homemade shaved ice game to the next level? It’s all about those little tweaks! Honestly, once you’ve got the basic syrup down, the real fun is in playing around with it. Don’t be afraid to experiment – that’s how you find your absolute favorite flavors!
Flavor Experimentation with Basic Syrups for Shaved Ice
Seriously, the flavor possibilities are endless! You can stick with classic fruit flavors like strawberry, cherry, or blue raspberry. Or, get creative! Try mixing a little almond extract with vanilla for a creamy horchata vibe, or add a splash of mint for a refreshing twist. I even love a good lime or lemon syrup for a tangy kick. And if you try a new combo, definitely let me know what you come up with!
Sweetness and Consistency Adjustments
Everyone likes their syrup a little different, right? If you prefer things sweeter, you can totally add a bit more sugar. Just remember to add it while the mixture is still warm so it dissolves properly. If you want a thicker syrup, you can simmer it a little longer to reduce the water, or even add a tiny bit more sugar next time. For a thinner syrup, just add a splash more water. It’s all about what tastes best to you!
Frequently Asked Questions About Basic Syrups for Shaved Ice
Got questions about making your own shaved ice syrups? I get it! It’s super easy, but sometimes you just want to make sure you’re doing it right. Here are a few things people often ask me:
What are the best flavor combinations for shaved ice?
Oh, this is my favorite part! Honestly, you can do anything. For classic fruit syrups, strawberry and cherry are huge hits, especially with kids. Blue raspberry is always a winner too! I also love making a simple lime or lemon syrup for a tart kick. Sometimes I even mix a little vanilla with a fruit flavor, like strawberry-vanilla, for something a bit different. Don’t be afraid to get creative!
Can I make Basic Syrups for Shaved Ice without sugar?
You can, but it does change things a bit. If you use artificial sweeteners, they won’t dissolve or create that syrupy texture the same way. You might end up with a watery syrup. Also, sugar is a preservative, so without it, your syrup likely won’t last as long in the fridge. If you try it, I’d recommend using a liquid sweetener and experimenting with the amounts to get the sweetness right, but be prepared for a different consistency and shorter shelf life. For more on sugar substitutes, you can check out Harvard Health Publishing.
How should I store leftover Basic Syrups for Shaved Ice?
Storing is super simple! Just pour your cooled syrup into a clean, airtight bottle or container and keep it in the refrigerator. It should stay good for about 2 weeks. You’ll know if it’s gone bad if it starts to look cloudy, smells off, or if you see any mold developing. If it just looks a little thick, you can always stir in a tiny bit of water to loosen it up!
Understanding the Nutrition of Basic Syrups for Shaved Ice
Just a quick note about nutrition: the details can really change depending on the specific brands of ingredients you use, especially the sugar and any flavorings. So, while I’ve given you a general idea, think of these as approximate values. For the most accurate info, always check the labels on your own ingredients! Understanding the USDA FoodData Central can also be helpful.
Print
Easy Basic Syrups: 15 Min Flavor Magic
- Total Time: 15 minutes
- Yield: Approximately 2 cups 1x
- Diet: Vegetarian
Description
Learn to make simple and delicious syrups for shaved ice.
Ingredients
- 1 cup granulated sugar
- 1 cup water
- Flavoring extract (e.g., vanilla, strawberry, cherry)
- Food coloring (optional)
Instructions
- Combine sugar and water in a saucepan.
- Heat over medium heat, stirring until sugar is dissolved.
- Remove from heat.
- Stir in flavoring extract and food coloring if using.
- Pour into a clean bottle or container.
- Refrigerate until ready to use.
Notes
- Adjust flavoring and coloring to your preference.
- Syrups can be stored in the refrigerator for up to 2 weeks.
- Prep Time: 5 minutes
- Cook Time: 10 minutes
- Category: Dessert Toppings
- Method: Stovetop
- Cuisine: American
Nutrition
- Serving Size: 2 tablespoons
- Calories: 100
- Sugar: 25g
- Sodium: 0mg
- Fat: 0g
- Saturated Fat: 0g
- Unsaturated Fat: 0g
- Trans Fat: 0g
- Carbohydrates: 25g
- Fiber: 0g
- Protein: 0g
- Cholesterol: 0mg
Keywords: shaved ice, syrup, homemade syrup, simple syrup, dessert topping, flavoring