
Oh, hello there, fellow food lover! Are you ready to dive into one of the most rewarding kitchen adventures? Because today, we’re talking all about the magic of canning strawberries! There’s just something incredibly special about capturing the sweet, sun-kissed taste of summer in a jar, isn’t there? For me, it started with my grandma’s overflowing berry patch and her patient lessons. Those early mornings picking berries, then the hum of the canner – it just felt right. Learning how to preserve those juicy gems has been a game-changer, turning simple fruit into a versatile pantry staple you can enjoy all year long. Trust me, once you try homemade canned strawberries, you’ll never look back!
Why You’ll Love This Canning Strawberries Recipe
Okay, so why this recipe, you ask? Well, for starters, it’s incredibly simple! Seriously, even if you’ve never canned a single thing in your life, you can absolutely nail this. You’ll end up with jars of pure, vibrant deliciousness that are so much better than anything you can buy at the store. Plus, these beauties are super versatile – think dessert toppings, pancake pals, or even just a sweet snack straight from the jar. Canning strawberries has never been easier or more rewarding!
The Joy of Canning Strawberries at Home
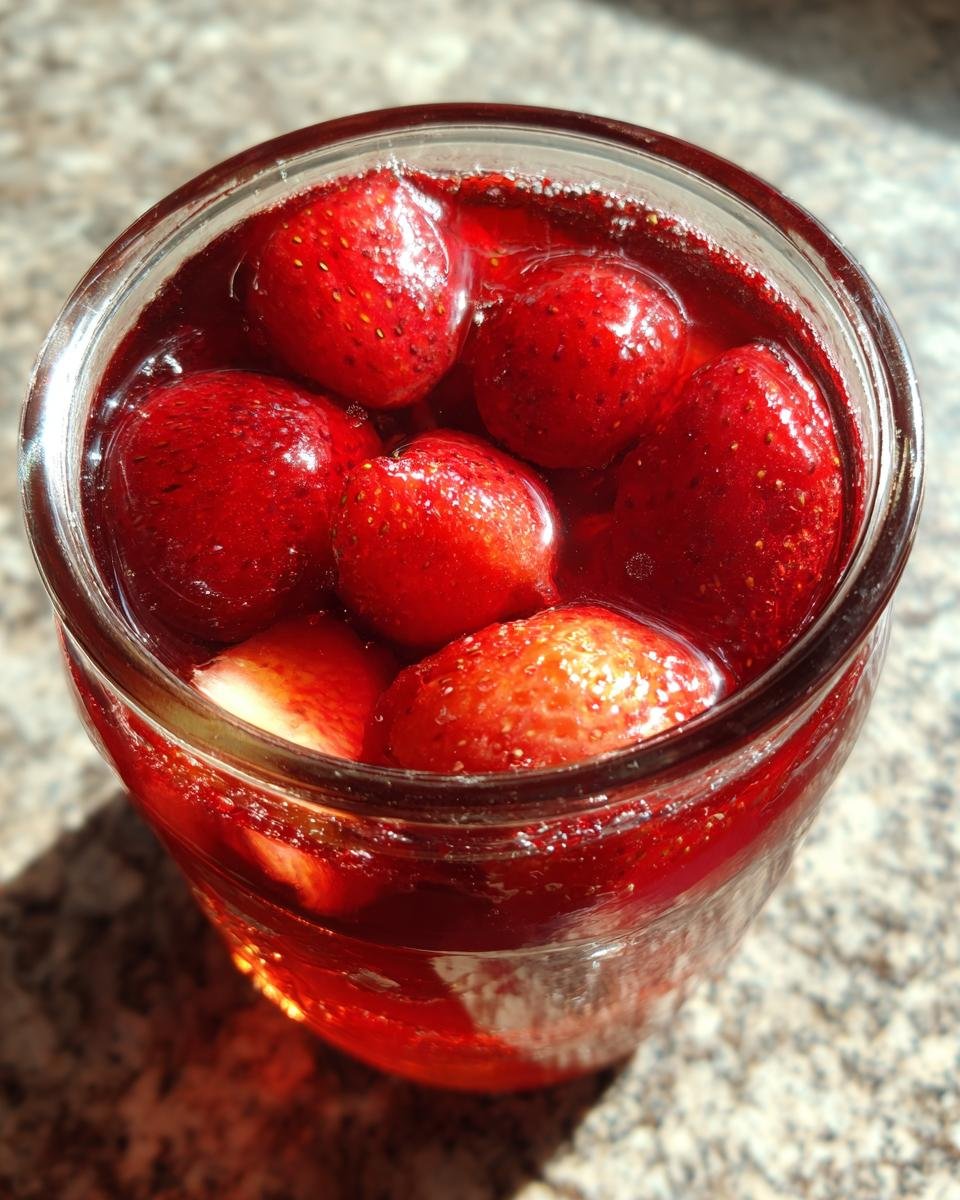
There’s just something so deeply satisfying about looking at a row of gleaming jars filled with your own homemade goodness. It’s like a little piece of summer, bottled up and ready for whenever you need a burst of sunshine. The taste? Oh, it’s fresh, bright, and miles beyond anything store-bought. You’ll feel so proud every time you open a jar of your perfectly canned strawberries!

Essential Ingredients for Canning Strawberries
Alright, let’s talk ingredients! You don’t need a crazy long list for this, which is one of my favorite things about canning strawberries. We’re keeping it simple and pure to let that beautiful strawberry flavor shine. You’ll need about 4 quarts of fresh, ripe strawberries – that’s roughly 8-10 pounds, depending on their size. Then, grab 4 cups of good old granulated sugar, and finally, 1 cup of plain water. That’s it! See? Easy peasy.
Selecting the Best Strawberries for Canning
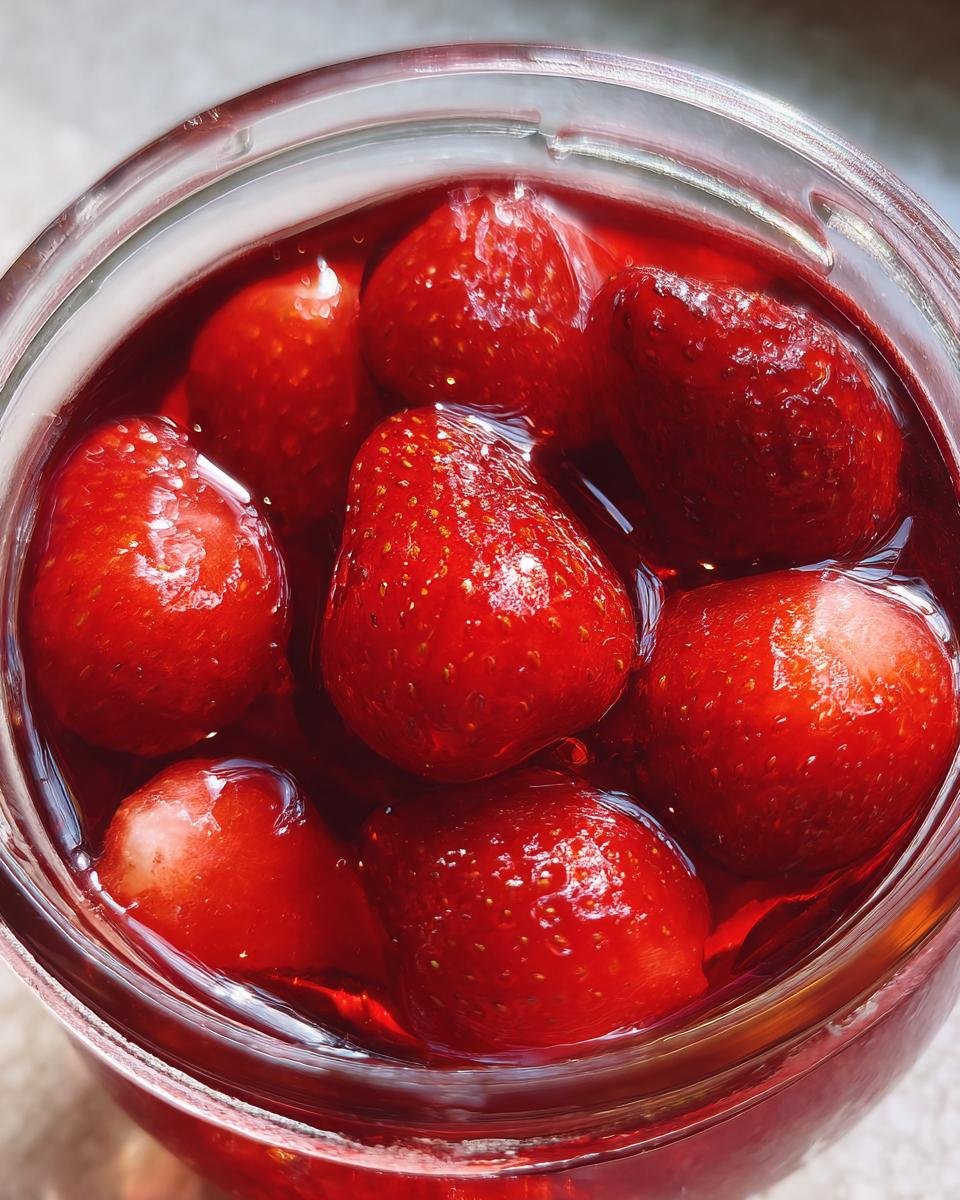
This is probably the most important part, honestly! You want strawberries that are firm, bright red all over, and smell wonderfully sweet. Avoid any that are bruised, mushy, or have white spots. Quality in means quality out, especially when you’re canning strawberries. Trust me on this one!
Equipment Needed for Canning Strawberries
Okay, so before we get our hands sticky with those gorgeous berries, let’s make sure you’ve got all the right tools. You’ll need a large water bath canner with a rack (this is non-negotiable for safety!). A jar lifter is a must-have, trust me, you don’t want to burn your fingers! You’ll also need canning jars with new lids and bands (pint or quart work great here), a funnel for filling, a bubble remover tool (or a clean chopstick!), and a good big pot for your syrup. Having everything ready makes canning strawberries so much smoother!
Preparing Your Jars for Canning Strawberries
This part is super important for food safety, so don’t skip it! You’ll need to sterilize your jars and lids. I like to run my jars through a hot dishwasher cycle or boil them in water for at least 10 minutes. Keep them hot until you’re ready to fill!
Step-by-Step Guide to Canning Strawberries
Alright, this is where the real magic happens! Don’t worry, it’s not nearly as intimidating as it sounds. Just follow these steps, and you’ll be a canning pro in no time. We’re going to take those beautiful fresh strawberries and transform them into jars of pure joy, ready to brighten up any day. Take your time, enjoy the process, and soon you’ll have shelves full of your own homemade goodness!
Preparing Your Strawberries for Canning
First things first, those berries need a good bath! Wash your strawberries thoroughly under cool running water. Then, it’s time to hull them – that means removing the green tops and the little white core. A strawberry huller makes this super quick, but a small paring knife works perfectly too. Make sure they’re nice and clean!
Crafting the Syrup for Canning Strawberries
Now for the sweet stuff! In a large pot, combine your granulated sugar and water. Bring this mixture to a boil over medium-high heat, stirring constantly until all that sugar has completely dissolved. You want a clear, smooth syrup. This is what helps preserve those lovely strawberries.
Packing Jars for Canning Strawberries
Once your syrup is ready, gently add your hulled strawberries to the pot. Let them simmer for just 5-7 minutes. You want them heated through, but not mushy! While they’re simmering, carefully ladle the hot strawberries into your hot, sterilized canning jars. Leave about 1/2 inch of headspace at the top – that’s crucial! Then, pour the hot syrup over the strawberries, maintaining that 1/2 inch headspace. Grab your bubble remover tool (or a chopstick!) and gently slide it around the inside of the jar to release any trapped air bubbles. Wipe the rims clean with a damp cloth – this ensures a good seal!
Processing Your Jars of Canning Strawberries
Now, the final, most important step for food safety! Center your new, hot lids on the jars and apply the screw bands fingertip-tight – don’t overtighten! Carefully lower your jars into your boiling water canner, making sure they’re fully submerged by at least an inch of water. Bring the water to a rolling boil, and process your pint jars for 15 minutes. If you’re at a higher altitude, you’ll need to adjust this time, so check a reliable canning guide for your specific elevation! Once the time is up, turn off the heat, remove the canner lid, and let the jars sit in the hot water for 5 more minutes. Then, carefully remove them and let them cool, undisturbed, on a towel for 12-24 hours. You should hear that satisfying “ping” as they seal!
Tips for Perfect Canning Strawberries
Okay, so you’ve got the basics down, but here are a few little secrets I’ve picked up over the years to make your canning strawberries experience even better! First, don’t overcrowd your pot when simmering the strawberries; work in batches if you have a lot. This ensures they heat evenly and don’t get bruised. Also, if you notice your syrup isn’t quite covering all the fruit in the jar, don’t panic! You can quickly boil a little extra sugar syrup (1 part sugar to 2 parts water) to top them off. And always, always check those seals after 24 hours. If a jar hasn’t sealed, just pop it in the fridge and use it within a week or two.
Storing and Enjoying Your Canning Strawberries
Once those beauties are sealed and cooled, store them in a cool, dark place away from direct sunlight – a pantry or basement is perfect. They’ll last for at least a year, sometimes even longer! And when you’re ready to enjoy them? Oh, the possibilities! Spoon them over vanilla ice cream, stir them into yogurt, top your pancakes or waffles, or even use them in a quick fruit crisp. They’re just so wonderfully versatile!
Frequently Asked Questions About Canning Strawberries
I know when you’re starting out with canning, or even if you’ve done it a hundred times, little questions pop up! So, I’ve gathered some of the most common ones I get about canning strawberries. Don’t be shy; it’s always better to ask than to guess, especially when it comes to preserving your delicious fruit!
Can I Use Less Sugar When Canning Strawberries?
You can, but be careful! Sugar plays a big role in preservation and flavor. If you reduce it too much, your canned strawberries might not keep as long, and the texture can change. For safe canning, it’s best to stick to tested recipes, but you can always look for specific low-sugar canning strawberry recipes if you prefer less sweetness.
How Long Do Canning Strawberries Last?
When properly canned and sealed, your homemade canned strawberries will last beautifully for at least 12-18 months in a cool, dark place. I’ve even enjoyed jars that were two years old, and they were still fantastic! The quality might diminish a little over time, but they’ll generally be safe as long as the seal holds.
What If My Jars Don’t Seal Properly After Canning Strawberries?
Oh, it happens to the best of us! If a jar doesn’t seal (the lid will be loose or pop up when pressed), don’t despair. Just pop that jar in the fridge right away and enjoy those strawberries within a week or two. You can also re-process it within 24 hours with a new lid, but honestly, it’s often easier to just eat them fresh!
Estimated Nutritional Information for Canning Strawberries
Now, I know some of you like to keep an eye on the numbers, and I totally get it! For a typical 1/2 cup serving of these lovely canned strawberries, you’re looking at around 200 calories, with about 50g of carbohydrates (mostly from that delicious sugar!), 2g of fiber, and 1g of protein. Fat and cholesterol are pretty much non-existent, which is great! Just remember, these are estimates, and the exact values can vary a bit depending on the size of your strawberries and the brands of sugar you use. So, think of this as a helpful guide, not a precise scientific breakdown.
Share Your Canning Strawberries Success!
So, there you have it! Your very own batch of beautiful, homemade canned strawberries. I really hope you enjoyed this journey with me! I’d absolutely love to hear how your strawberries turned out. Did you hear those satisfying “pings” as they sealed? Please, share your experience in the comments below, or even better, snap a photo and tag me on social media! How did you use your delicious canned strawberries? On pancakes? With ice cream? Tell me everything!
Print
Canning Strawberries: 1 Amazing Way to Preserve Taste
- Total Time: 50 minutes
- Yield: 4 pints 1x
- Diet: Vegetarian
Description
Sweet and vibrant canned strawberries, perfect for desserts or as a topping.
Ingredients
- 4 quarts fresh strawberries
- 4 cups granulated sugar
- 1 cup water
Instructions
- Wash strawberries thoroughly and hull them.
- In a large pot, combine sugar and water. Bring to a boil, stirring until sugar dissolves.
- Add strawberries to the sugar syrup. Simmer for 5-7 minutes, until strawberries are heated through.
- Pack hot strawberries into hot sterilized canning jars, leaving 1/2 inch headspace.
- Ladle hot syrup over strawberries, maintaining 1/2 inch headspace. Remove air bubbles.
- Wipe jar rims clean. Center lids on jars and apply screw bands until fingertip tight.
- Process jars in a boiling water canner for 15 minutes (adjust for altitude).
- Turn off heat, remove canner lid, and let jars sit for 5 minutes.
- Remove jars and cool for 12-24 hours. Check seals before storing.
Notes
- Use firm, ripe strawberries for best results.
- Ensure jars and lids are properly sterilized to prevent spoilage.
- Process jars for the correct time based on your altitude to ensure food safety.
- Prep Time: 30 minutes
- Cook Time: 20 minutes
- Category: Preserves
- Method: Canning
- Cuisine: American
Nutrition
- Serving Size: 1/2 cup
- Calories: 200
- Sugar: 45g
- Sodium: 0mg
- Fat: 0g
- Saturated Fat: 0g
- Unsaturated Fat: 0g
- Trans Fat: 0g
- Carbohydrates: 50g
- Fiber: 2g
- Protein: 1g
- Cholesterol: 0mg
Keywords: canning, strawberries, fruit preserves, homemade jam