
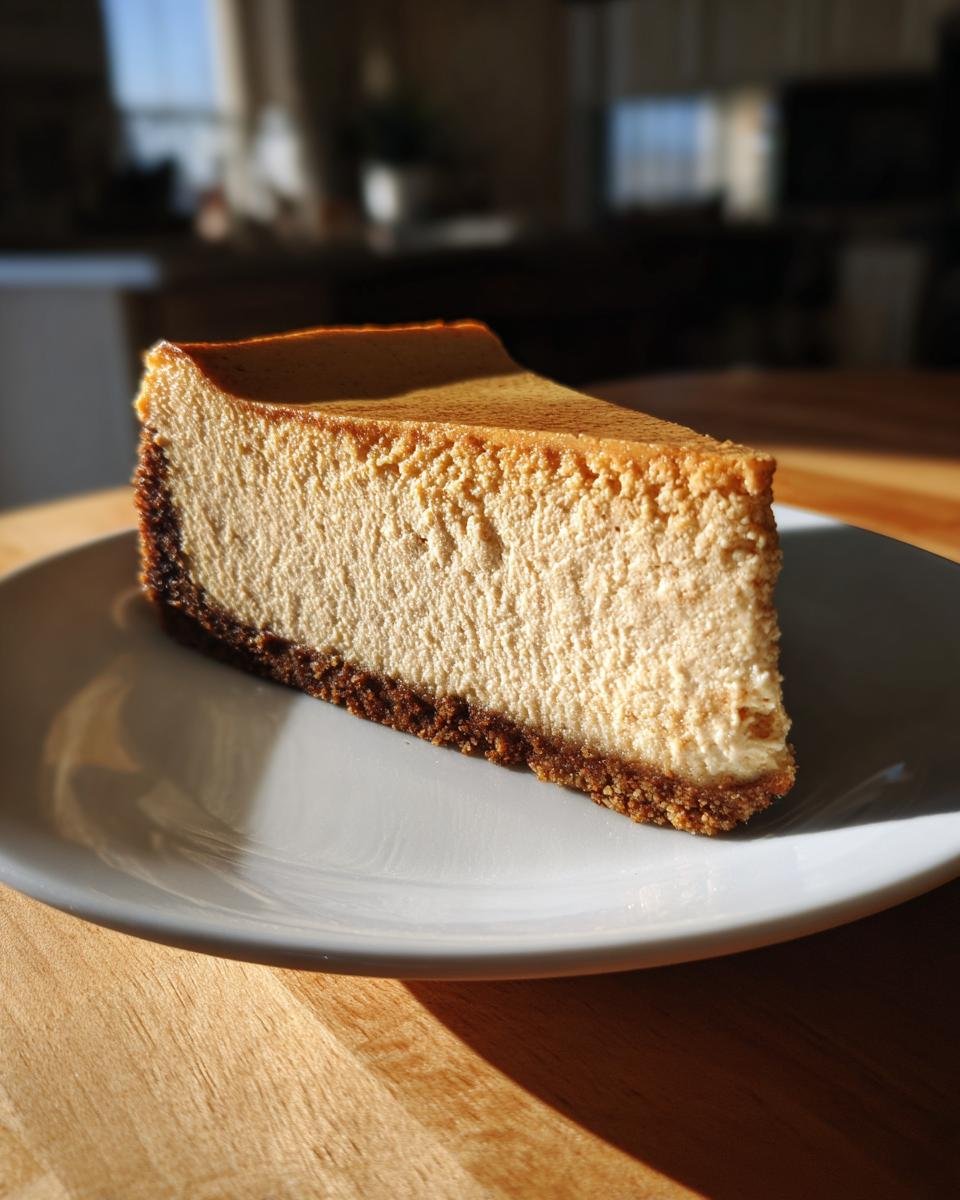
Oh, hello there, coffee lovers! Get ready, because I’m about to spill the beans on my absolute favorite dessert that perfectly marries two of life’s greatest pleasures: coffee and cheesecake. We’re talking about a rich, creamy, and utterly irresistible Espresso Cheesecake. Trust me, if you adore the bold kick of espresso and the silky smooth texture of a classic cheesecake, this recipe is about to become your new obsession.
I’ve been baking cheesecakes for what feels like forever, trying every variation under the sun – from classic New York style to pumpkin spice creations. But this Espresso Cheesecake? It stands head and shoulders above the rest. It’s got that perfect balance: not too sweet, with a deep, robust coffee flavor that sings through every single bite. It’s the kind of dessert that makes people close their eyes and sigh with pure happiness. Seriously, you’ve got to try this Espresso Cheesecake!

Why You’ll Love This Espresso Cheesecake
So, why is this Espresso Cheesecake *the one*? Honestly, it’s a total game-changer. It’s surprisingly simple to make for how incredibly impressive it looks and tastes. You’ll love it because:
- It’s got that deep, rich coffee flavor without being bitter.
- The texture is unbelievably smooth and creamy – pure bliss!
- It’s the perfect dessert for any occasion, from a casual dinner to a fancy holiday feast.
- You can make it ahead of time, which is a lifesaver when you’re entertaining.
The Allure of Espresso Cheesecake
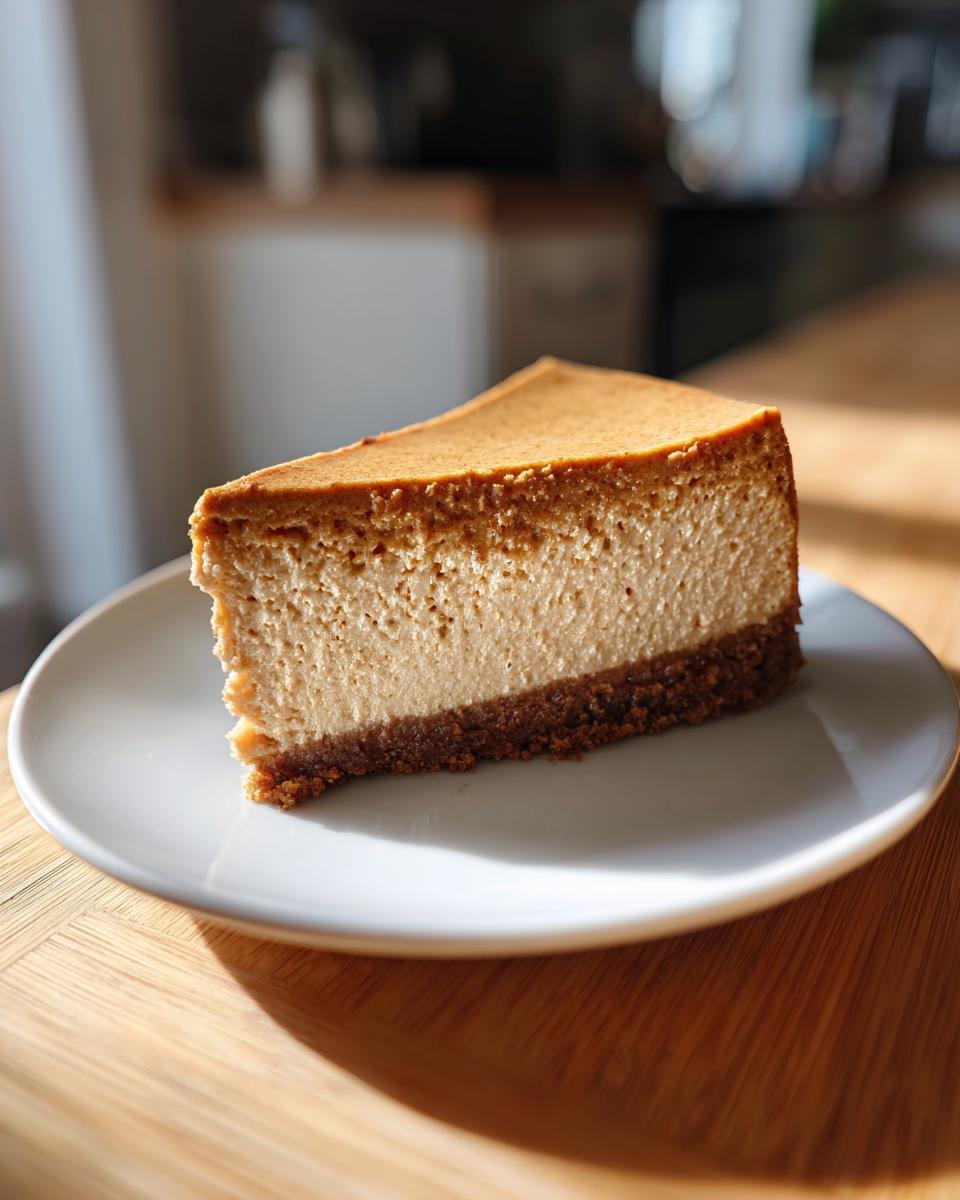
There’s just something magical about how the strong espresso cuts through the sweet, tangy cream cheese. It creates this sophisticated, grown-up flavor that’s utterly addictive. And the texture? Oh, it’s like velvet – dense enough to feel substantial, but light enough to melt in your mouth. It’s a true celebration for your taste buds!
Gathering Your Essentials for Espresso Cheesecake
Alright, let’s talk ingredients! For this amazing Espresso Cheesecake, you don’t need anything super fancy, but getting the right stuff makes all the difference. Think of these as your building blocks for pure deliciousness. You’ll want to grab:
- 1 1/2 cups graham cracker crumbs (I usually just crush a sleeve of graham crackers myself!)
- 1/4 cup granulated sugar (just a little sweetness for that crust)
- 1/2 cup unsalted butter, melted (because everything’s better with butter!)
- 24 ounces cream cheese, softened (this is key, don’t skip softening it!)
- 1 1/4 cups granulated sugar (for the creamy filling)
- 3 large eggs (at room temperature, please!)
- 1/2 cup sour cream (adds that lovely tang and moisture)
- 2 tablespoons all-purpose flour (helps prevent cracks, shhh!)
- 1/4 cup strong brewed espresso, cooled (make sure it’s *cooled*!)
- 1 teaspoon vanilla extract (the perfect warm hug for all those flavors)
Essential Tools for Your Espresso Cheesecake
You don’t need a professional kitchen, but a few key tools will make your life so much easier. You’ll definitely want a 9-inch springform pan – it’s a cheesecake’s best friend! Grab some good mixing bowls, and an electric mixer (handheld or stand, either works!) will be a huge help for getting that super smooth cream cheese filling.
Crafting the Perfect Espresso Cheesecake
Okay, now for the fun part – actually making this dreamy Espresso Cheesecake! Don’t be intimidated; it’s easier than you think, especially if you follow these steps. Just take your time, and you’ll have a showstopper dessert in no time.
First things first, preheat your oven to 325 degrees F (that’s 160 degrees C for my metric friends). While that’s warming up, let’s get that crust going. Grab your graham cracker crumbs, that little bit of sugar, and your melted butter. Mix them all together in a bowl until it looks like wet sand. Now, press that mixture firmly into the bottom of your 9-inch springform pan. Really get in there and compact it – this is your sturdy foundation! Pop it into the preheated oven for about 10 minutes. Once it’s done, pull it out and let it cool completely while you work on the filling.
Now for the star of the show: the creamy filling! In a large bowl, grab your softened cream cheese and the larger amount of sugar (1 1/4 cups). Beat them together until they’re super smooth and creamy. No lumps allowed here, so scrape down the sides of the bowl often! Next, you’ll add your eggs, but here’s a crucial tip: add them one at a time. Beat in one egg until it’s just combined, then add the next. Don’t overmix once the eggs are in, okay? We want that silky texture, not a puffy cake.
Finally, stir in your sour cream, flour, that cooled espresso, and the vanilla extract. Mix it just until everything is combined. Seriously, stop mixing as soon as it comes together – overmixing is the enemy of a smooth cheesecake! Pour this gorgeous filling over your cooled crust in the springform pan. Now, bake it for about 60-70 minutes. You’re looking for the edges to be set, but the very center should still have a slight wobble. That’s perfect!
Once it’s baked, turn off the oven but leave the cheesecake inside with the door ajar for about an hour. This slow cool-down helps prevent cracks. After that, take it out and let it cool completely on a wire rack at room temperature. The hardest part? You’ve got to refrigerate it for at least 4 hours, or even better, overnight. Trust me, the wait is worth it for that perfect, firm, and flavorful Espresso Cheesecake!
Pro Tips for an Amazing Espresso Cheesecake
Listen up, because these little secrets will make your Espresso Cheesecake truly shine! Always, always use full-fat cream cheese; it makes a huge difference in texture. And I can’t stress this enough: do *not* overmix your batter, especially once the eggs go in. My grandma used to say, “Less is more when it comes to cheesecake batter,” and she was right! Also, make absolutely sure your espresso is completely cold before you add it, or it could curdle the cream cheese. I learned that the hard way once, and let’s just say it wasn’t pretty!
Espresso Cheesecake: Common Questions Answered
Okay, so you’ve got questions about this amazing Espresso Cheesecake, and I’ve got answers! I’ve made enough of these to have run into all sorts of little quirks, so let me share some wisdom:
Q1: Can I use instant coffee for Espresso Cheesecake?
You can, but I highly recommend using freshly brewed, strong espresso. Instant coffee or even regular brewed coffee won’t give you that deep, rich coffee flavor that makes this Espresso Cheesecake so special. If you absolutely have to, dissolve a tablespoon or two of instant espresso powder in a tiny bit of hot water to make a concentrated shot, then cool it completely.
Q2: How do I prevent cracks in my Espresso Cheesecake?
Ah, the age-old cheesecake dilemma! The biggest culprits are overmixing the batter and sudden temperature changes. That’s why I stress not overdoing it once the eggs are in. Also, the slow cooling method (leaving it in the turned-off oven with the door ajar) is key. Don’t pull it out into a cold room right away! Some folks use a water bath, but I find this slow-cool method works beautifully for this Espresso Cheesecake recipe without the fuss.
Q3: How long does Espresso Cheesecake last in the fridge?
If stored properly, your delicious Espresso Cheesecake will be good in the fridge for about 3-5 days. Make sure it’s covered tightly to keep it fresh and prevent it from absorbing any weird fridge smells.
Storing Your Espresso Cheesecake
Once your Espresso Cheesecake is completely cooled and chilled, the best way to store it is in an airtight container. If you don’t have one big enough, wrap it tightly in plastic wrap, then aluminum foil. This keeps it from drying out and locks in all that amazing flavor. You can even freeze slices for a quick treat later!
Understanding Your Espresso Cheesecake Nutrition
Now, I know some of you are curious about the nutritional side of things with this Espresso Cheesecake. While I can tell you it’s packed with flavor, please remember that any nutritional values are just estimates. The actual numbers can totally vary depending on the specific brands of ingredients you use, how much you pile on your slice, and even the exact size of your serving. So, enjoy every delicious bite, but take any numbers with a grain of salt!
Share Your Espresso Cheesecake Creation
So, you’ve made it! You’ve whipped up this incredible Espresso Cheesecake, and I bet your kitchen smells absolutely divine right now. I’d love, love, *love* to hear all about it! Did you love it as much as I do? Please, leave a comment below and let me know how it turned out. And if you snap a pic, be sure to share it on social media and tag me! Happy baking, my friends!
Print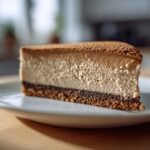
Espresso Cheesecake: 1 Divine Bite of Pure Bliss
- Total Time: 5 hours 40 minutes
- Yield: 12 servings 1x
- Diet: Vegetarian
Description
A rich and creamy cheesecake with a strong espresso flavor, perfect for coffee lovers.
Ingredients
- 1 1/2 cups graham cracker crumbs
- 1/4 cup granulated sugar
- 1/2 cup unsalted butter, melted
- 24 ounces cream cheese, softened
- 1 1/4 cups granulated sugar
- 3 large eggs
- 1/2 cup sour cream
- 2 tablespoons all-purpose flour
- 1/4 cup strong brewed espresso, cooled
- 1 teaspoon vanilla extract
Instructions
- Preheat oven to 325 degrees F (160 degrees C).
- Combine graham cracker crumbs, 1/4 cup sugar, and melted butter. Press into the bottom of a 9-inch springform pan.
- Bake for 10 minutes. Remove and let cool.
- In a large bowl, beat cream cheese and 1 1/4 cups sugar until smooth.
- Beat in eggs one at a time.
- Stir in sour cream, flour, espresso, and vanilla extract until just combined.
- Pour filling over the crust.
- Bake for 60-70 minutes, or until the center is almost set.
- Turn off the oven and let the cheesecake cool in the oven with the door ajar for 1 hour.
- Remove from oven and cool completely on a wire rack.
- Refrigerate for at least 4 hours, or preferably overnight, before serving.
Notes
- For best results, use full-fat cream cheese.
- Do not overmix the batter once the eggs are added.
- Ensure espresso is completely cooled before adding to the batter.
- Prep Time: 30 minutes
- Cook Time: 70 minutes
- Category: Dessert
- Method: Baking
- Cuisine: American
Nutrition
- Serving Size: 1 slice
- Calories: 450
- Sugar: 40g
- Sodium: 250mg
- Fat: 30g
- Saturated Fat: 18g
- Unsaturated Fat: 8g
- Trans Fat: 1g
- Carbohydrates: 45g
- Fiber: 1g
- Protein: 8g
- Cholesterol: 120mg
Keywords: Espresso Cheesecake, Coffee Cheesecake, Dessert, Baked Cheesecake, Creamy Cheesecake