
Okay, so you want to talk about the magic stuff, the stuff that makes cookies look like tiny works of art and transforms a simple cake into a showstopper? Yep, I’m talking about **royal icing**!
This isn’t just any old frosting. Royal icing is that beautiful, smooth, hard-setting icing that gives you those crisp lines and vibrant colors you see on all the fancy decorated treats. Think intricate gingerbread houses, delicate sugar cookies for holidays, or even those elegant piped details on wedding cakes. It’s incredibly versatile, letting you flood areas with color or pipe incredibly fine details.
Now, I’ve had my share of royal icing mishaps – trust me! Too thin, too thick, it dries too fast, it takes forever to dry… sound familiar? But over the years, I’ve landed on *this* specific recipe, and it’s become my absolute go-to. It’s reliable, easy to work with (once you get the hang of consistency, which we’ll chat about!), and dries beautifully every single time. Having a solid royal icing recipe in your baking arsenal is a game-changer, and I can’t wait to share mine with you!

Why You’ll Love This Royal Icing
Alright, so why *this* royal icing recipe? Because it’s truly fantastic! Here’s the scoop on why I keep coming back to it:
- It’s ridiculously easy: Seriously, just a few simple ingredients and your mixer do most of the work. No fussy techniques here!
- Super reliable results: Every batch comes out smooth and dries hard and shiny just like you want it to. Say goodbye to frustrating icing moments!
- So versatile: You can easily adjust the thickness for flooding, piping fine details, or even creating dimensional decorations. It’s your canvas!
Trust me, once you try this one, you’ll understand why it’s my favorite for all my decorating adventures.
Essential Equipment for Perfect Royal Icing
Okay, before we dive into mixing up this magical stuff, let’s talk tools! You don’t need a fancy kitchen full of gadgets, but a few key things will make your royal icing journey way smoother:
- A **large mixing bowl**: You’ll need space for everything to whip up nicely.
- An **electric mixer**: Handheld or stand mixer, either works! This is crucial for getting that lovely stiff peak consistency.
- A **whisk**: Just for a quick initial mix of the dry stuff.
- **Measuring cups and spoons**: Gotta be accurate, especially with baking!
- **Airtight container**: For storing any leftover icing.
Having these on hand means you’re ready to go!
Ingredients for Classic Royal Icing
Ready to gather our ingredients? This list is short and sweet, just how I like it! Using the right stuff is key to getting that perfect, smooth, and hard-setting **royal icing**.
- 4 cups powdered sugar: Also called confectioners’ sugar. Sift it if it looks clumpy!
- 3 tablespoons meringue powder: This is your secret weapon for getting that hard, stable finish. Find it in the baking aisle.
- 1/2 cup warm water: Just warm enough, not hot. It helps everything dissolve nicely.
- 1 teaspoon vanilla extract: For that lovely hint of flavor. Make sure it’s good quality!
That’s it! Simple, right? Now let’s get mixing!
How to Make Royal Icing Step-by-Step
Okay, let’s get to the fun part – making this gorgeous **royal icing**! It’s really straightforward, but following these steps is key to getting that perfect consistency for all your decorating dreams. Think of it like building a little edible house, you need a strong foundation!
Combining Dry Ingredients for Royal Icing
First things first, we need to get our dry stuff ready. Grab that big mixing bowl you set aside. Measure out your powdered sugar and meringue powder. Now, give them a good whisk together. Seriously, don’t skip this! Whisking helps break up any little clumps in the powdered sugar and makes sure that magical meringue powder is evenly distributed. This is your first step to super smooth royal icing – no gritty bits allowed!
Adding Wet Ingredients to Your Royal Icing Base
Now for the liquids! Pour in your warm water and the vanilla extract right into the bowl with your dry ingredients. This is where the electric mixer comes in. Pop your mixing attachment on (the whisk attachment works great here!) and start on a *low* speed. You just want to bring everything together without sending a cloud of powdered sugar all over your kitchen. Mix until it looks mostly combined, like a thick paste. Don’t worry if it looks a little lumpy right now, we’ll fix that next!
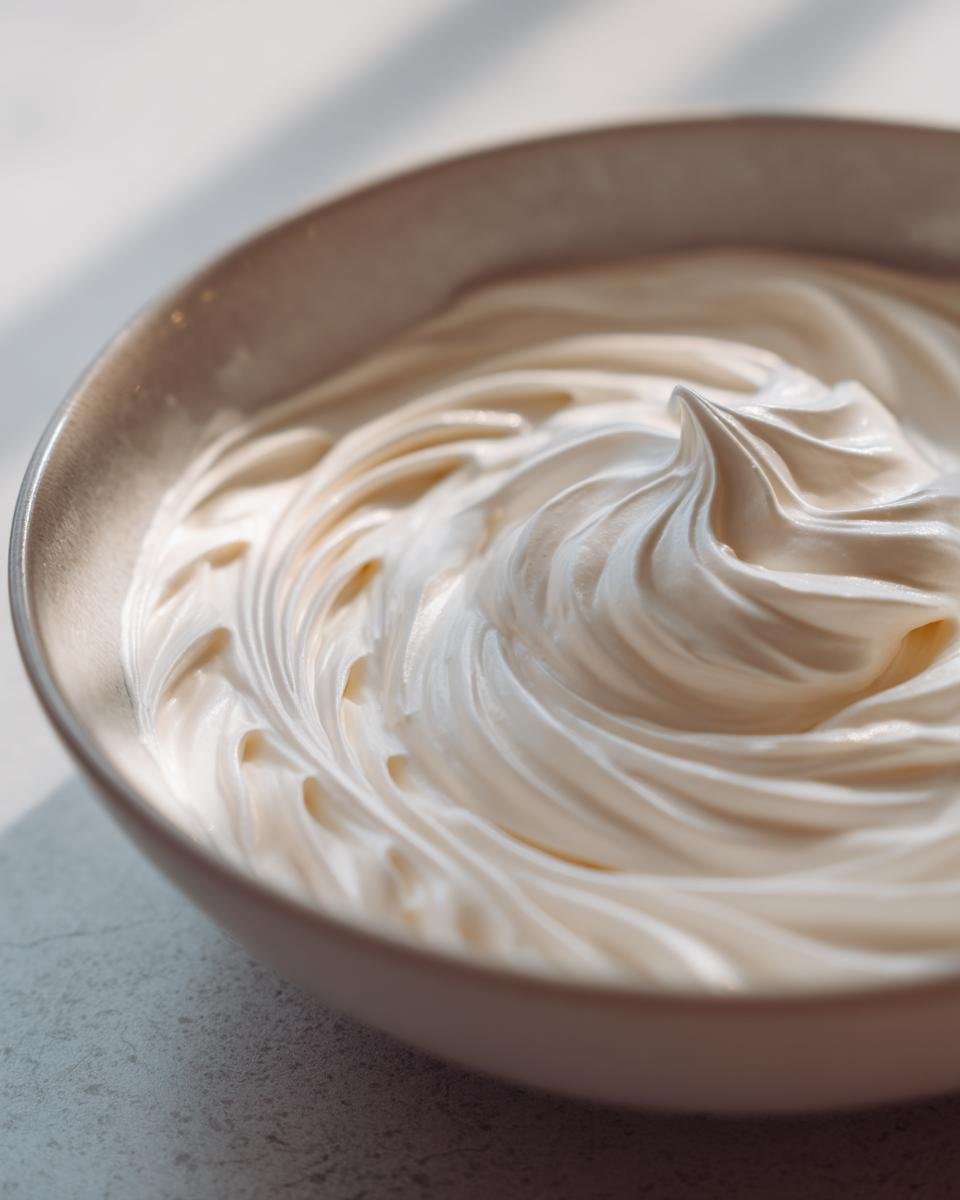
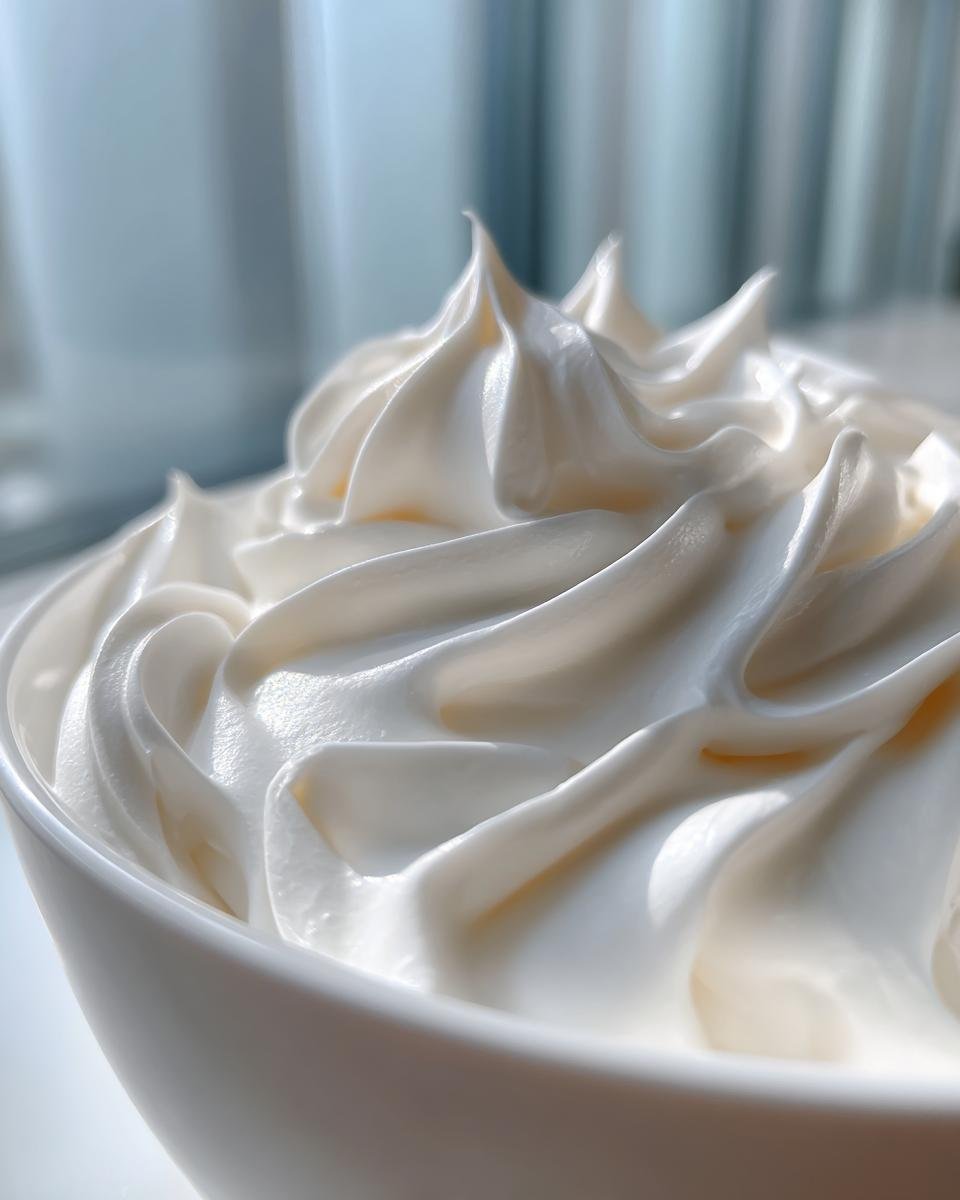
Achieving Stiff Peaks in Your Royal Icing
Okay, now for the muscle! Once everything is just combined on low speed, crank that mixer up to high. You’re going to beat this mixture for about 5 to 7 minutes. This is where the magic happens! The meringue powder activates and whips air into the icing, making it light and fluffy while still being incredibly strong. You’re looking for “stiff peaks.” How do you know? When you lift the beater out of the bowl, the icing should stand straight up without flopping over. It should look thick and glossy, almost marshmallow-like. That’s the perfect consistency for piping outlines and details! If it seems a little too thick, you can add just a tiny splash more water, literally a teaspoon at a time, and beat for another 30 seconds. Getting this right is crucial for your royal icing success!
Tips for Successful Royal Icing
Alright, you’ve got your beautiful batch of royal icing whipped up! Now, let’s talk about keeping it perfect while you work and making sure your decorating goes smoothly. These little tips have saved me from many a royal icing headache!
- Cover it up! Royal icing dries FAST when exposed to air. Like, blink-and-you’ll-miss-it fast. Always, always keep your bowl of icing covered with a damp paper towel pressed directly onto the surface, then cover the bowl tightly with plastic wrap. If you’re using piping bags, cover the tips with a damp cloth when you’re not actively piping.
- Consistency is queen! You made stiff peak icing, which is great for outlines. But you’ll likely need thinner icing for flooding. Add water *slowly*, just a tiny bit at a time (like, a quarter teaspoon!), stirring well until you get the flow consistency you want. For flooding, it should flow smoothly but still hold a bit of a shape before settling flat.
- Color carefully: Gel food coloring is your friend here! It’s concentrated, so it won’t add too much extra liquid to your icing. Add color a little bit at a time and mix thoroughly until you get the shade you’re after. Remember, colors can deepen slightly as they dry.
- Work clean: Keep your workspace tidy. Dried bits of royal icing can clog your piping tips in a heartbeat. Wipe down your surfaces and tools as you go.
Follow these simple rules, and your royal icing adventures will be much happier, I promise!
Storing and Reheating Royal Icing
Okay, so you’ve finished decorating, and you’ve got some gorgeous royal icing leftover. Don’t let that go to waste! Proper storage is key to keeping it usable. Get an airtight container, press a piece of plastic wrap directly onto the surface of the icing (this is SO important to prevent a crust from forming!), and then seal the lid. Pop it in the fridge. It should keep well for a couple of weeks.
When you’re ready to use it again, take it out of the fridge and let it come back to room temperature. Give it a good stir with a spoon or spatula – it might look a little separated, but that’s totally normal! If it seems a little too thick after stirring, you can add a tiny drop or two of water to get it back to your desired consistency. Easy peasy!
Frequently Asked Questions About Royal Icing
Got a few more questions buzzing about royal icing? Totally normal! Here are some common ones I hear and my best answers:
Q: Can I make royal icing without meringue powder?
A: Honestly, while you *can* find recipes using egg whites, meringue powder is what makes this classic royal icing so stable, safe, and easy to work with. It dries hard and holds its shape beautifully. I really recommend sticking to meringue powder for reliable results!
Q: Why isn’t my royal icing drying hard?
A: This is usually a consistency issue. If your icing is too thin (meaning you added too much water), it might not dry properly or take forever. Make sure you’re getting those stiff peaks when you first mix it, and when thinning for flooding, do it super gradually. Humidity can also play a role, but consistency is usually the main culprit.
Q: How long does it take for royal icing to dry on cookies?
A: It depends on the thickness of your icing and the humidity, but generally, thin flooding icing will be dry to the touch in a few hours. Thicker details or layers might take 12-24 hours to fully harden. Patience is key here!
Estimated Nutritional Information
Okay, while we usually don’t make royal icing for its health benefits (let’s be real, it’s mostly sugar!), it can be helpful to have an idea of what’s in it. Keep in mind these are just estimates, as the exact amounts can vary a bit depending on the brands of ingredients you use.
Based on a typical serving size (about 1 tablespoon):
- Calories: Around 50
- Sugar: About 12g
- Sodium: Roughly 5mg
- Fat: 0g (yay!)
- Saturated Fat: 0g
- Unsaturated Fat: 0g
- Trans Fat: 0g
- Carbohydrates: About 13g
- Fiber: 0g
- Protein: 0g
- Cholesterol: 0mg
So yeah, it’s definitely a treat! But hey, it makes your cookies look amazing, and sometimes that’s what really counts!
Share Your Royal Icing Creations
Alright, you’ve got the recipe, you’ve got the tips, now it’s your turn to make some magic! I absolutely LOVE seeing what you guys create in your kitchens.
Did you decorate some adorable sugar cookies? Pipe some intricate details on a cake? I want to see it all! Leave a comment below and tell me about your royal icing adventures with this recipe. What did you make? How did it go? Your ideas and experiences are so inspiring!
Happy decorating!
Print
Make Royal Icing Easy: 1 Recipe!
- Total Time: 10 minutes
- Yield: About 3 cups 1x
- Diet: Vegetarian
Description
Classic royal icing, perfect for decorating cookies and cakes.
Ingredients
- 4 cups powdered sugar
- 3 tablespoons meringue powder
- 1/2 cup warm water
- 1 teaspoon vanilla extract
Instructions
- In a large bowl, whisk together the powdered sugar and meringue powder.
- Add the warm water and vanilla extract.
- Beat with an electric mixer on low speed until combined.
- Increase speed to high and beat for 5-7 minutes, until stiff peaks form.
- Use immediately or store in an airtight container.
Notes
- For thinner icing, add more water, a teaspoon at a time.
- For thicker icing, add more powdered sugar, a tablespoon at a time.
- Keep the icing covered with a damp cloth or plastic wrap to prevent it from drying out.
- Prep Time: 10 minutes
- Cook Time: 0 minutes
- Category: Frosting and Icing
- Method: Mixing
- Cuisine: American
Nutrition
- Serving Size: 1 tablespoon
- Calories: 50
- Sugar: 12g
- Sodium: 5mg
- Fat: 0g
- Saturated Fat: 0g
- Unsaturated Fat: 0g
- Trans Fat: 0g
- Carbohydrates: 13g
- Fiber: 0g
- Protein: 0g
- Cholesterol: 0mg
Keywords: royal icing, cookie icing, cake decorating, meringue powder icing